
Custom Build: Sun Bum
Custom BuildsThis is a quick image guide on how I built my custom puppet I call Sun Bum. I tried to provide a lot of pictures for you to give you ideas on how you can build your own. Enjoy and feel free to ask me anything.
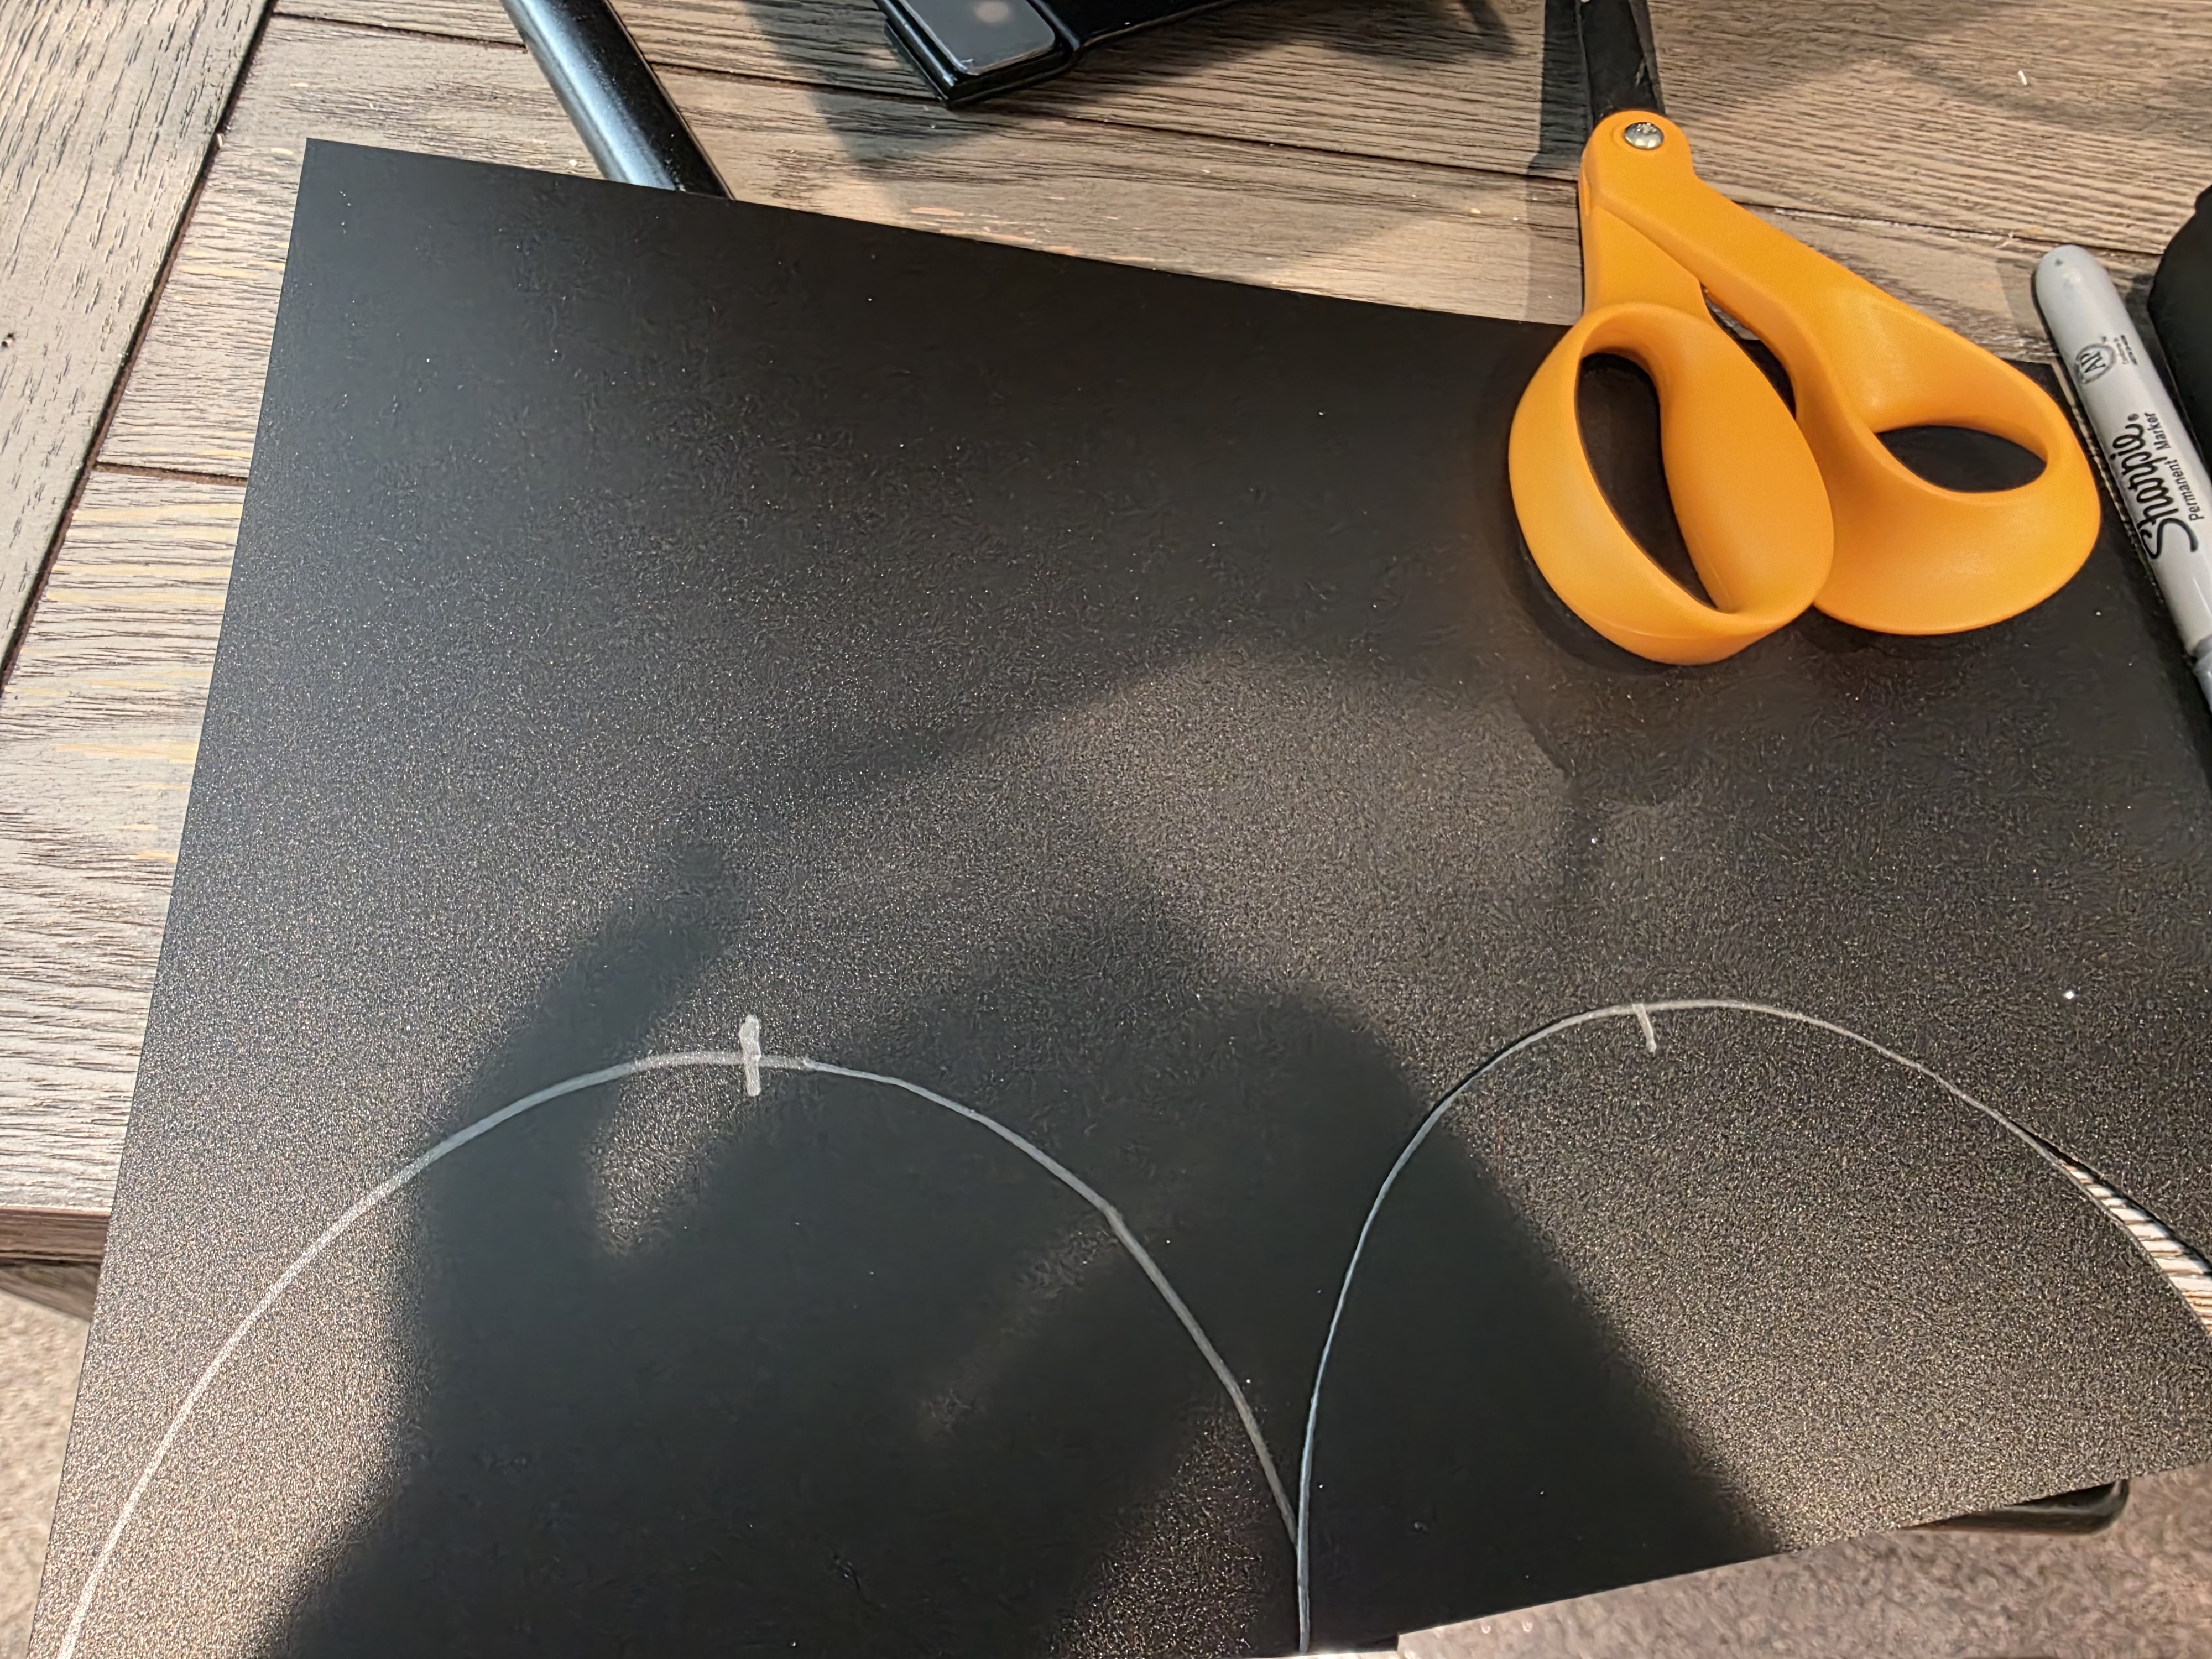
Here is the mouth plate design. I like to use plastic sheets for mouth plates. It is very sturdy, and it can be cut out with scissors.
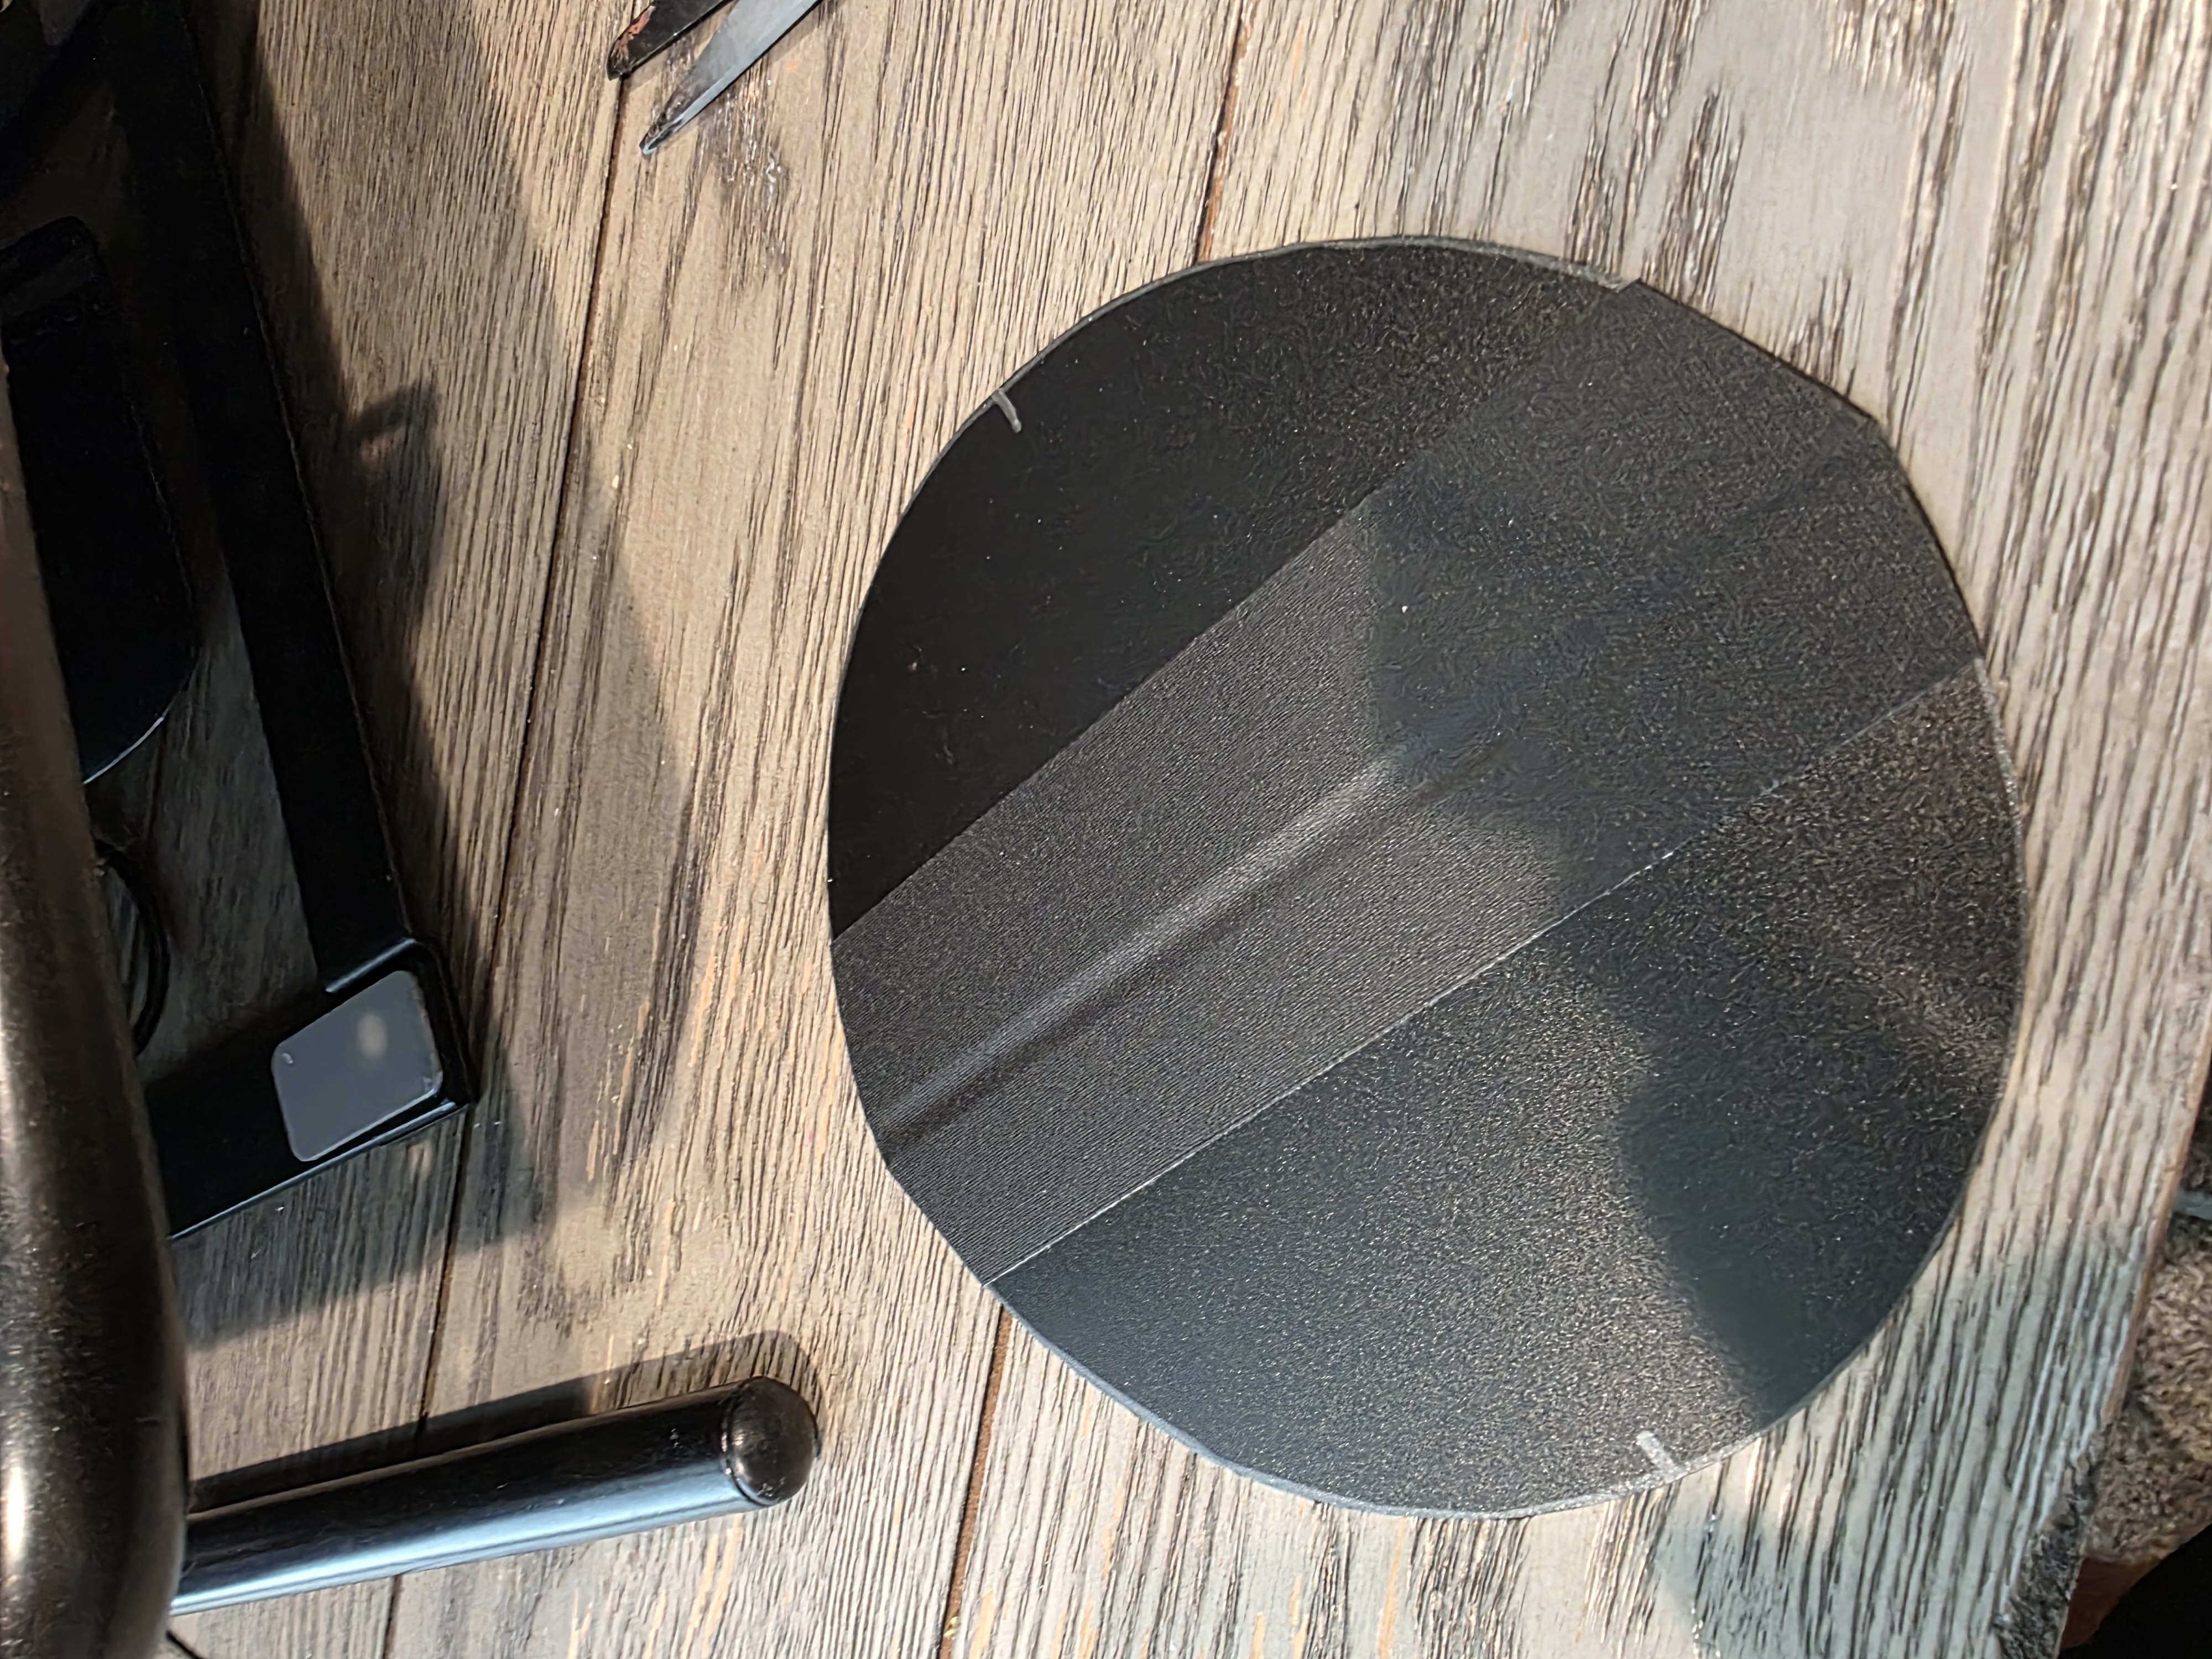
I use gaffer tape to combine the top and bottom mouth plate leaving a bout 1/2″ between the two pieces.
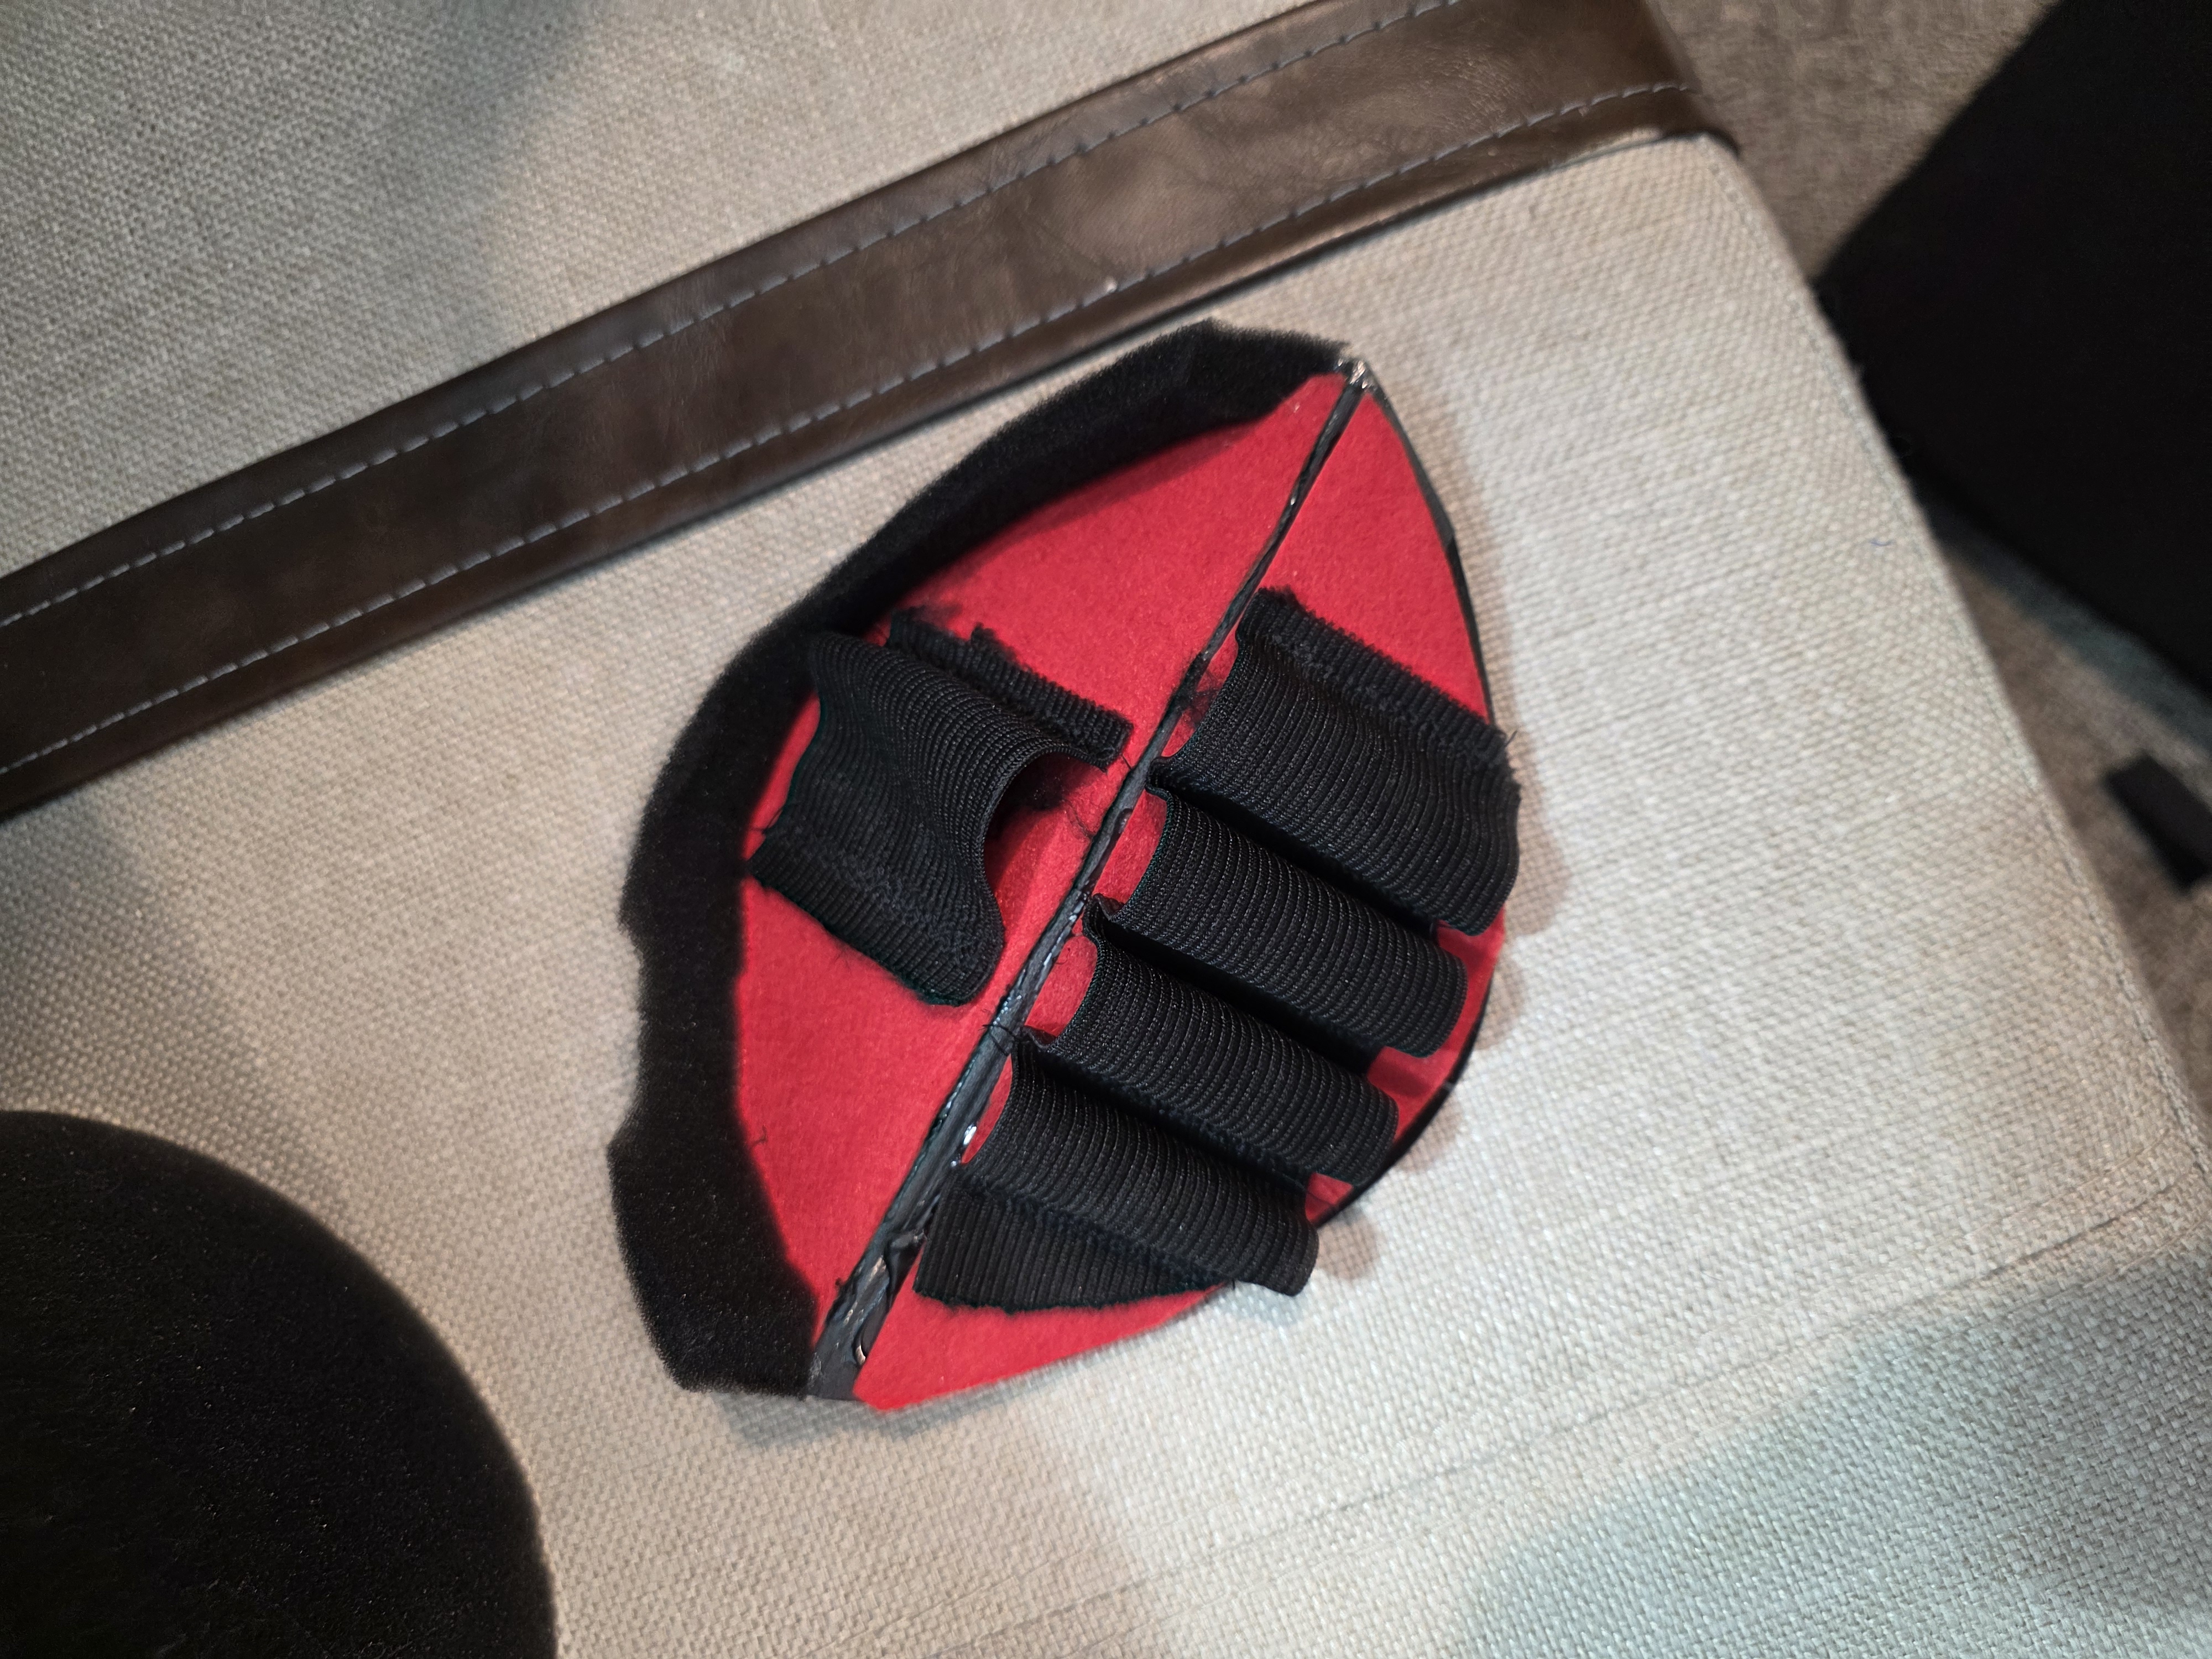
I created the hand grips by sewing finger loops onto fabric that is attached to the back of the mouth plate.
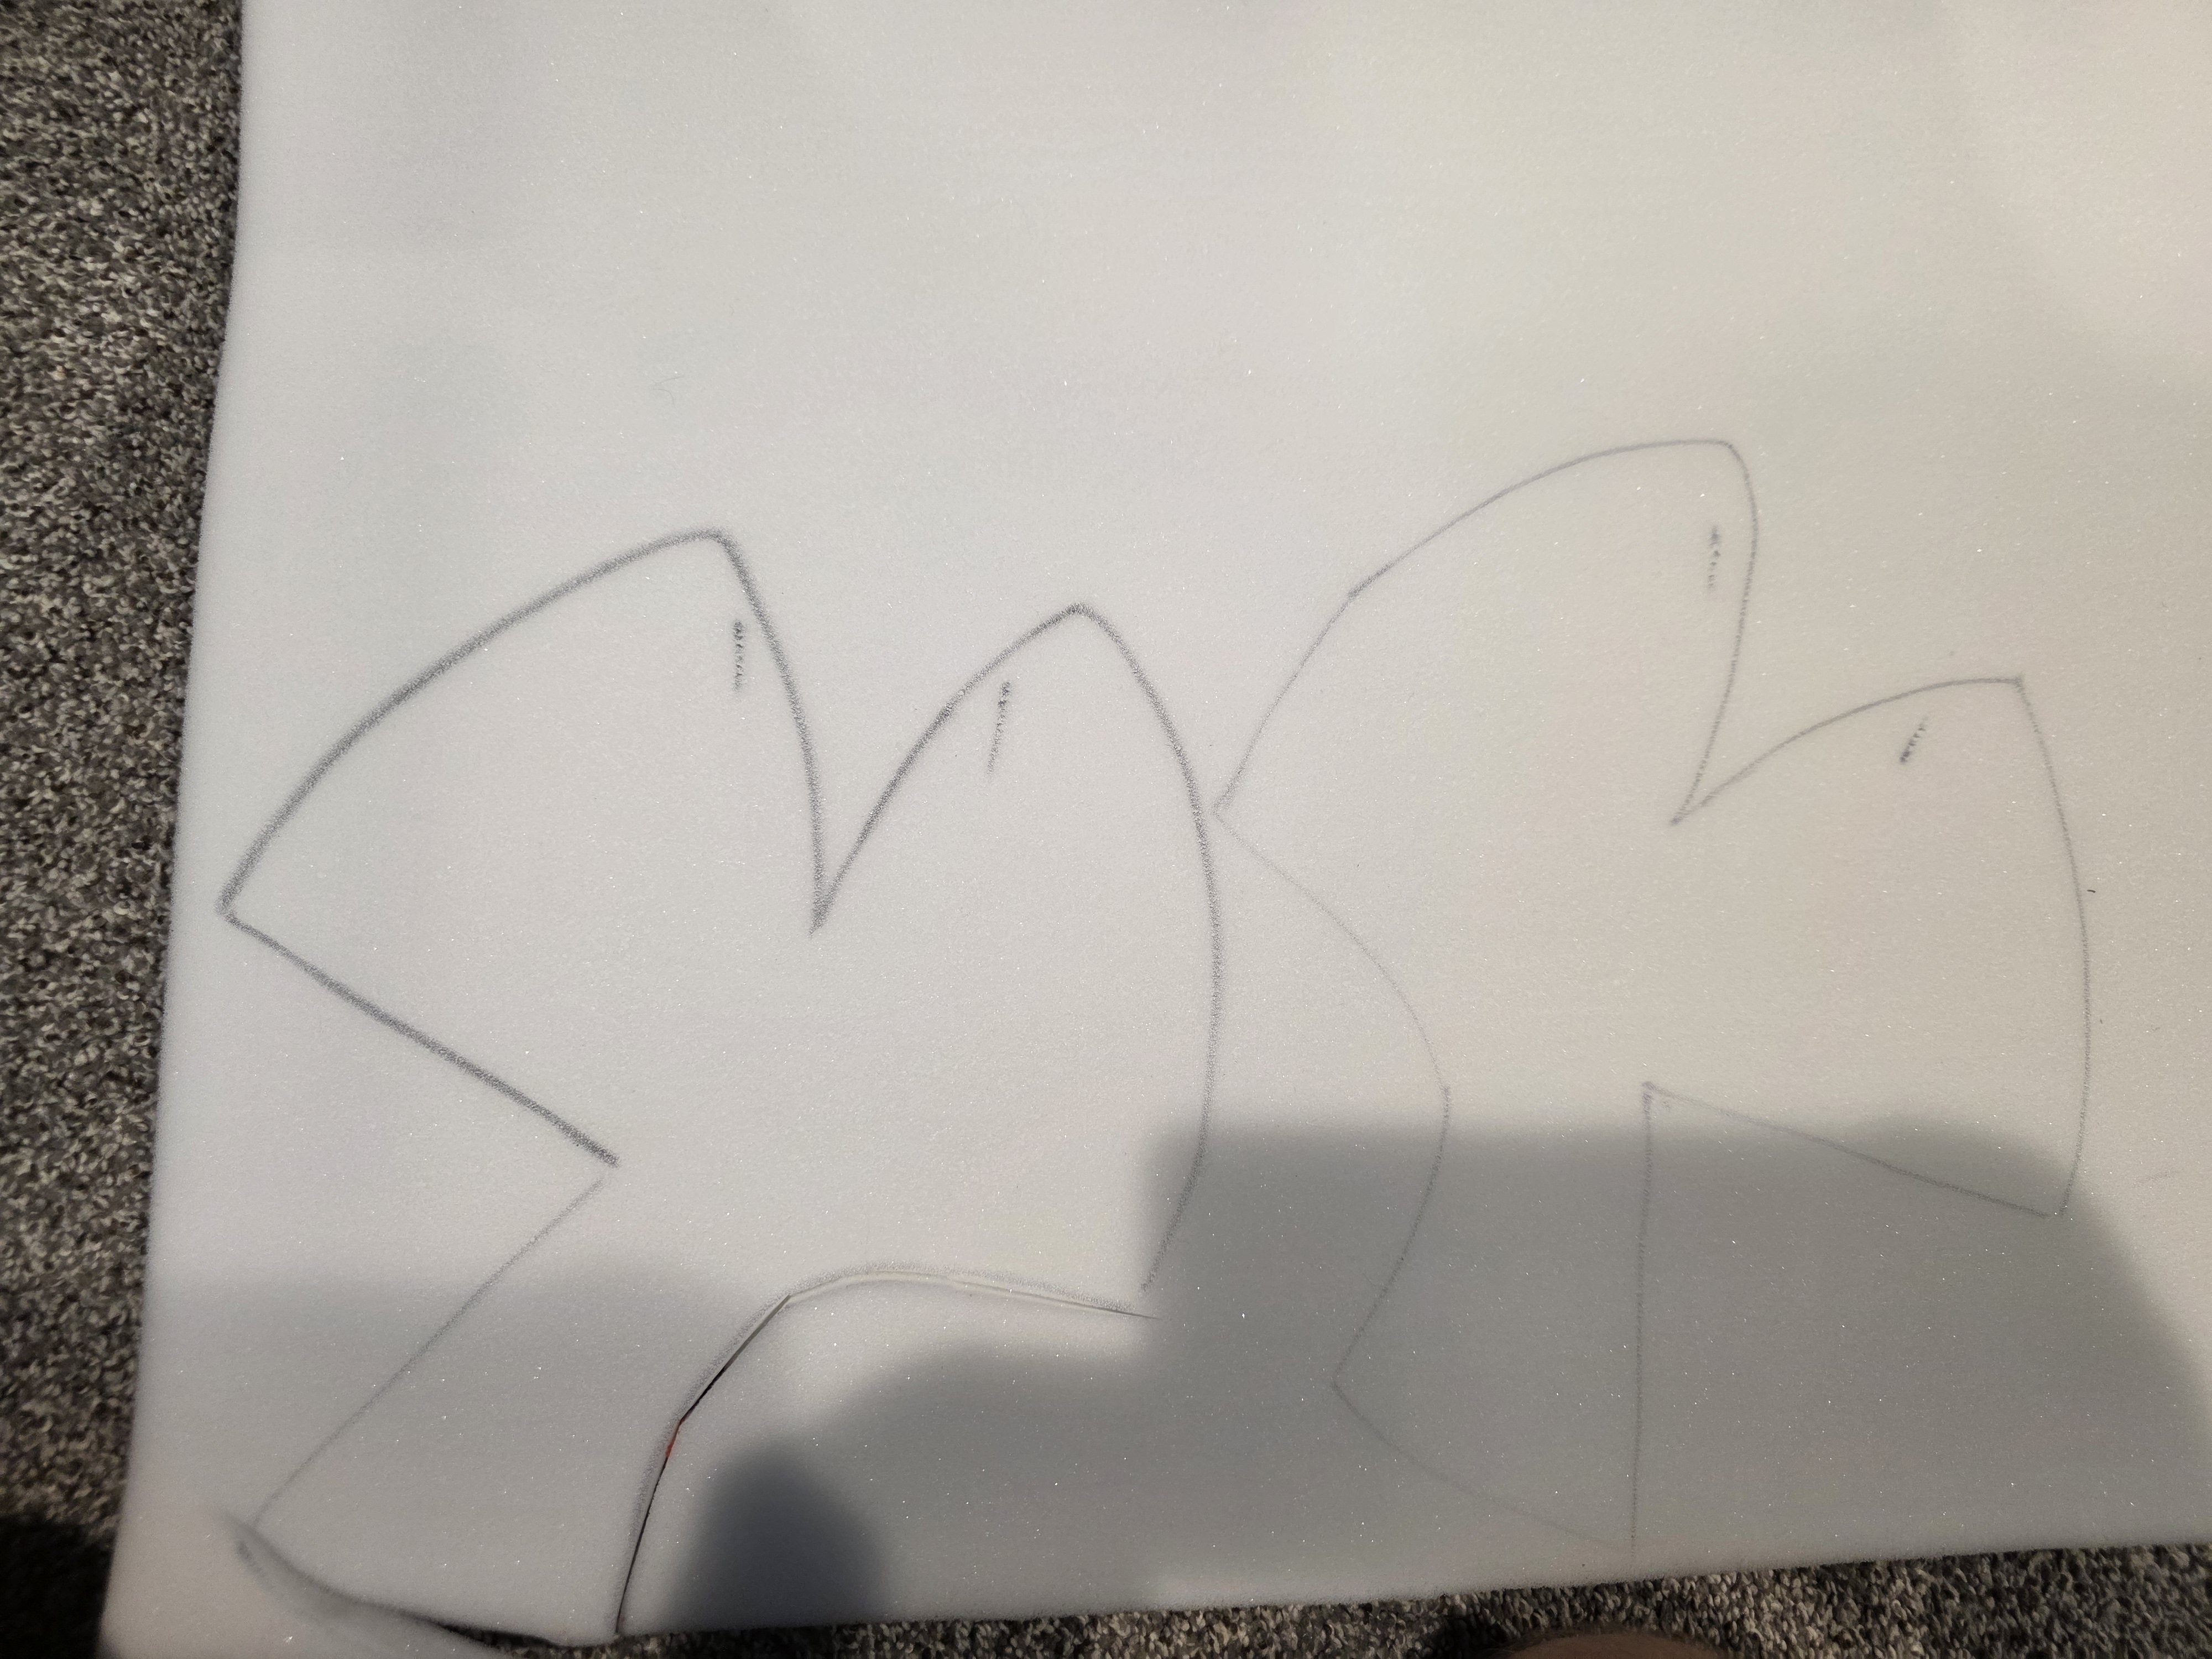
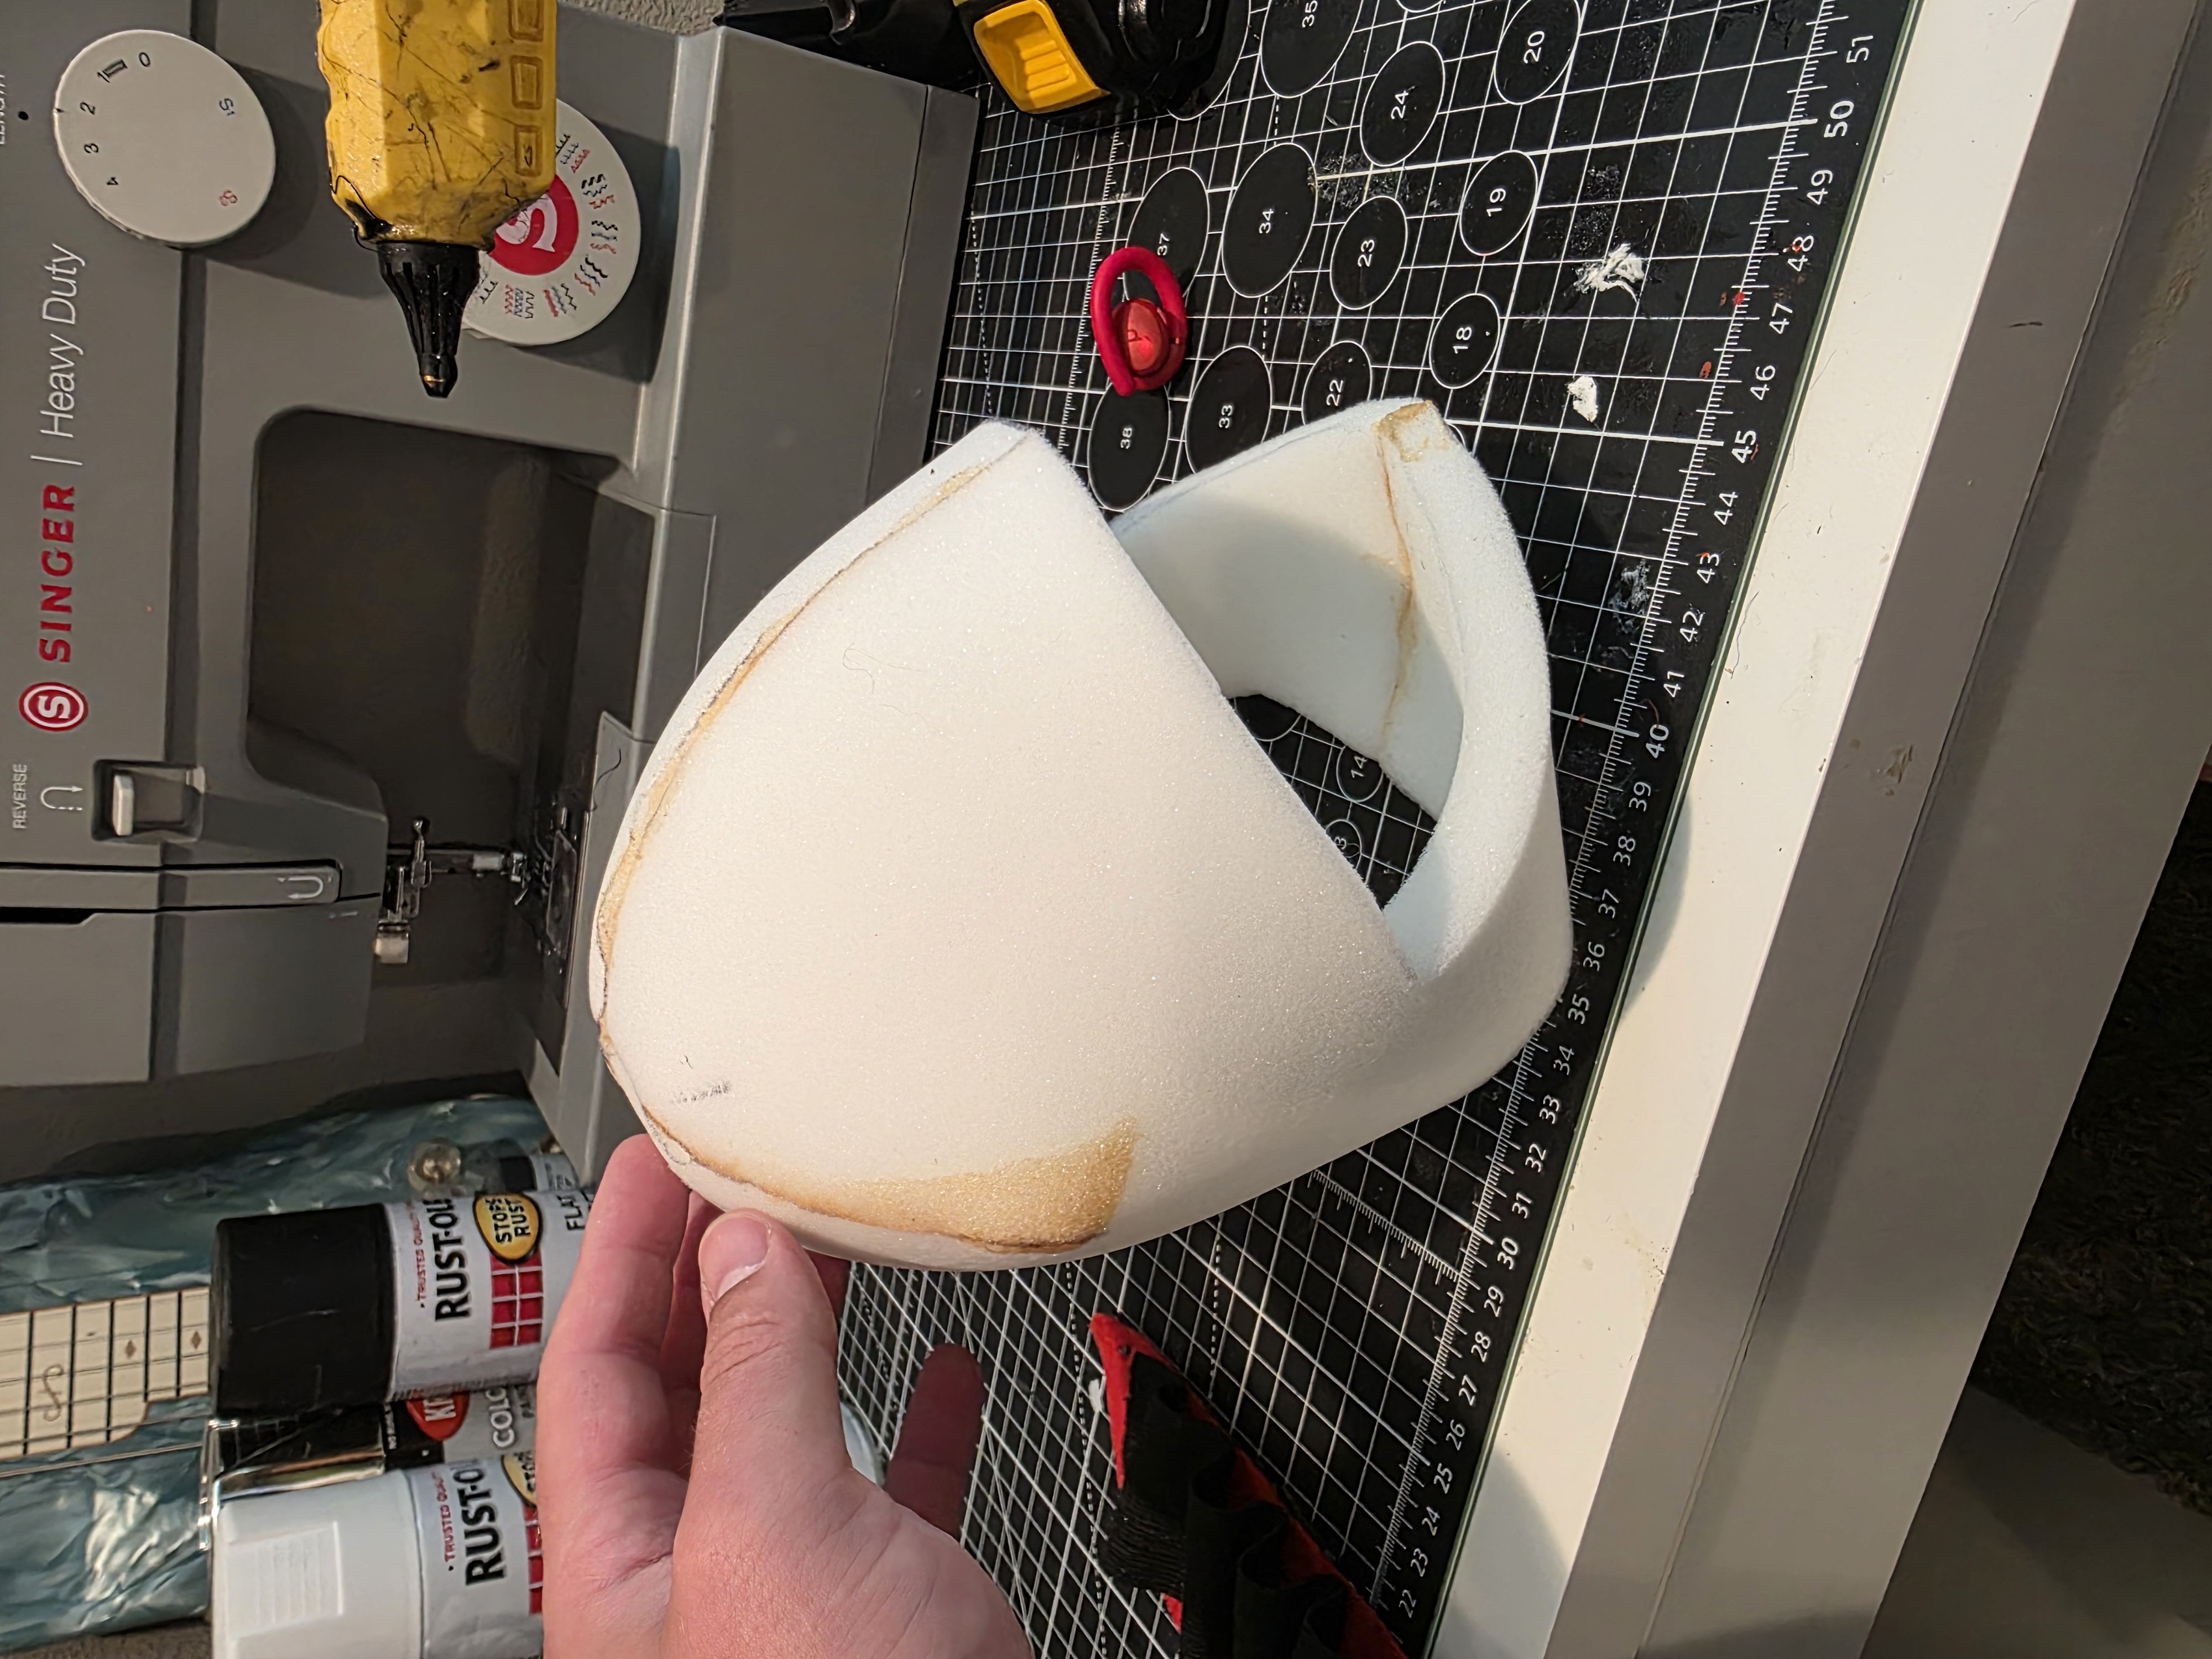
I then designed the foam head skull.
After cutting out the foam, I used contact cement to glue the skull together.
I then designed an eye brow mechanism. This is not pretty by any means, but it does work. I am wanting to get into this more and create better pieces. There is lots of glue in this as I was trying lots of different ideas, so hopefully you can make a better one or share how you make your mechs.

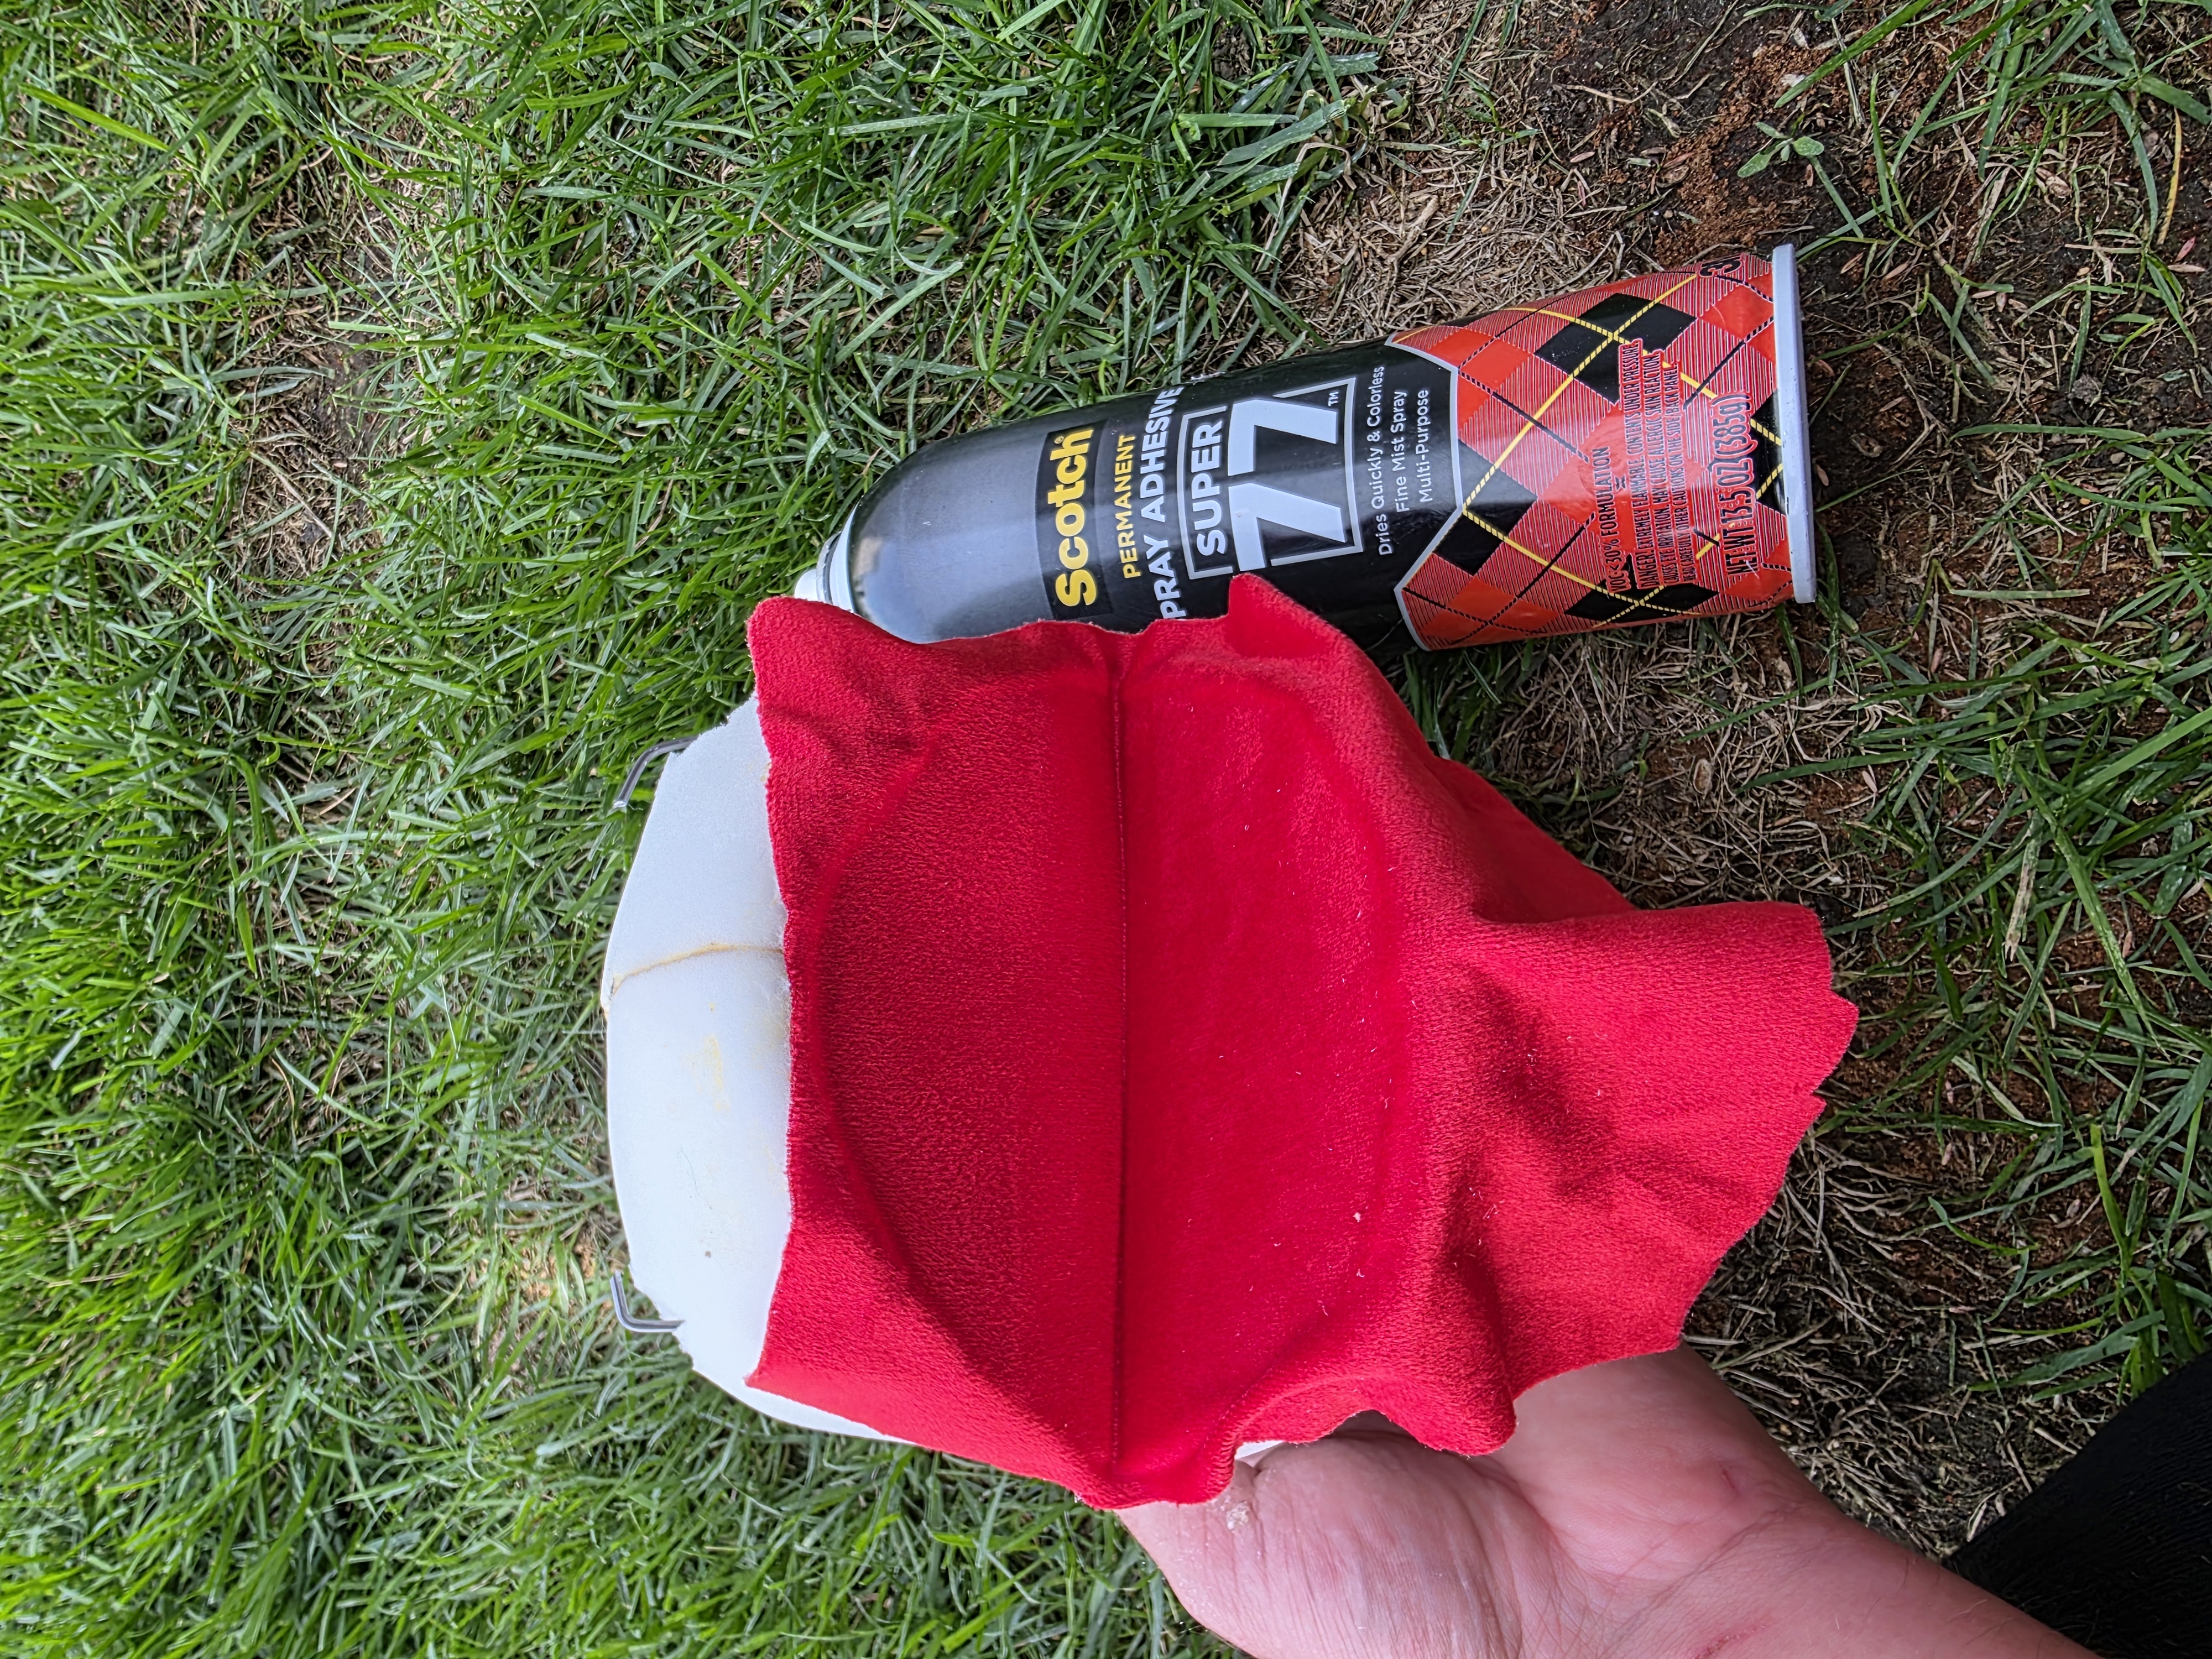
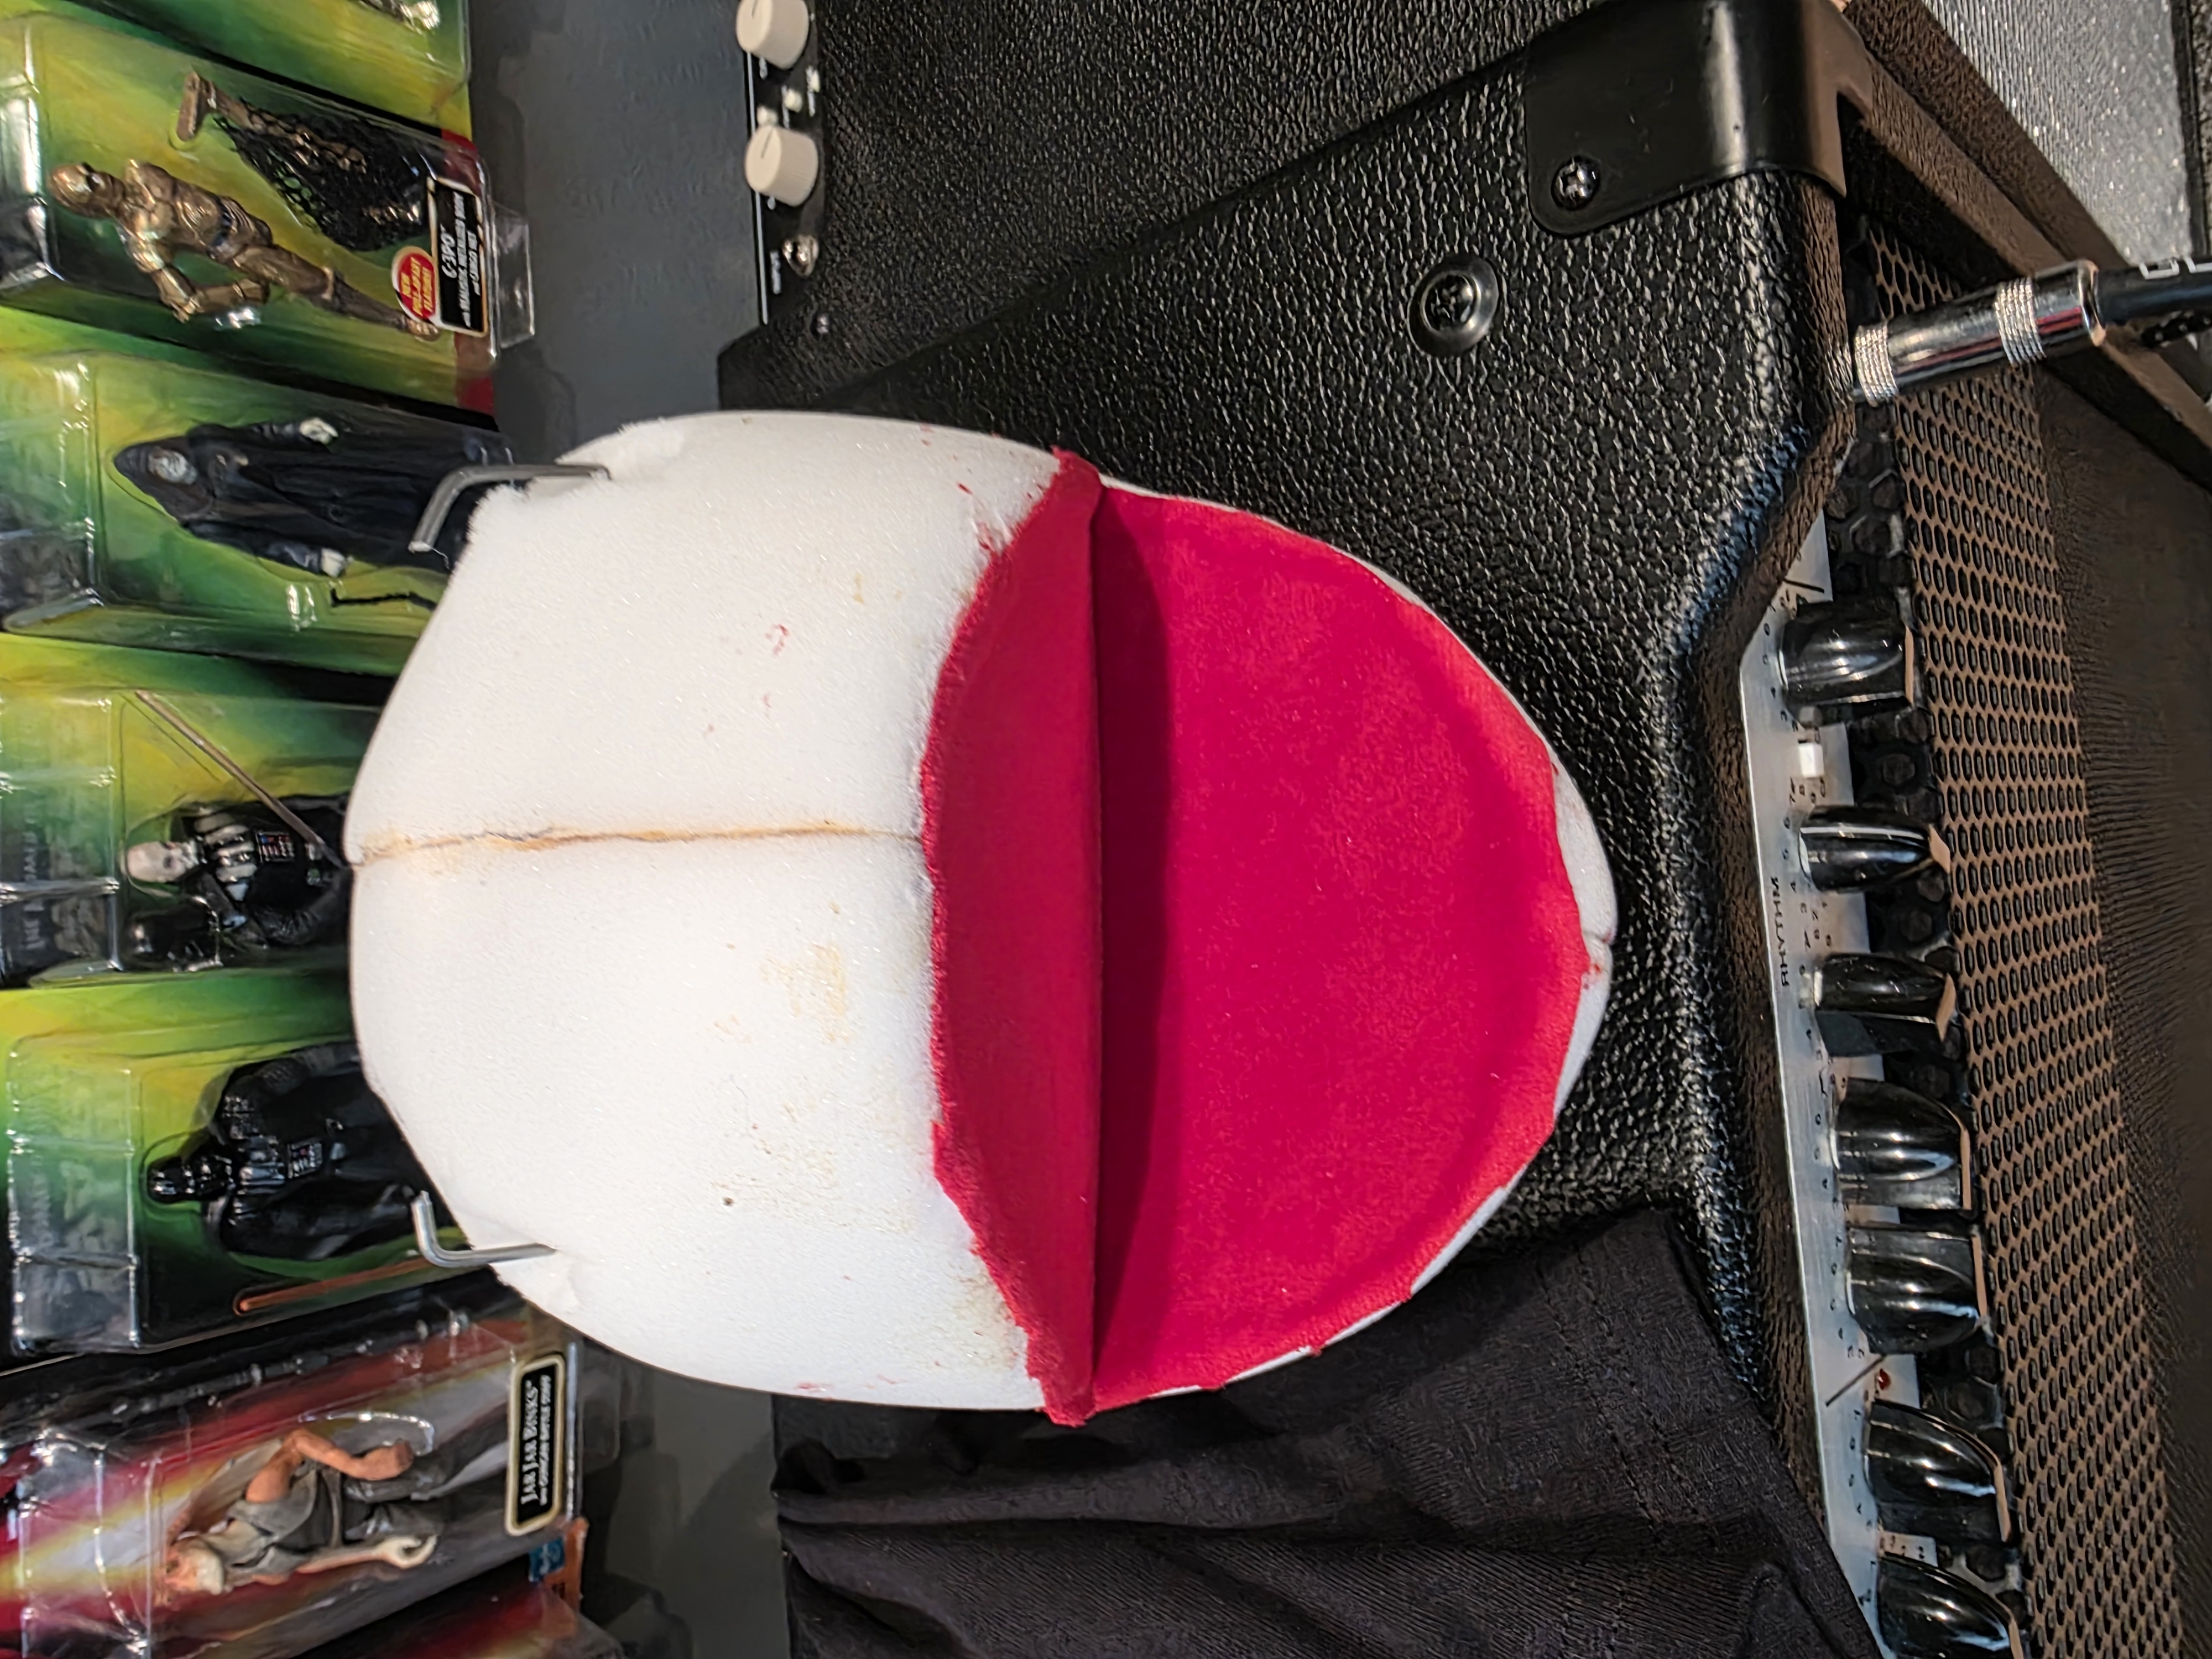
I used contact cement to attach the mouth plate to the foam skull. I then glue red velvet fabric to the mouth plate with Super 77 adhesive spray.
I cut the excessive fabric after the glue dries. This does not need to be perfect as the head fabric will lay over the mouth plate fabric.
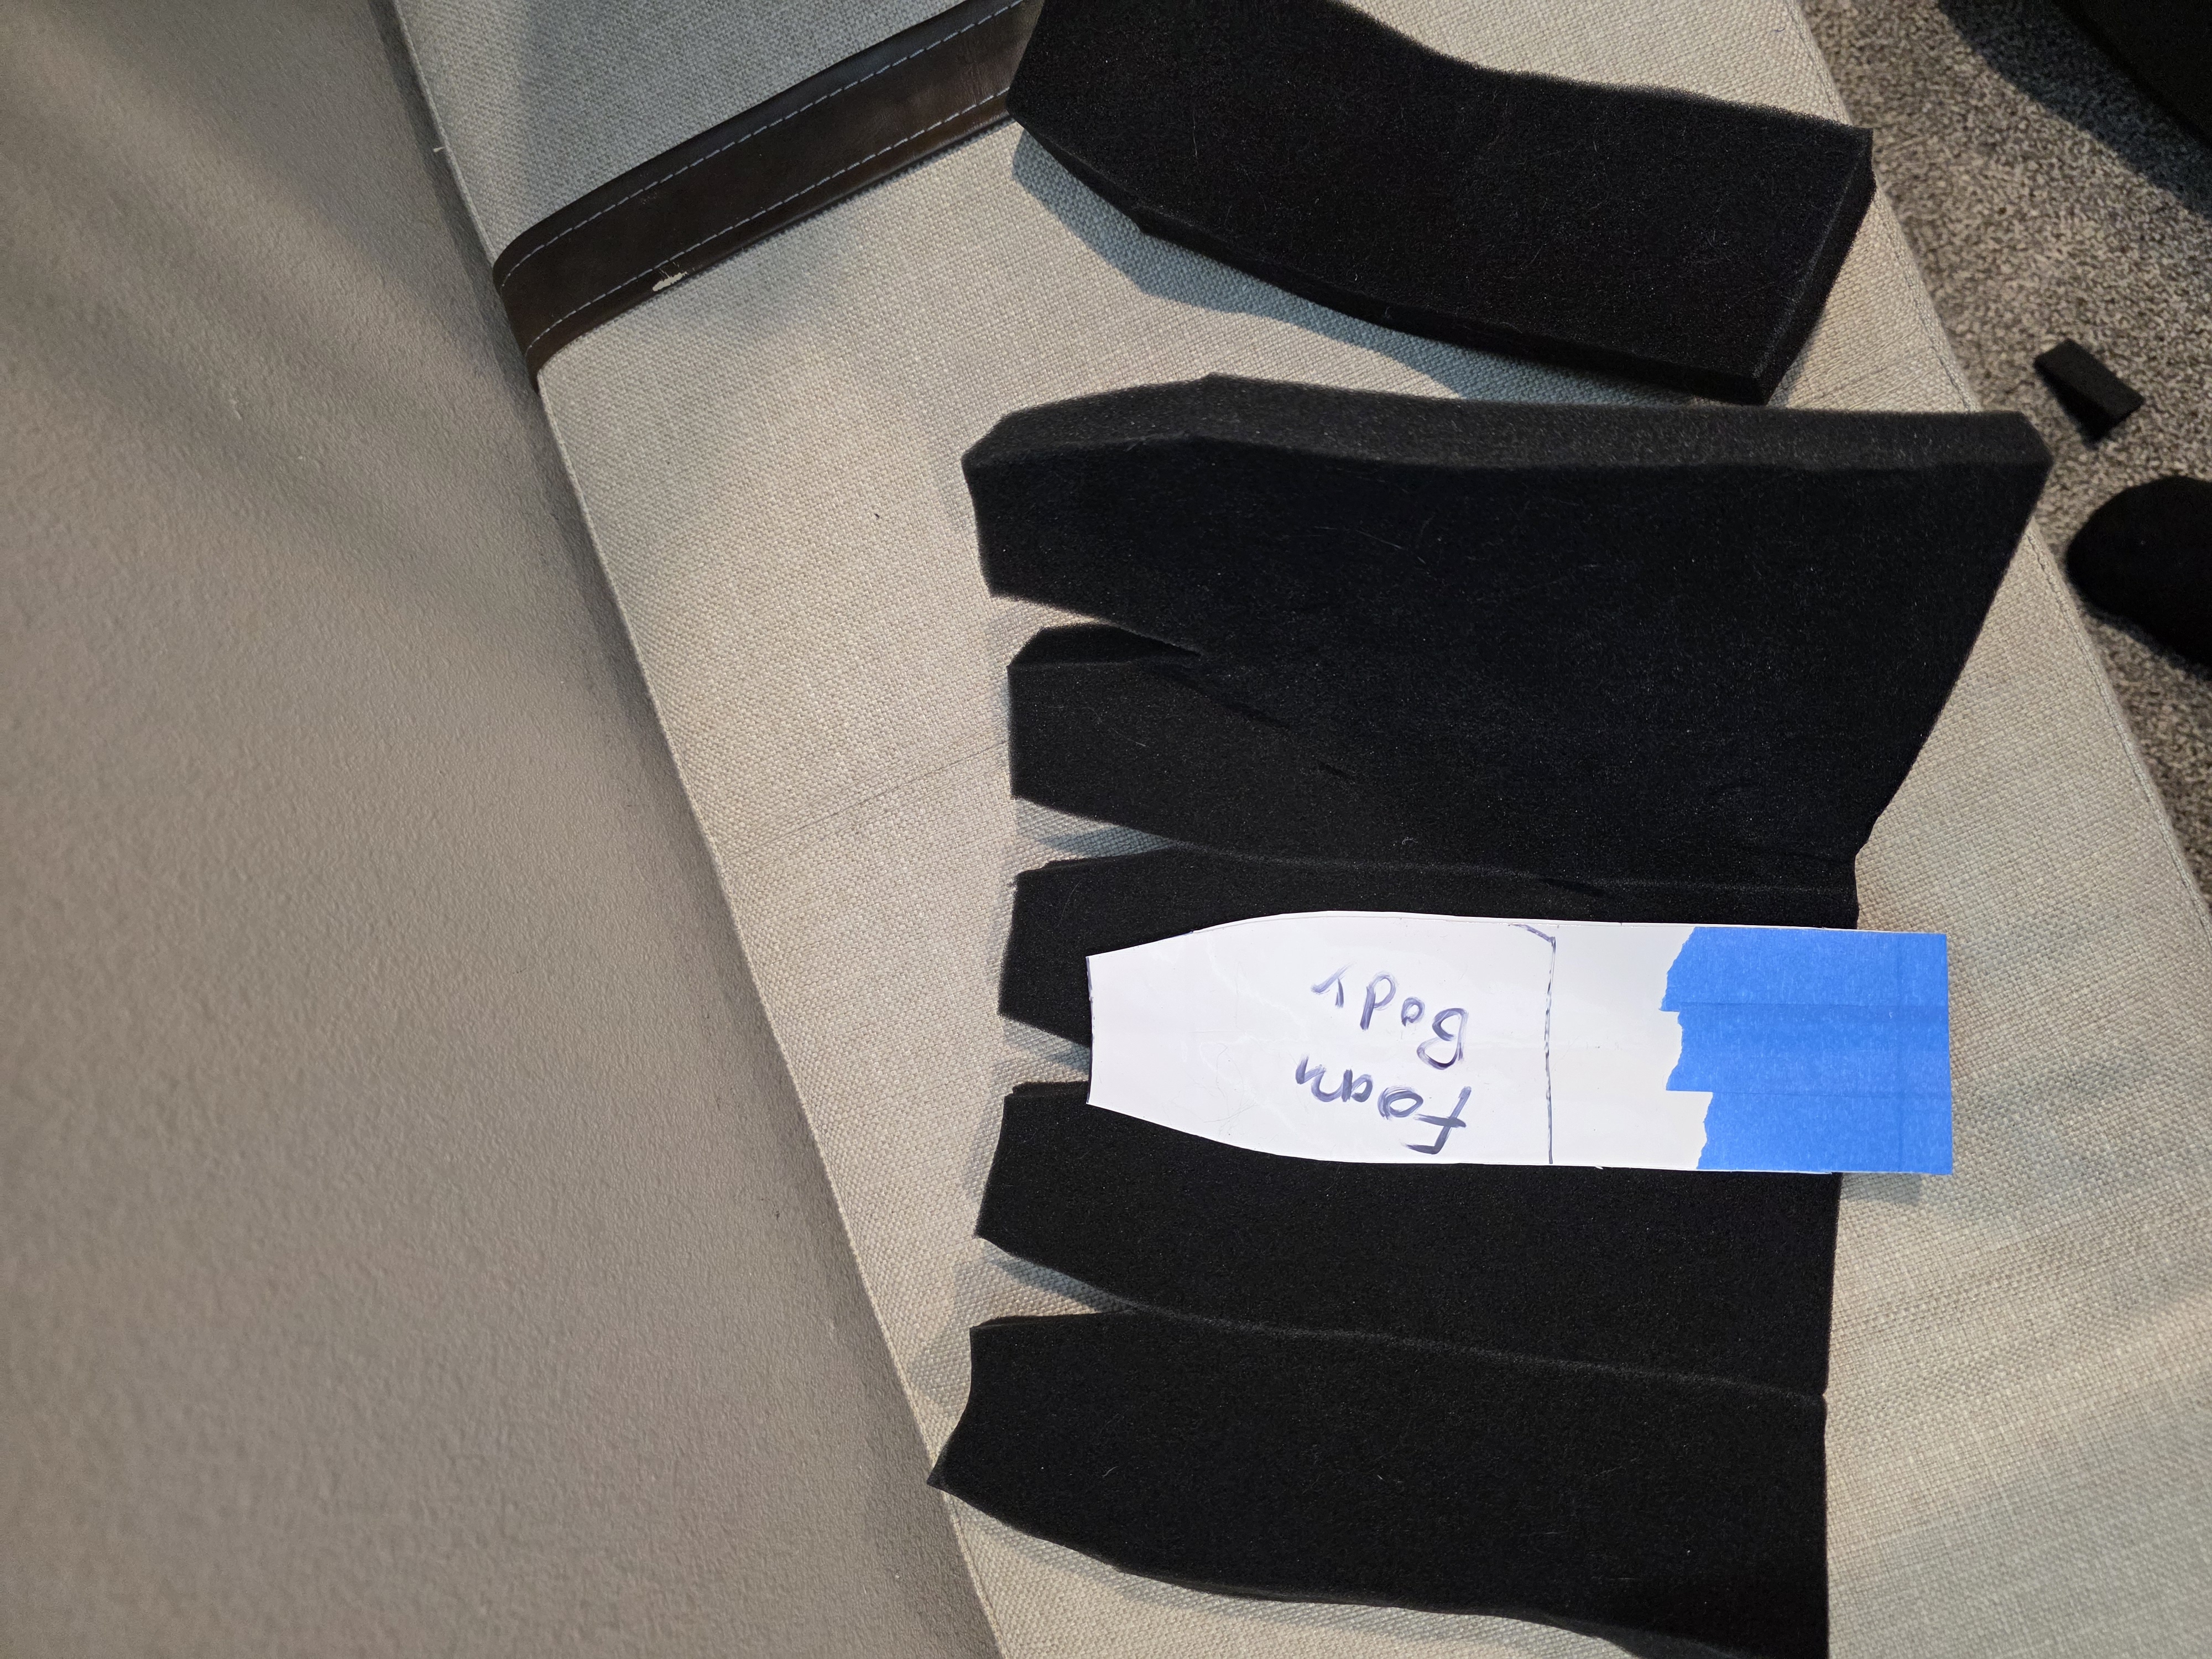
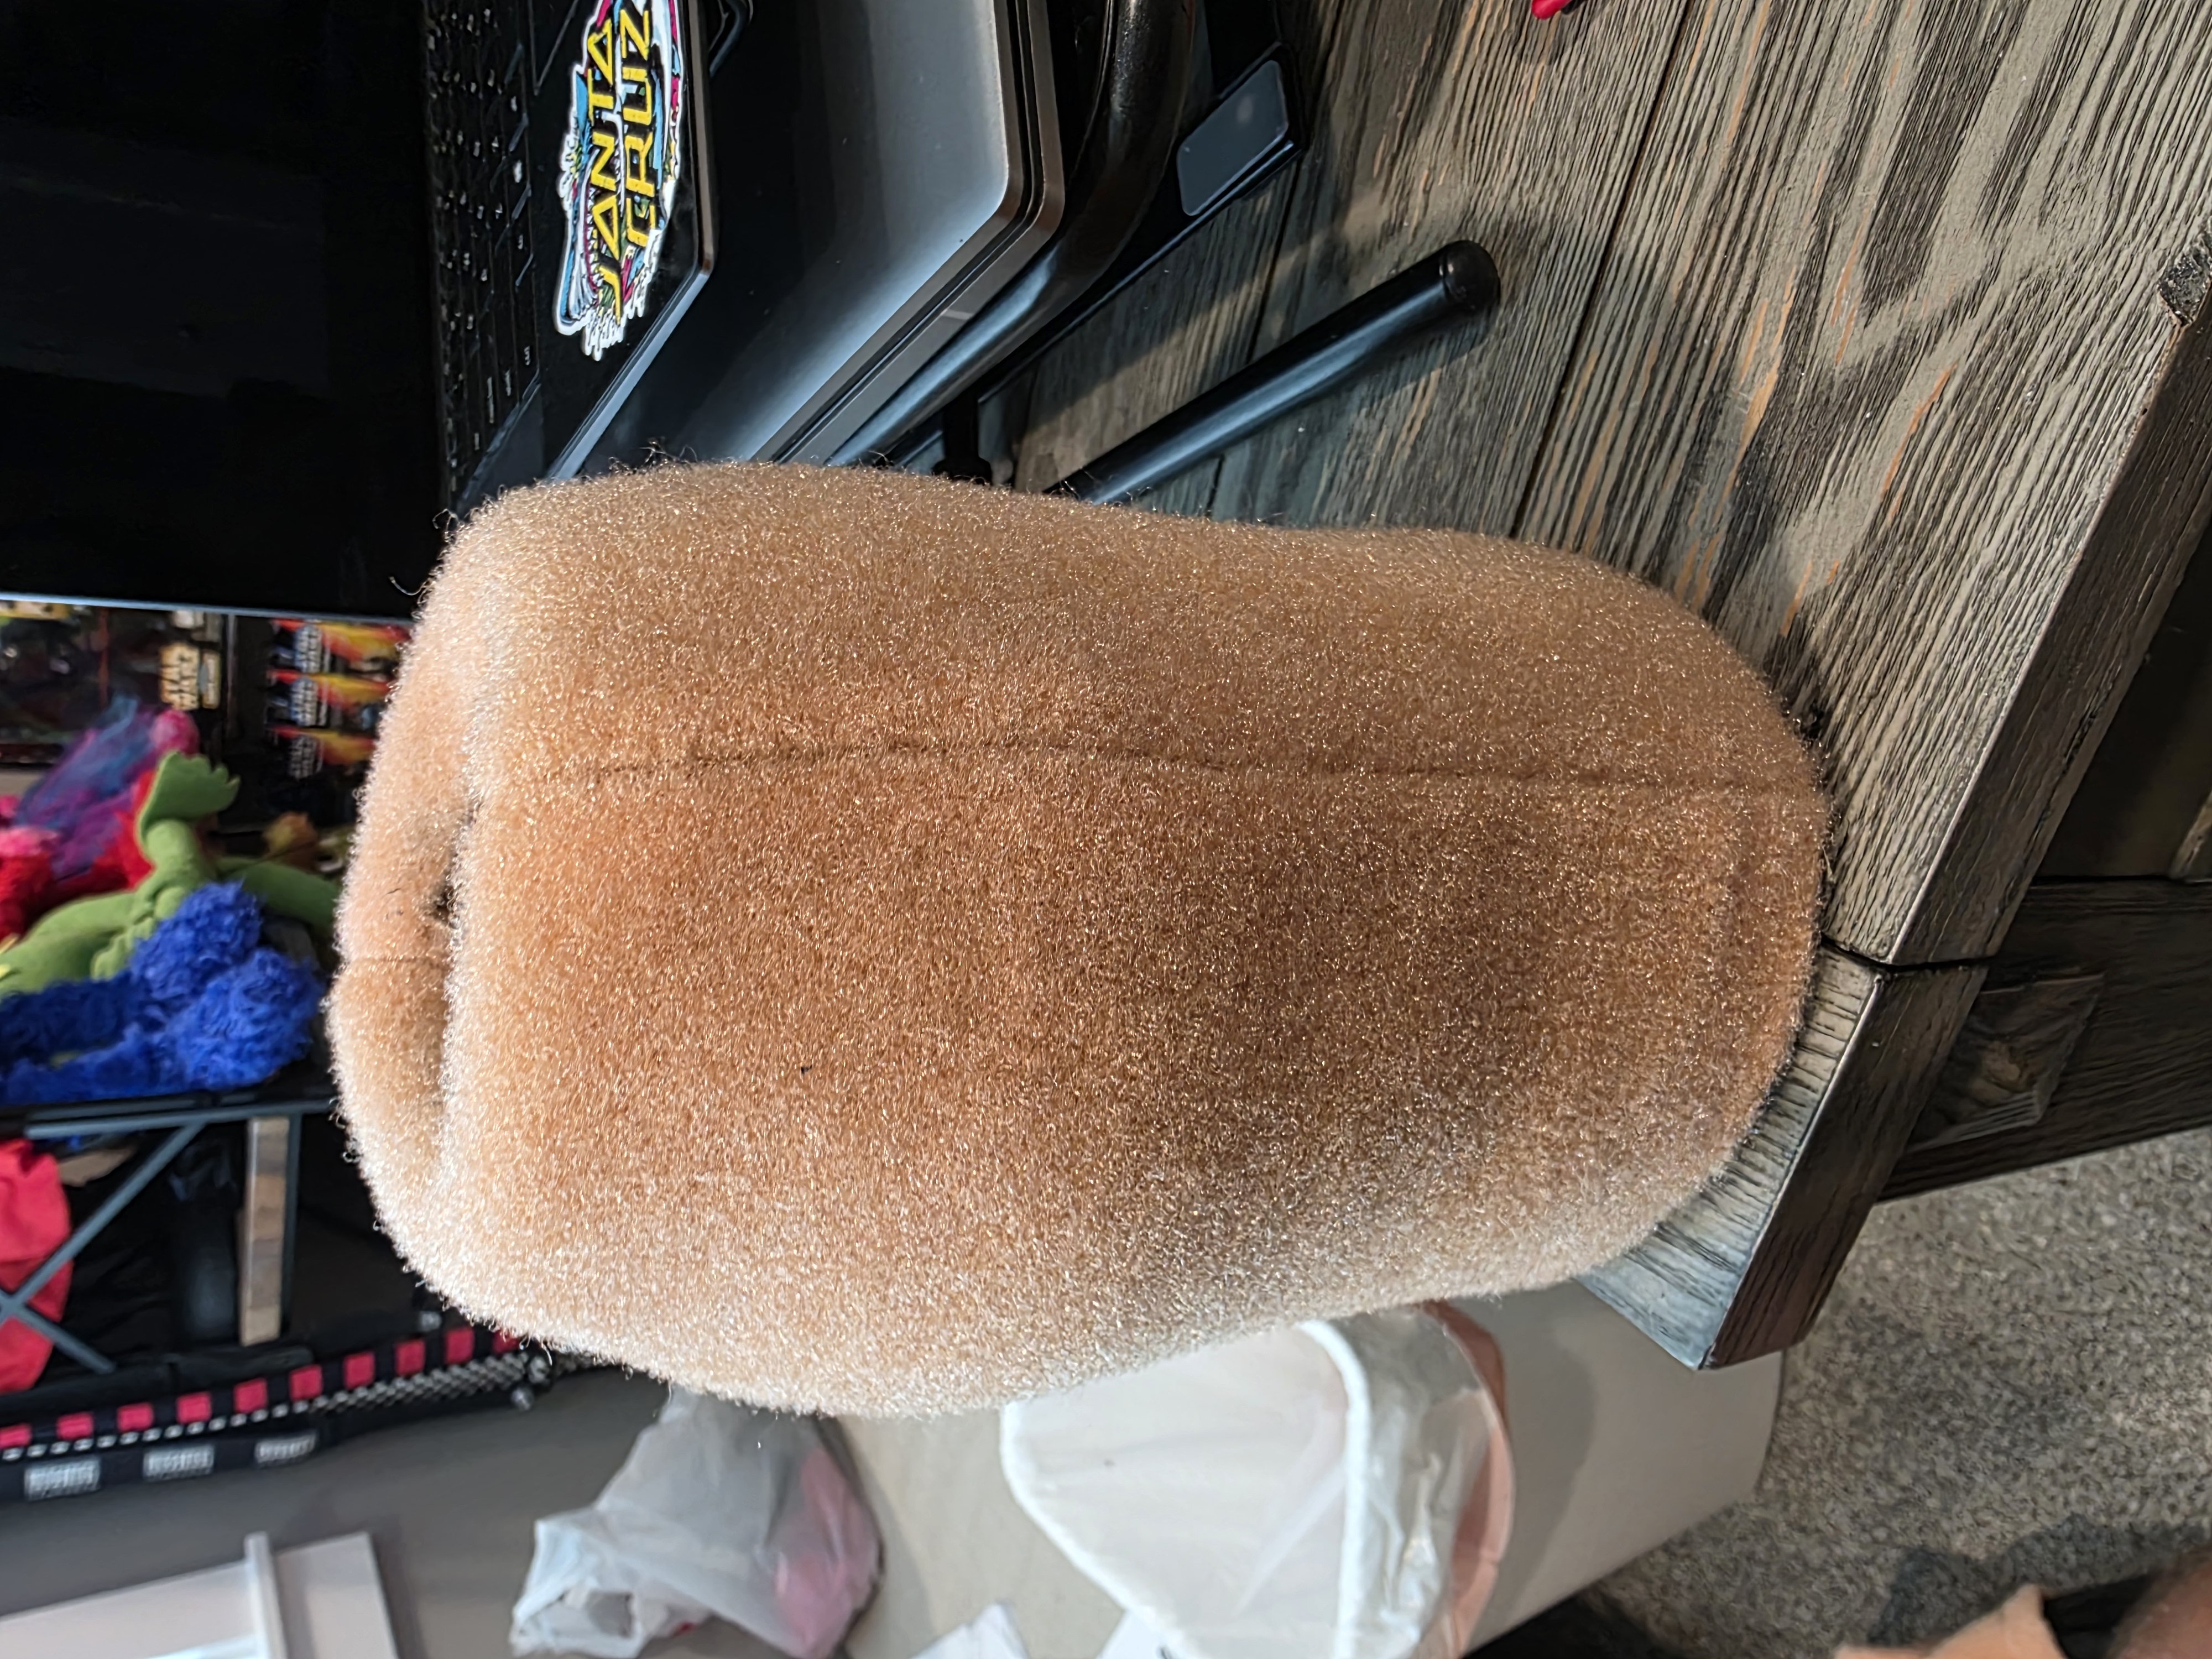
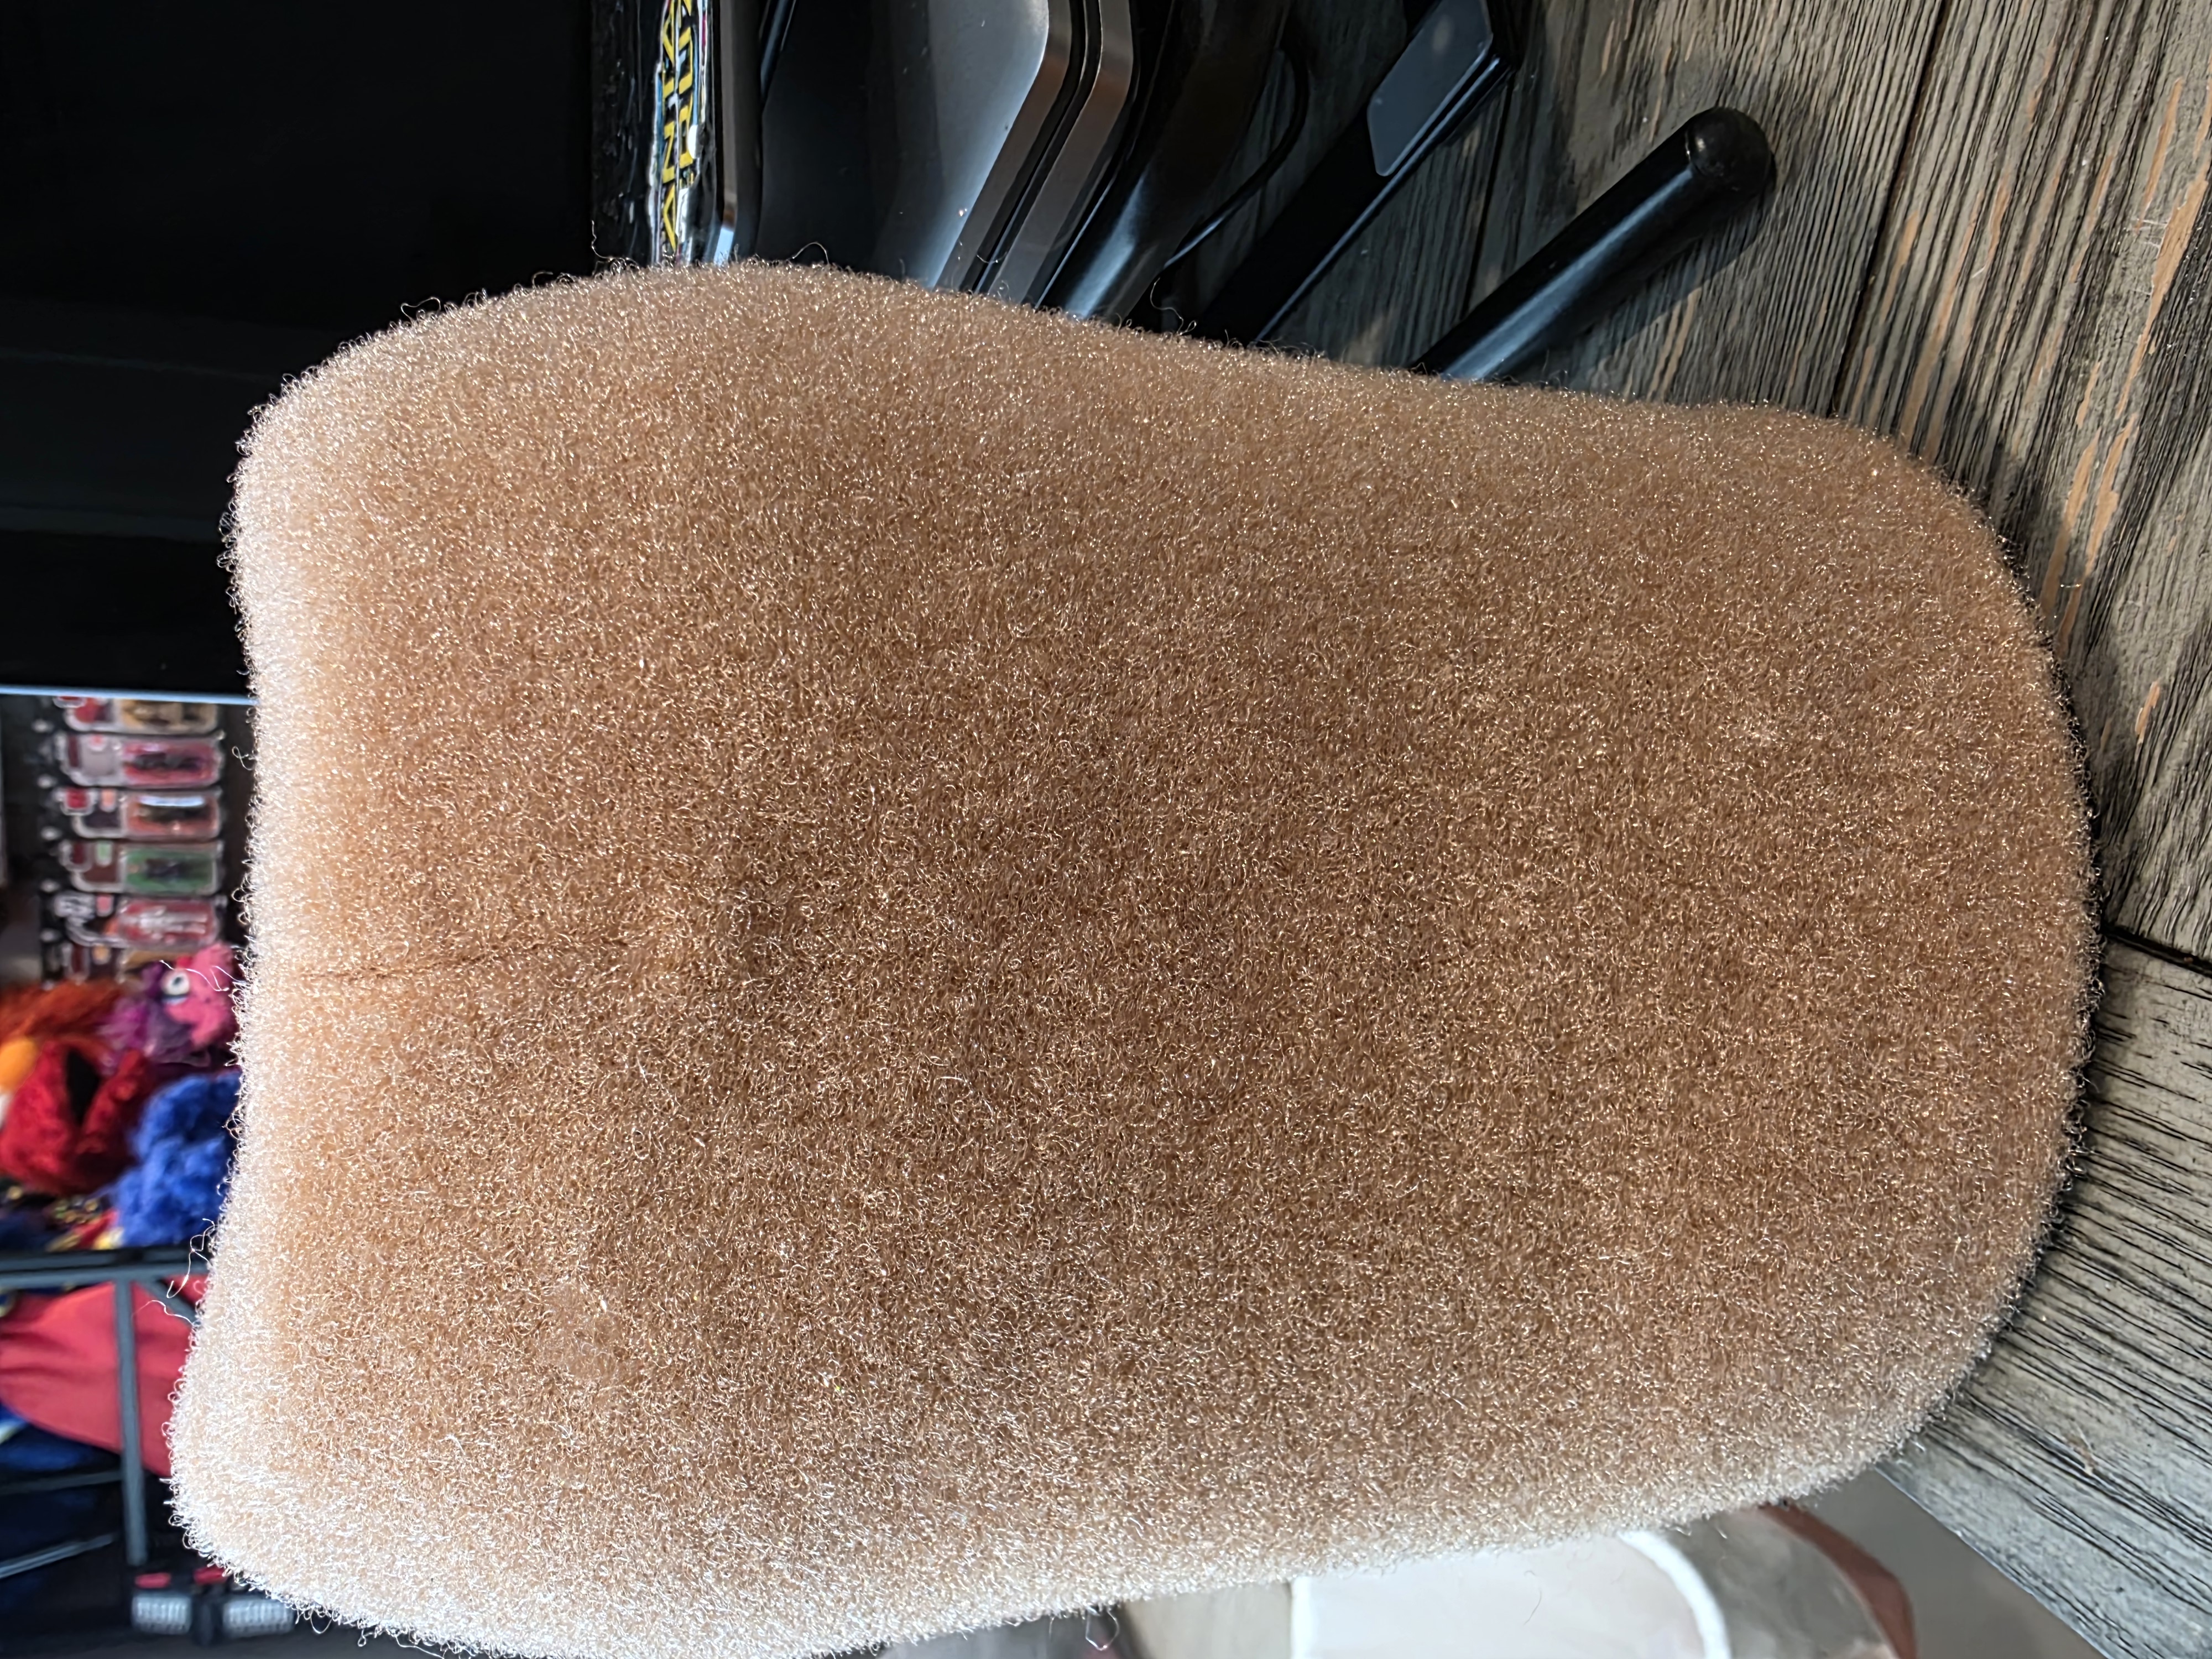
I started working on the foam body. I used the same template as I did on my Bert build and used contact cement to glue it together.
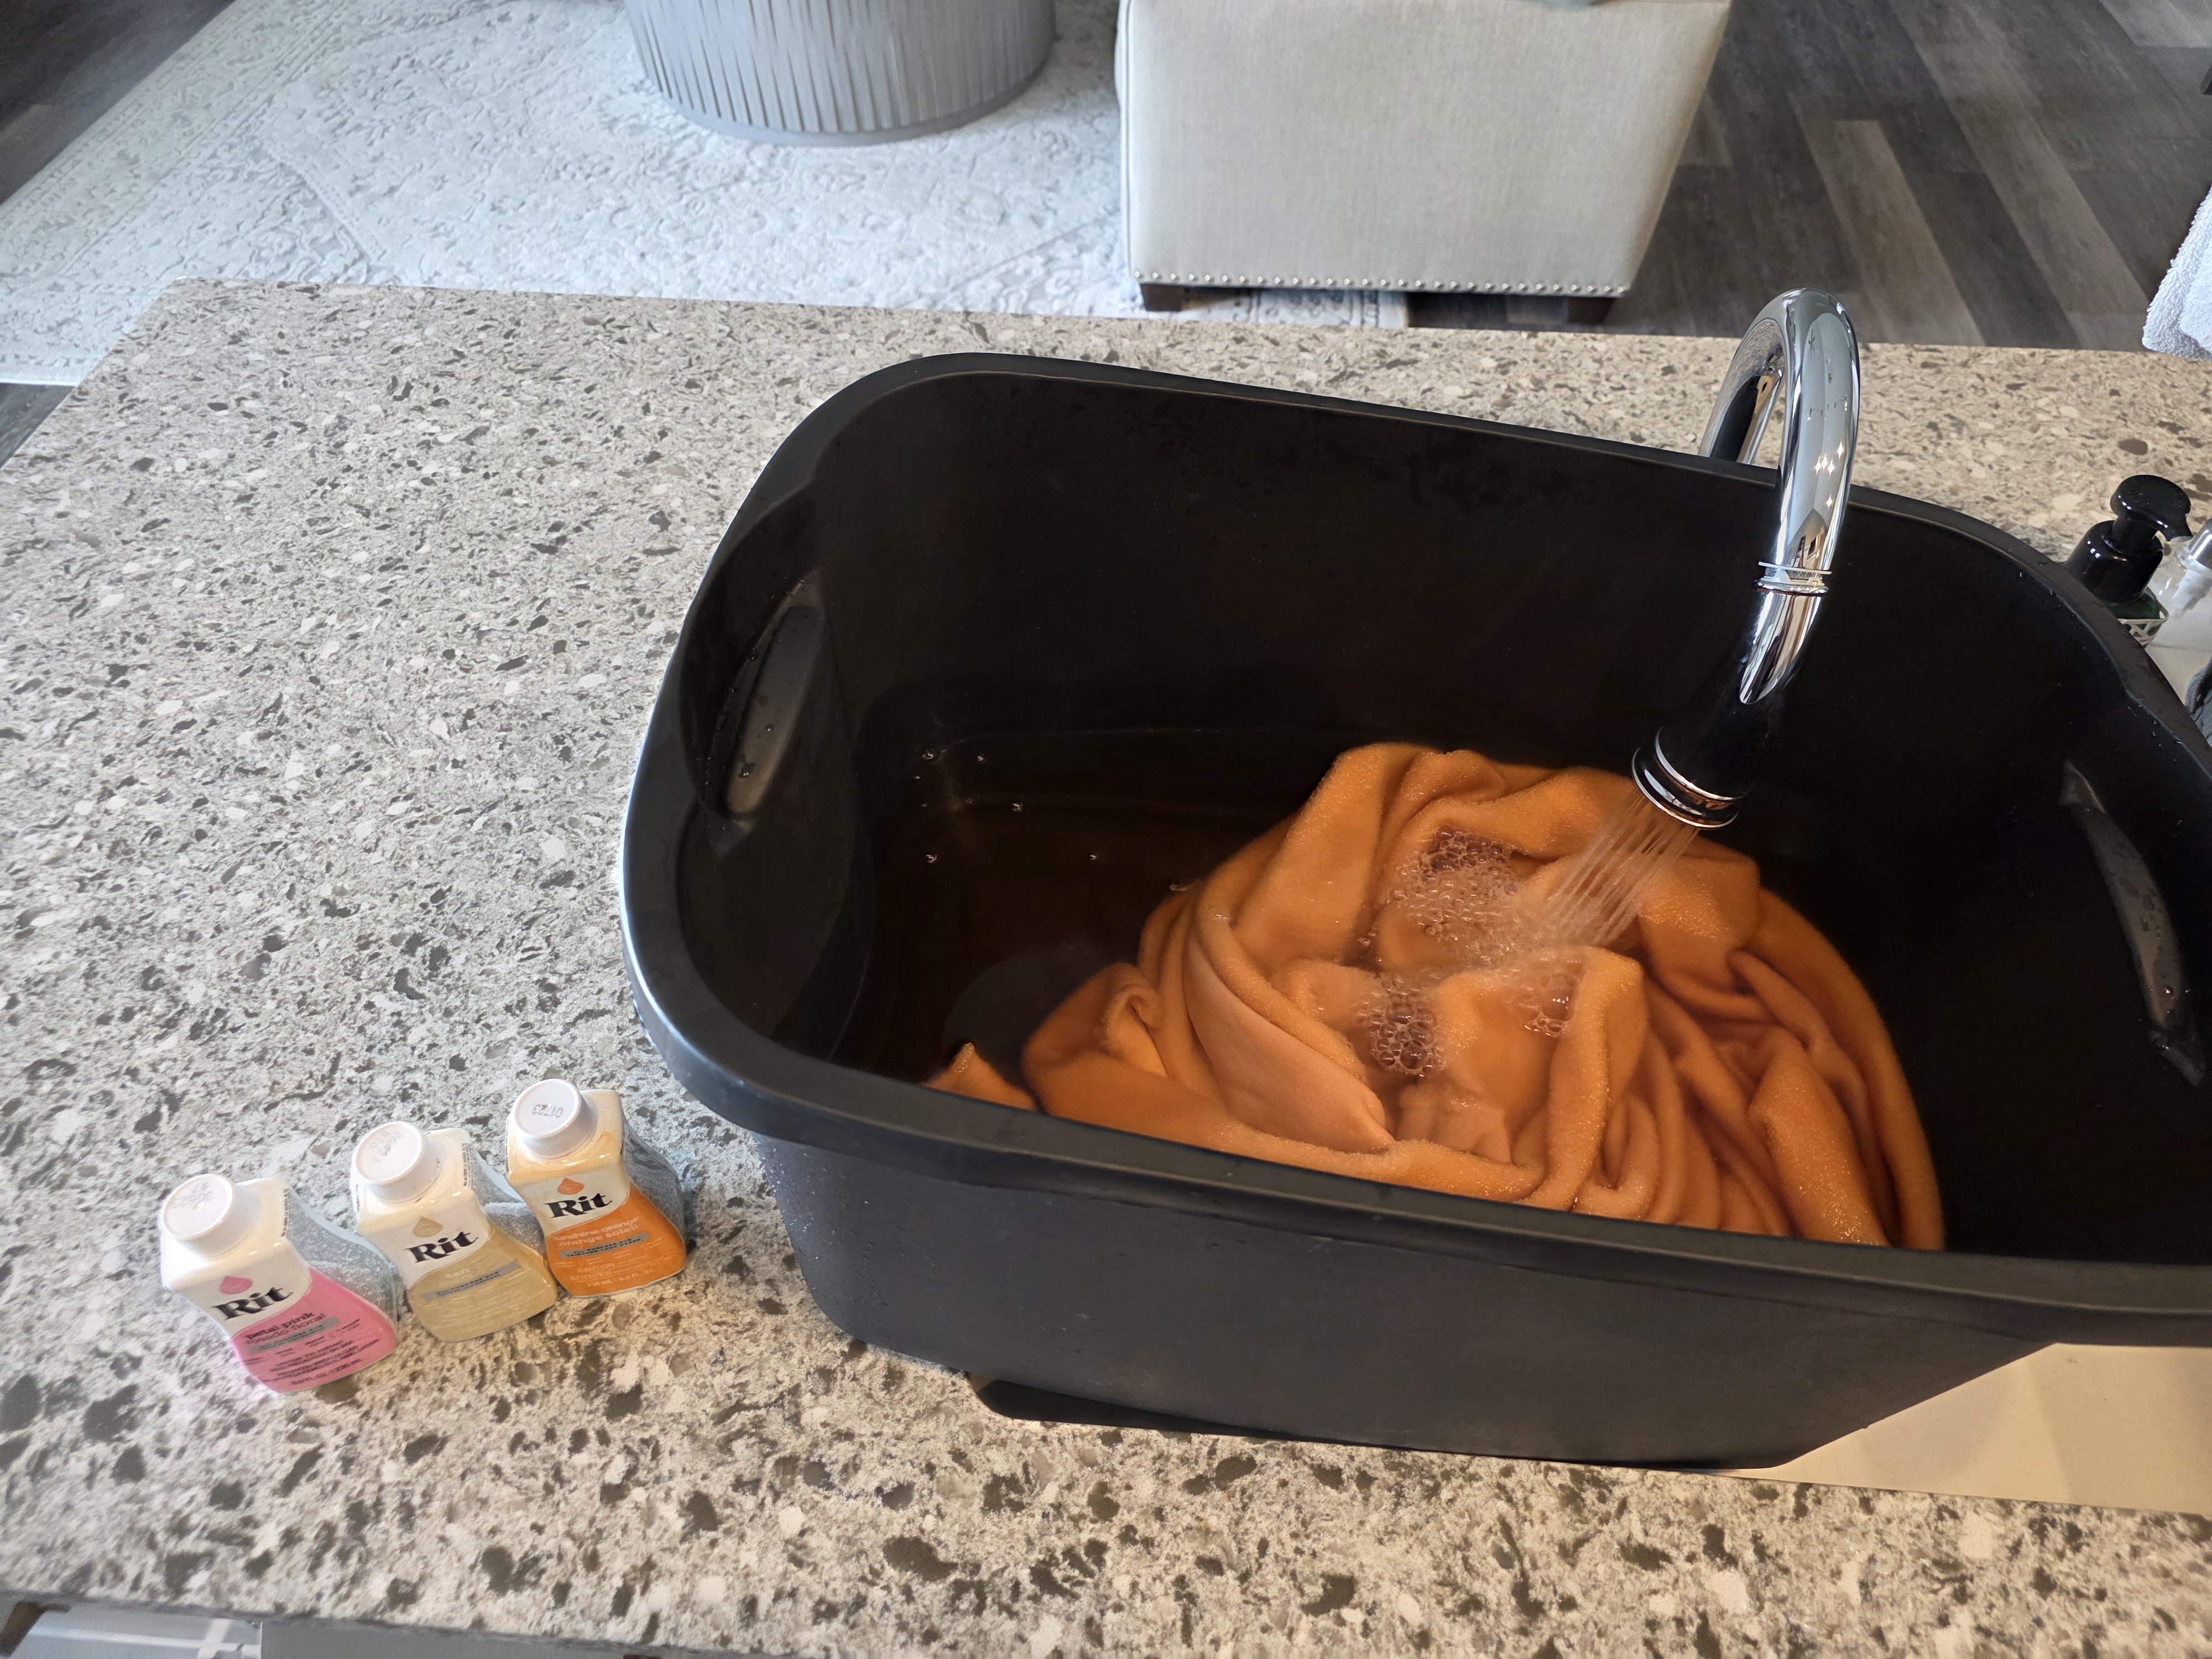
I then started dying my F3 fleece. I was going for a skin tone color so I ended up using tan, orange, and pink Rit Dye.
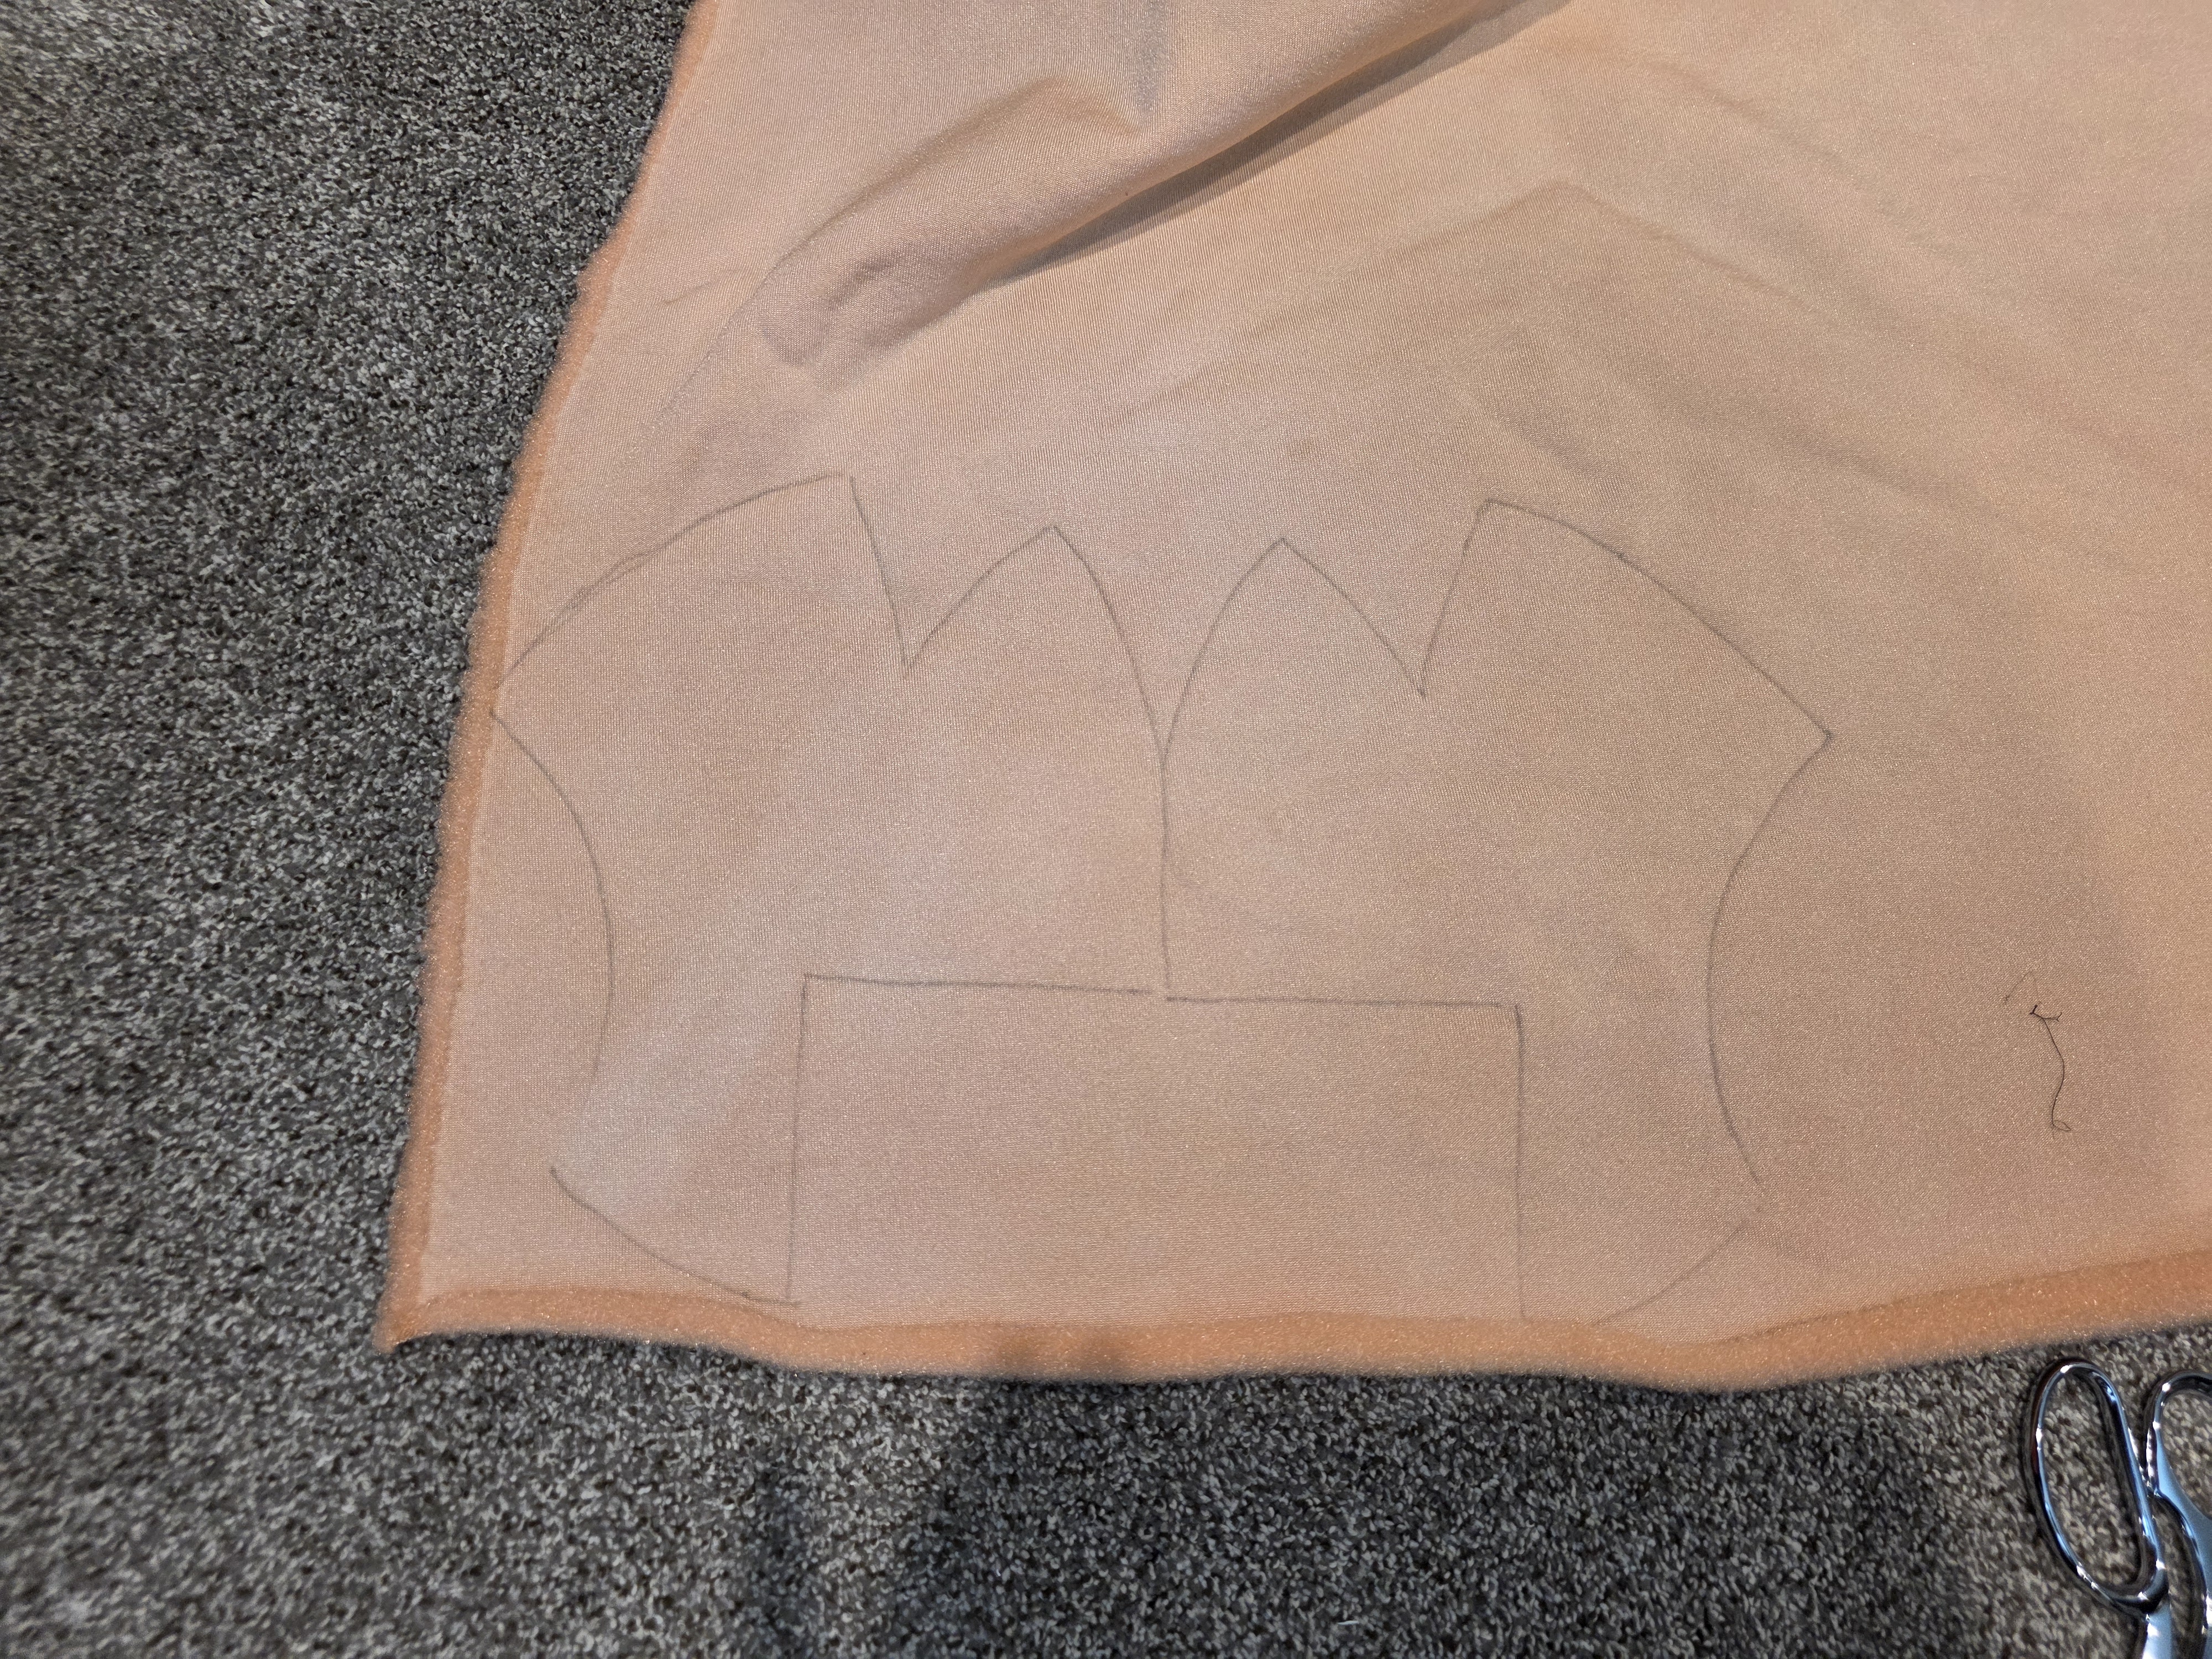
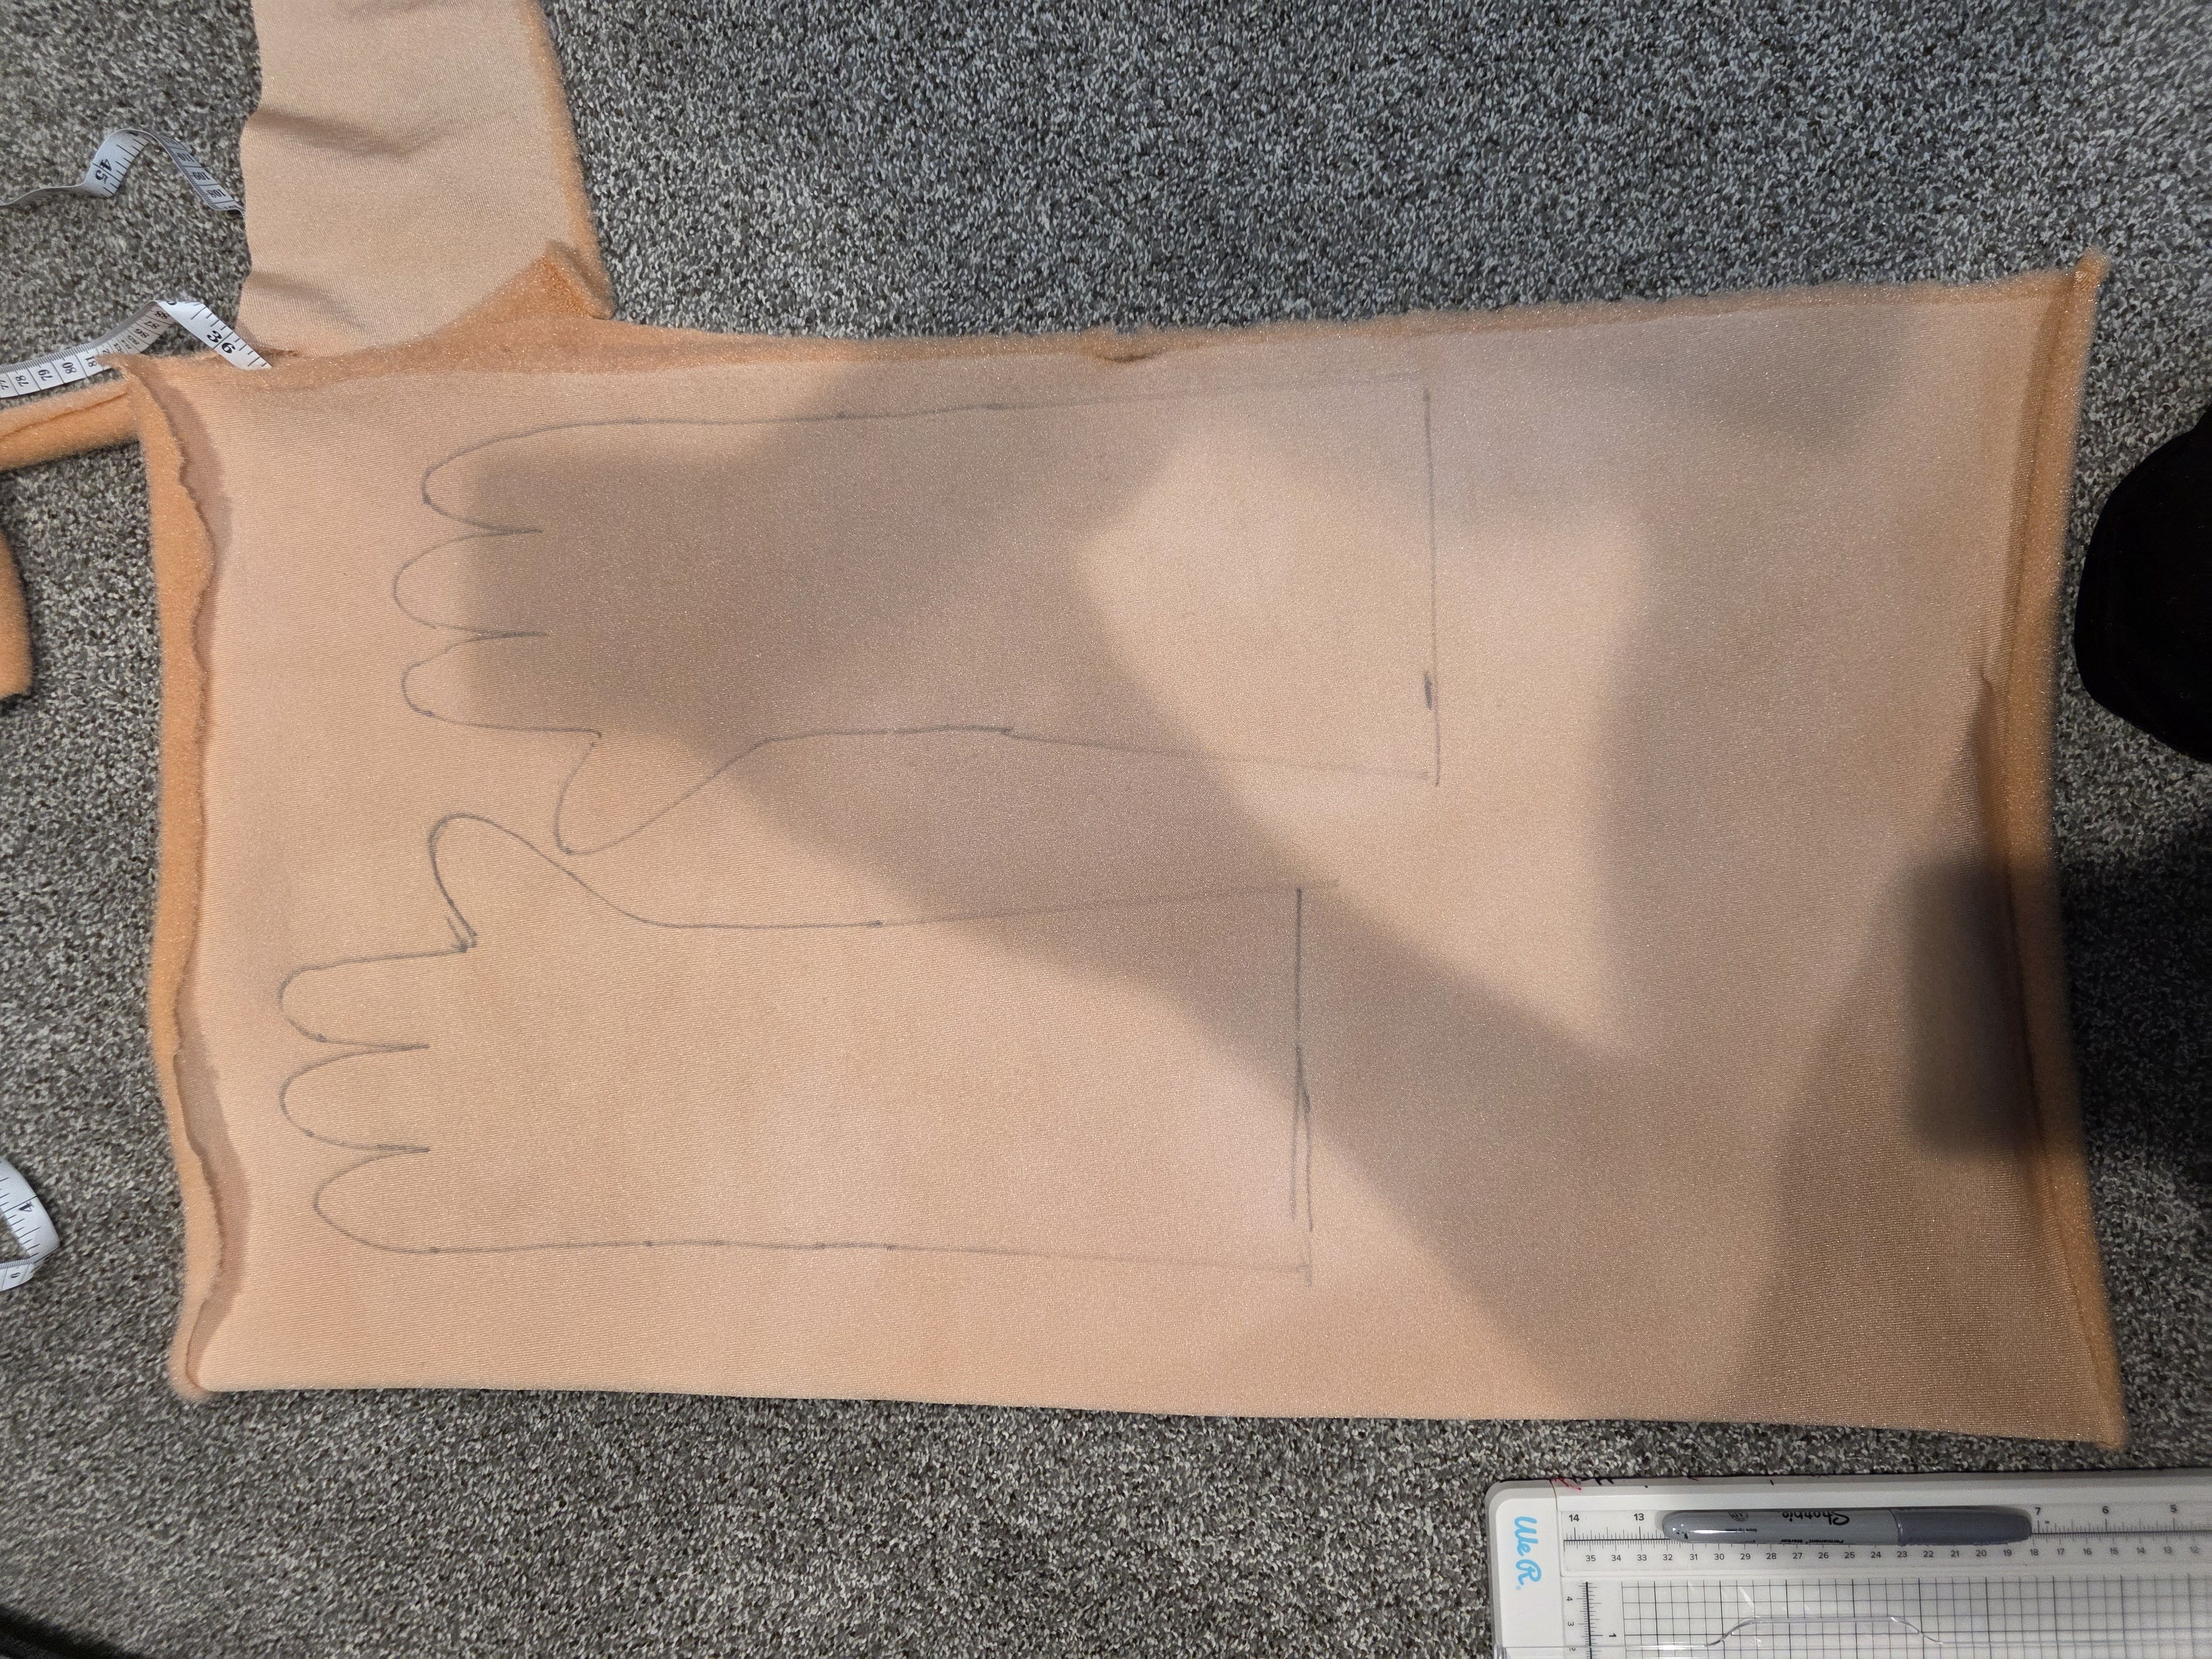
I traced the foam body on the fleece to create the fabric body.
I started working on the fabric for the head and sewing it together.
I created a neck pattern and used black velvet for the inside to make it more comfortable. I then attached the head fabric to the foam skull by gluing it to the mouth plate.
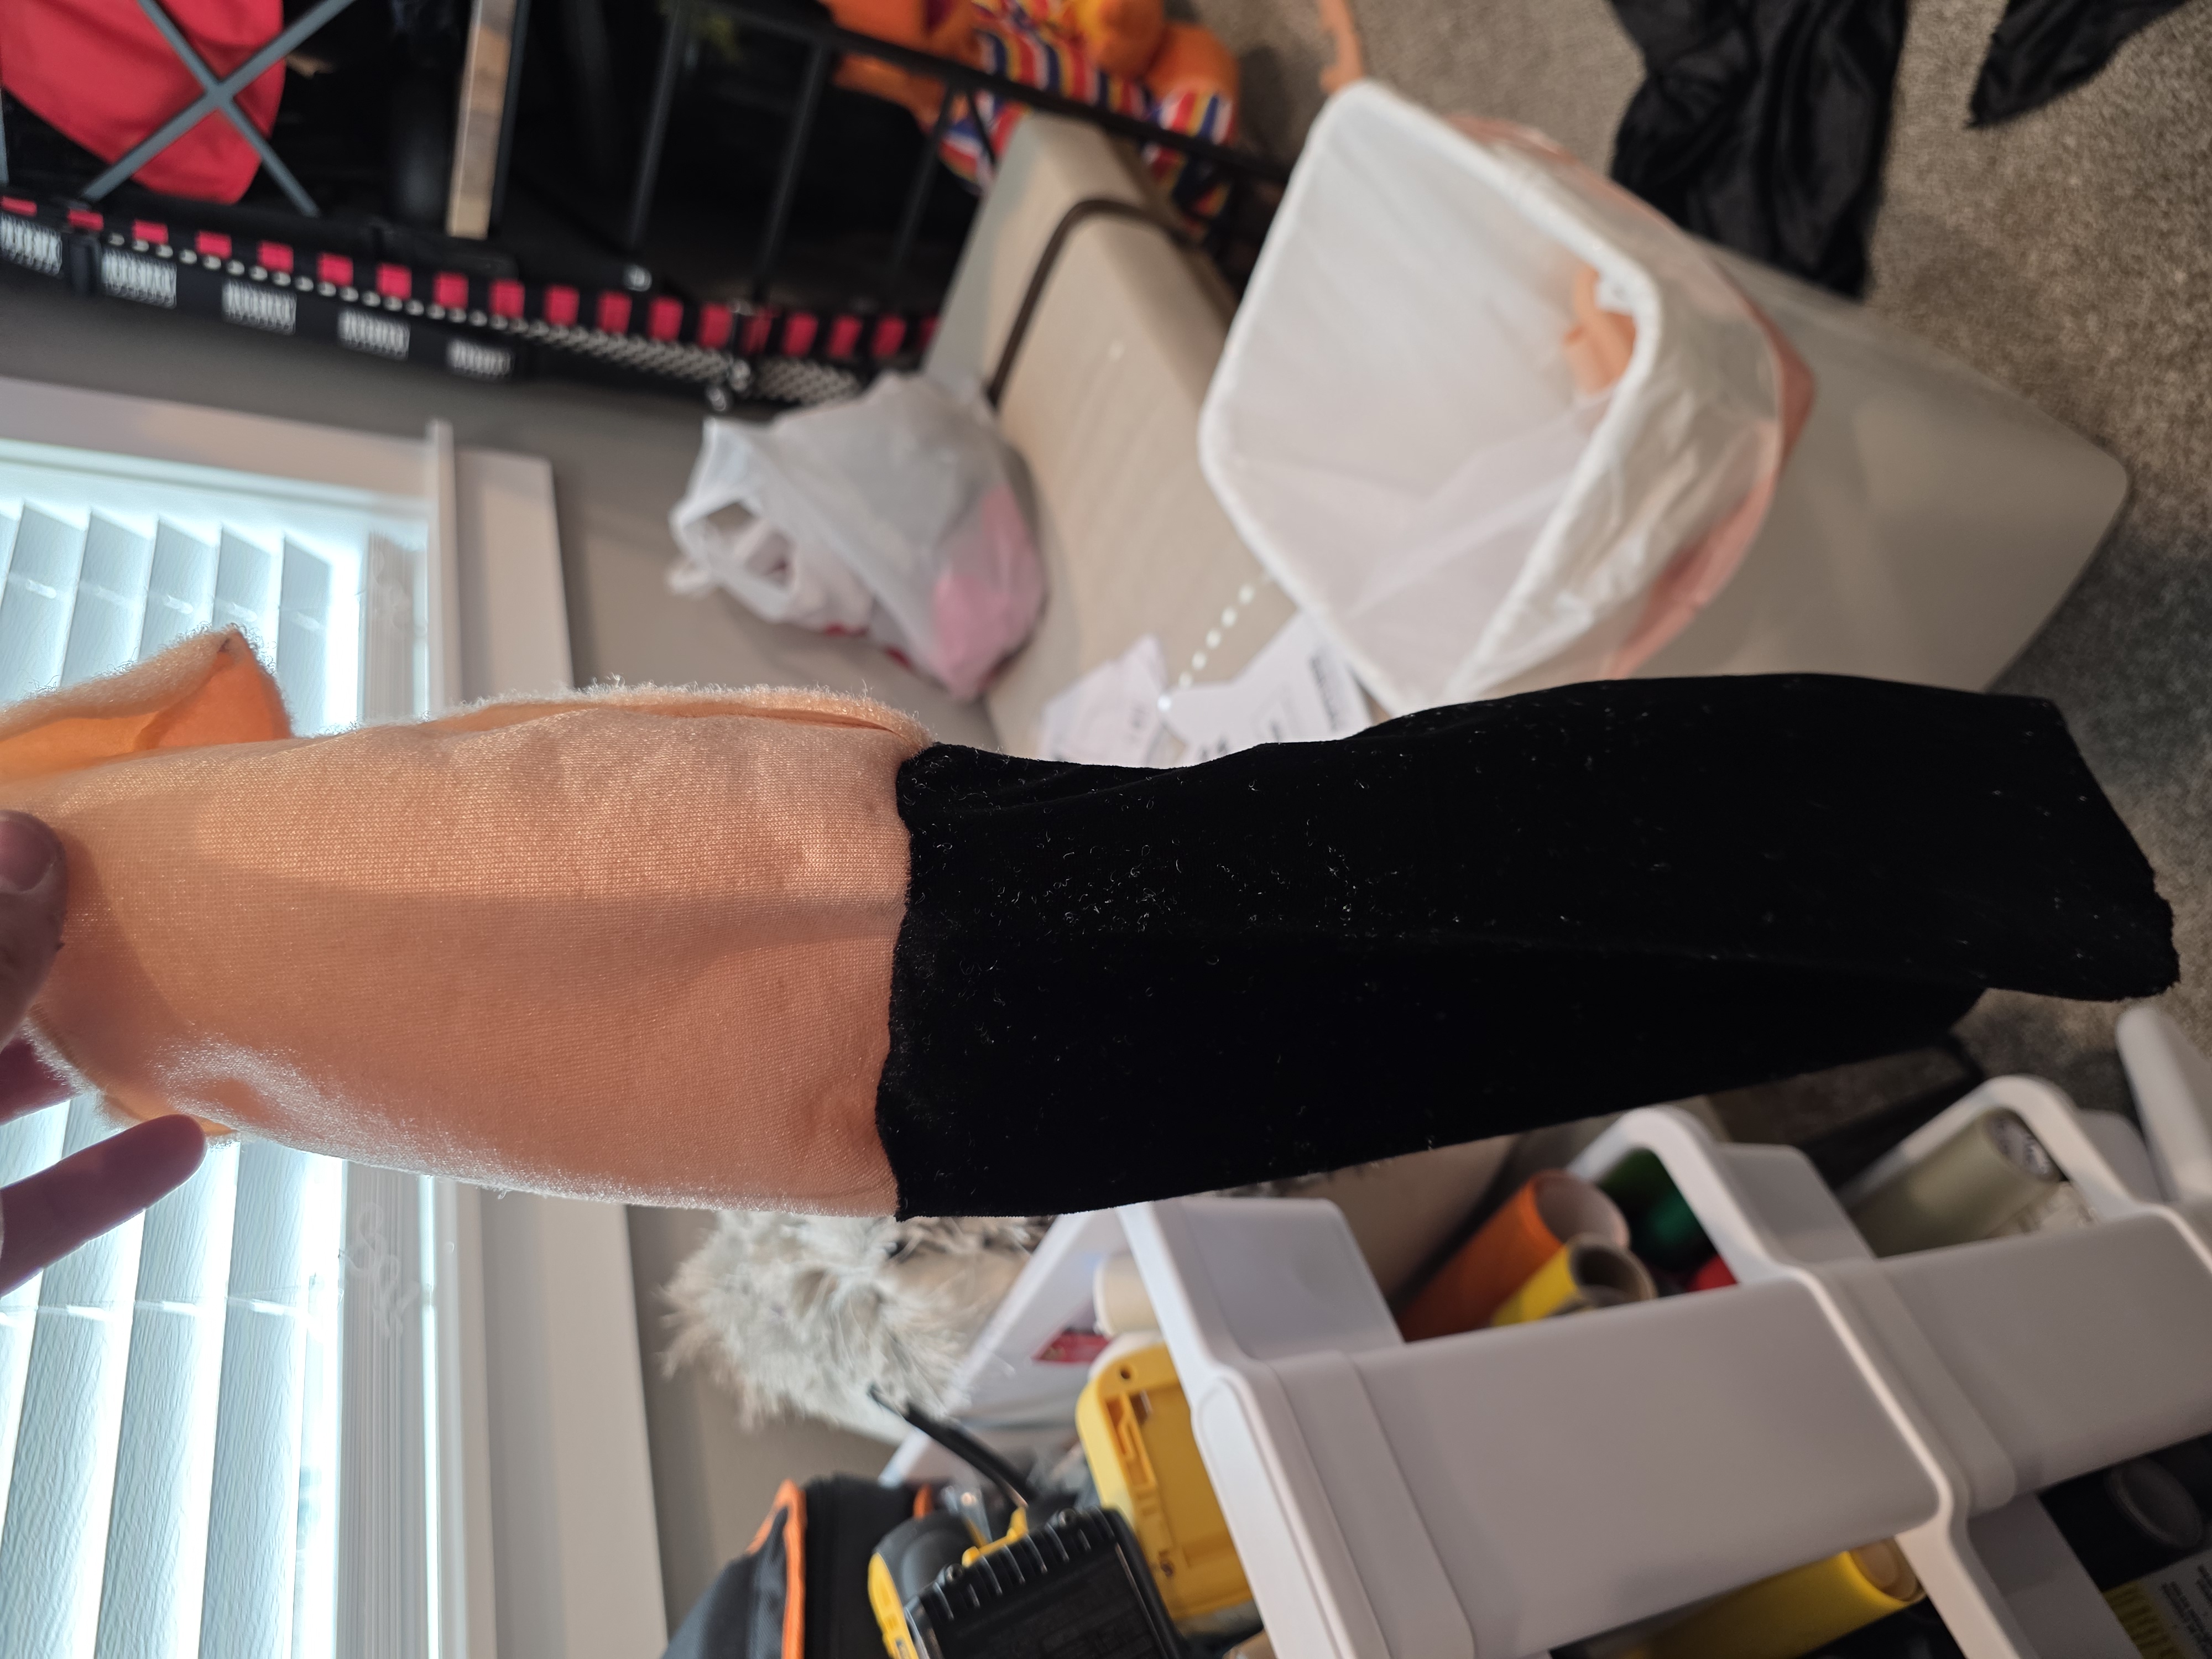
I created arms that were about 9″ long using foam and sewing basic rectangles from the fleece to cover the foam. I then sewed those to the body and attached the neck sleeve to the body.

I then started working on the live hand gloves and sewing those to the arms.

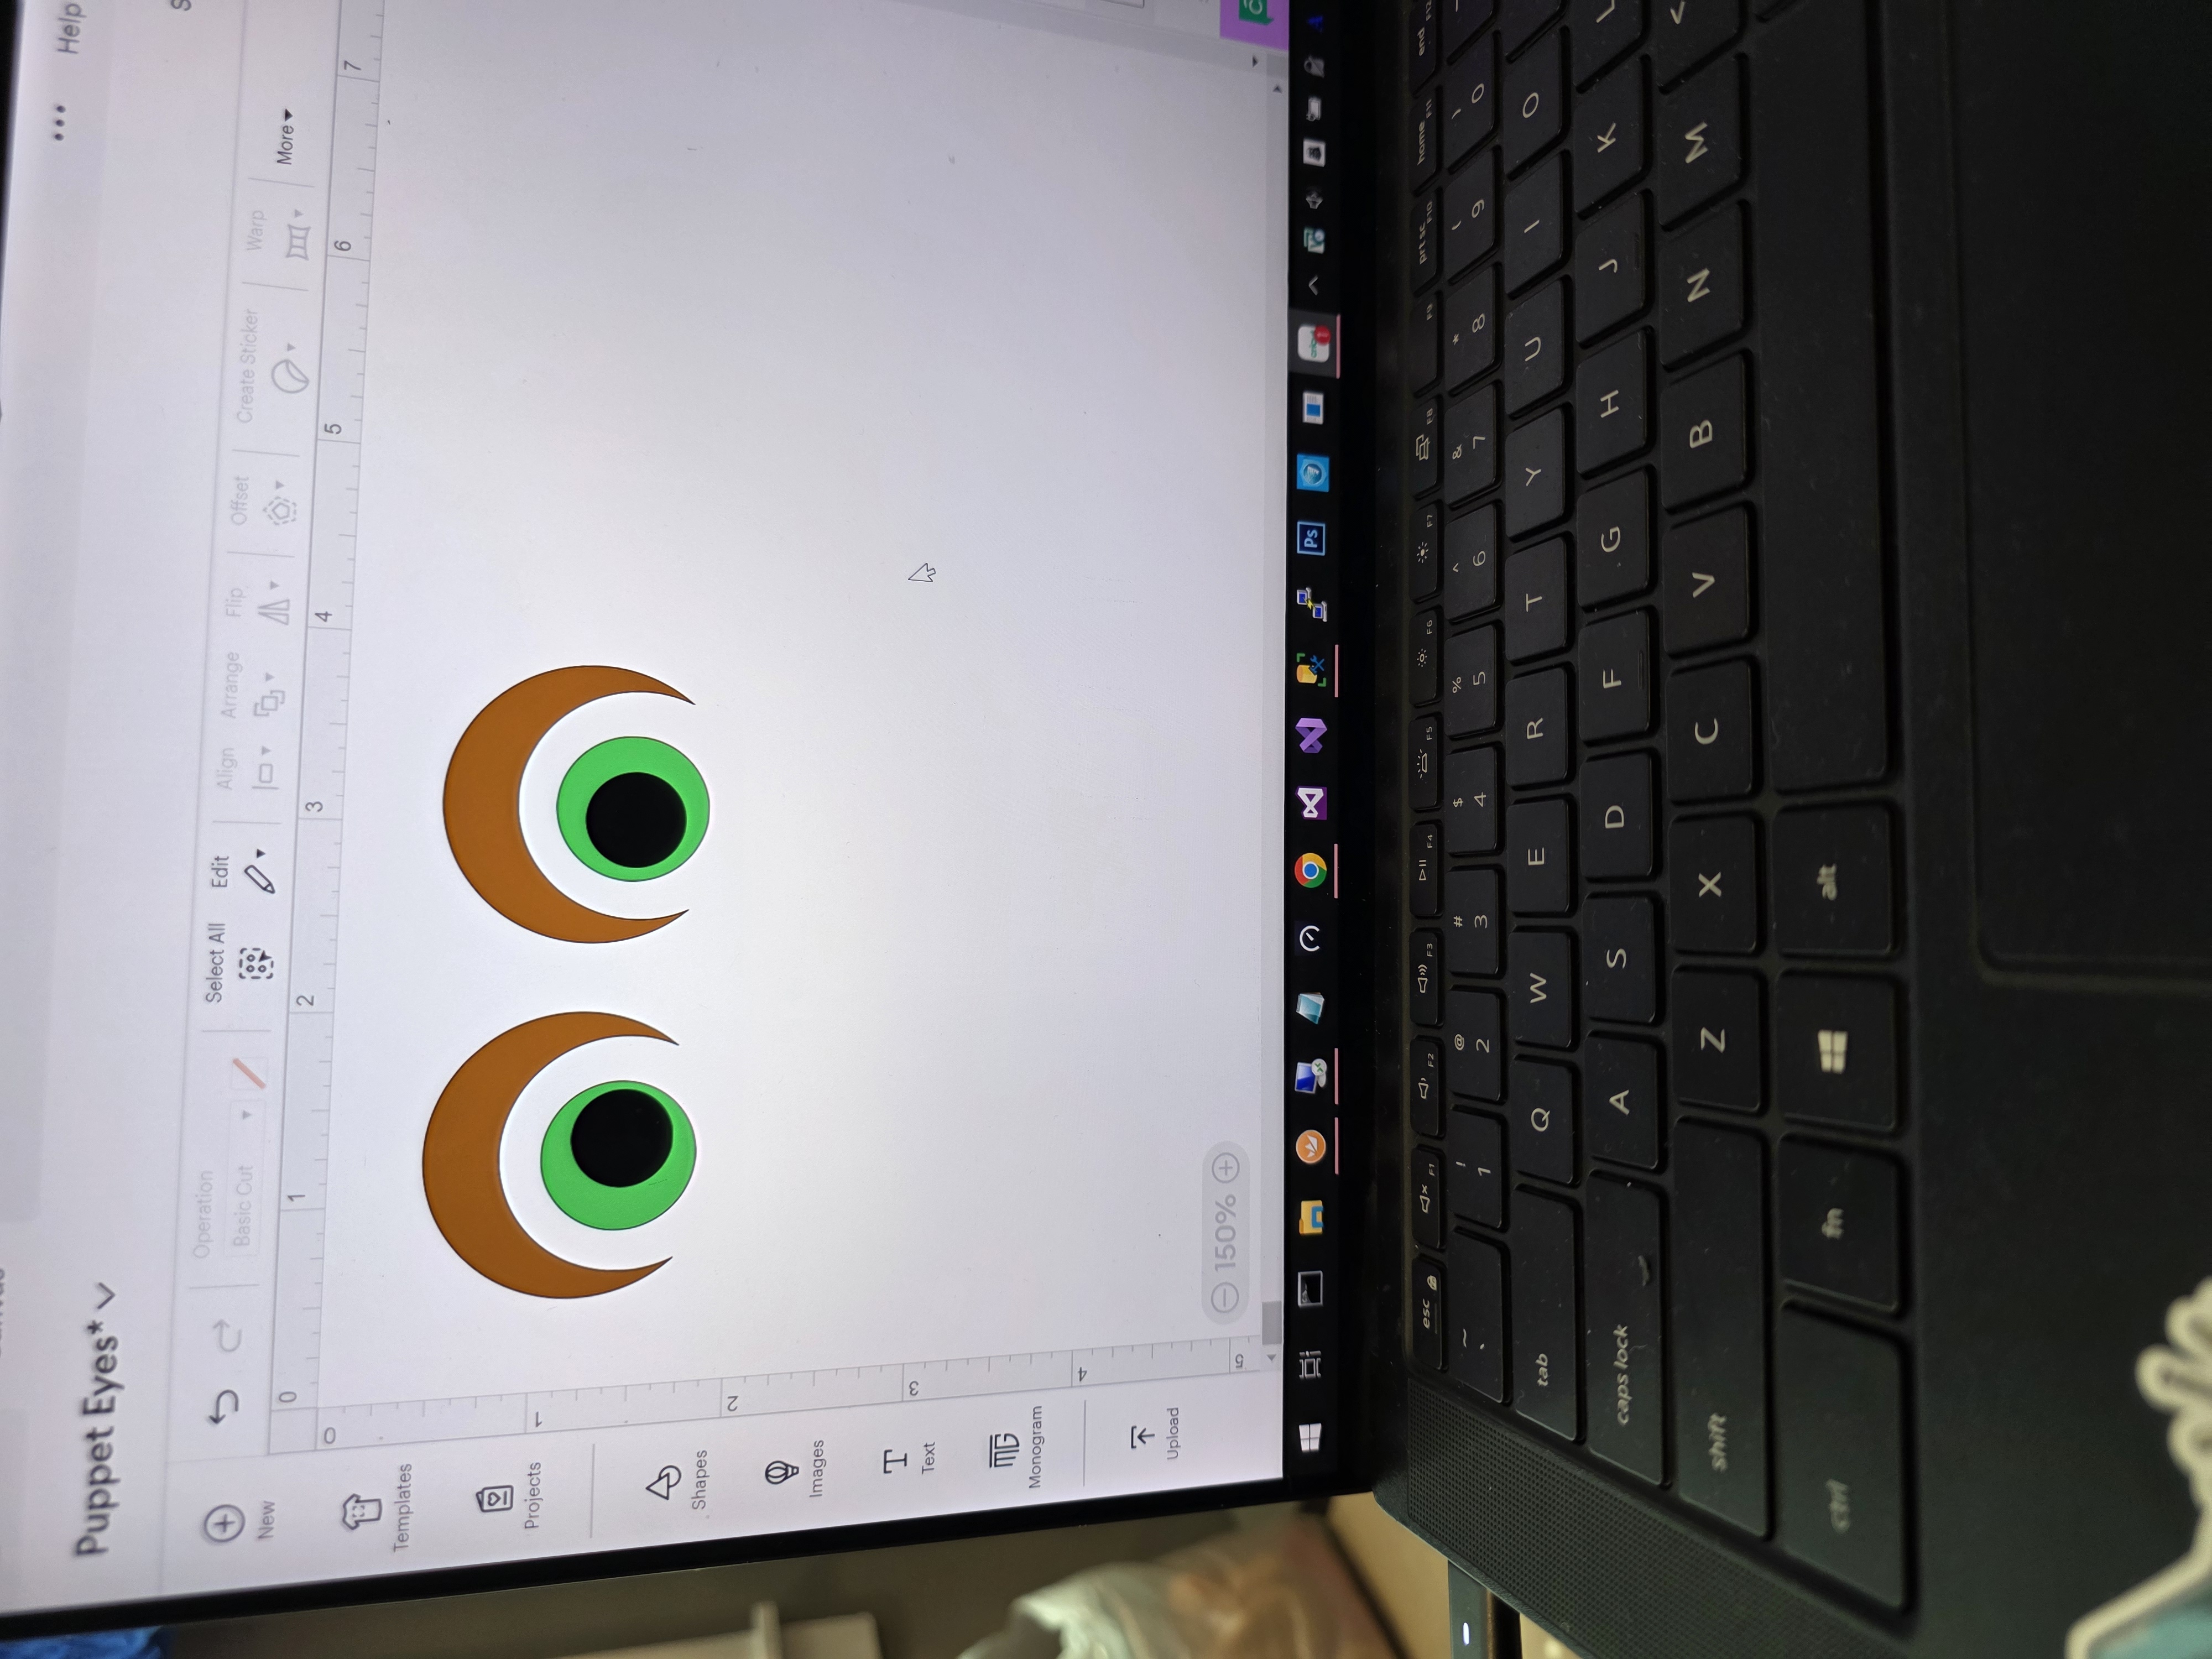
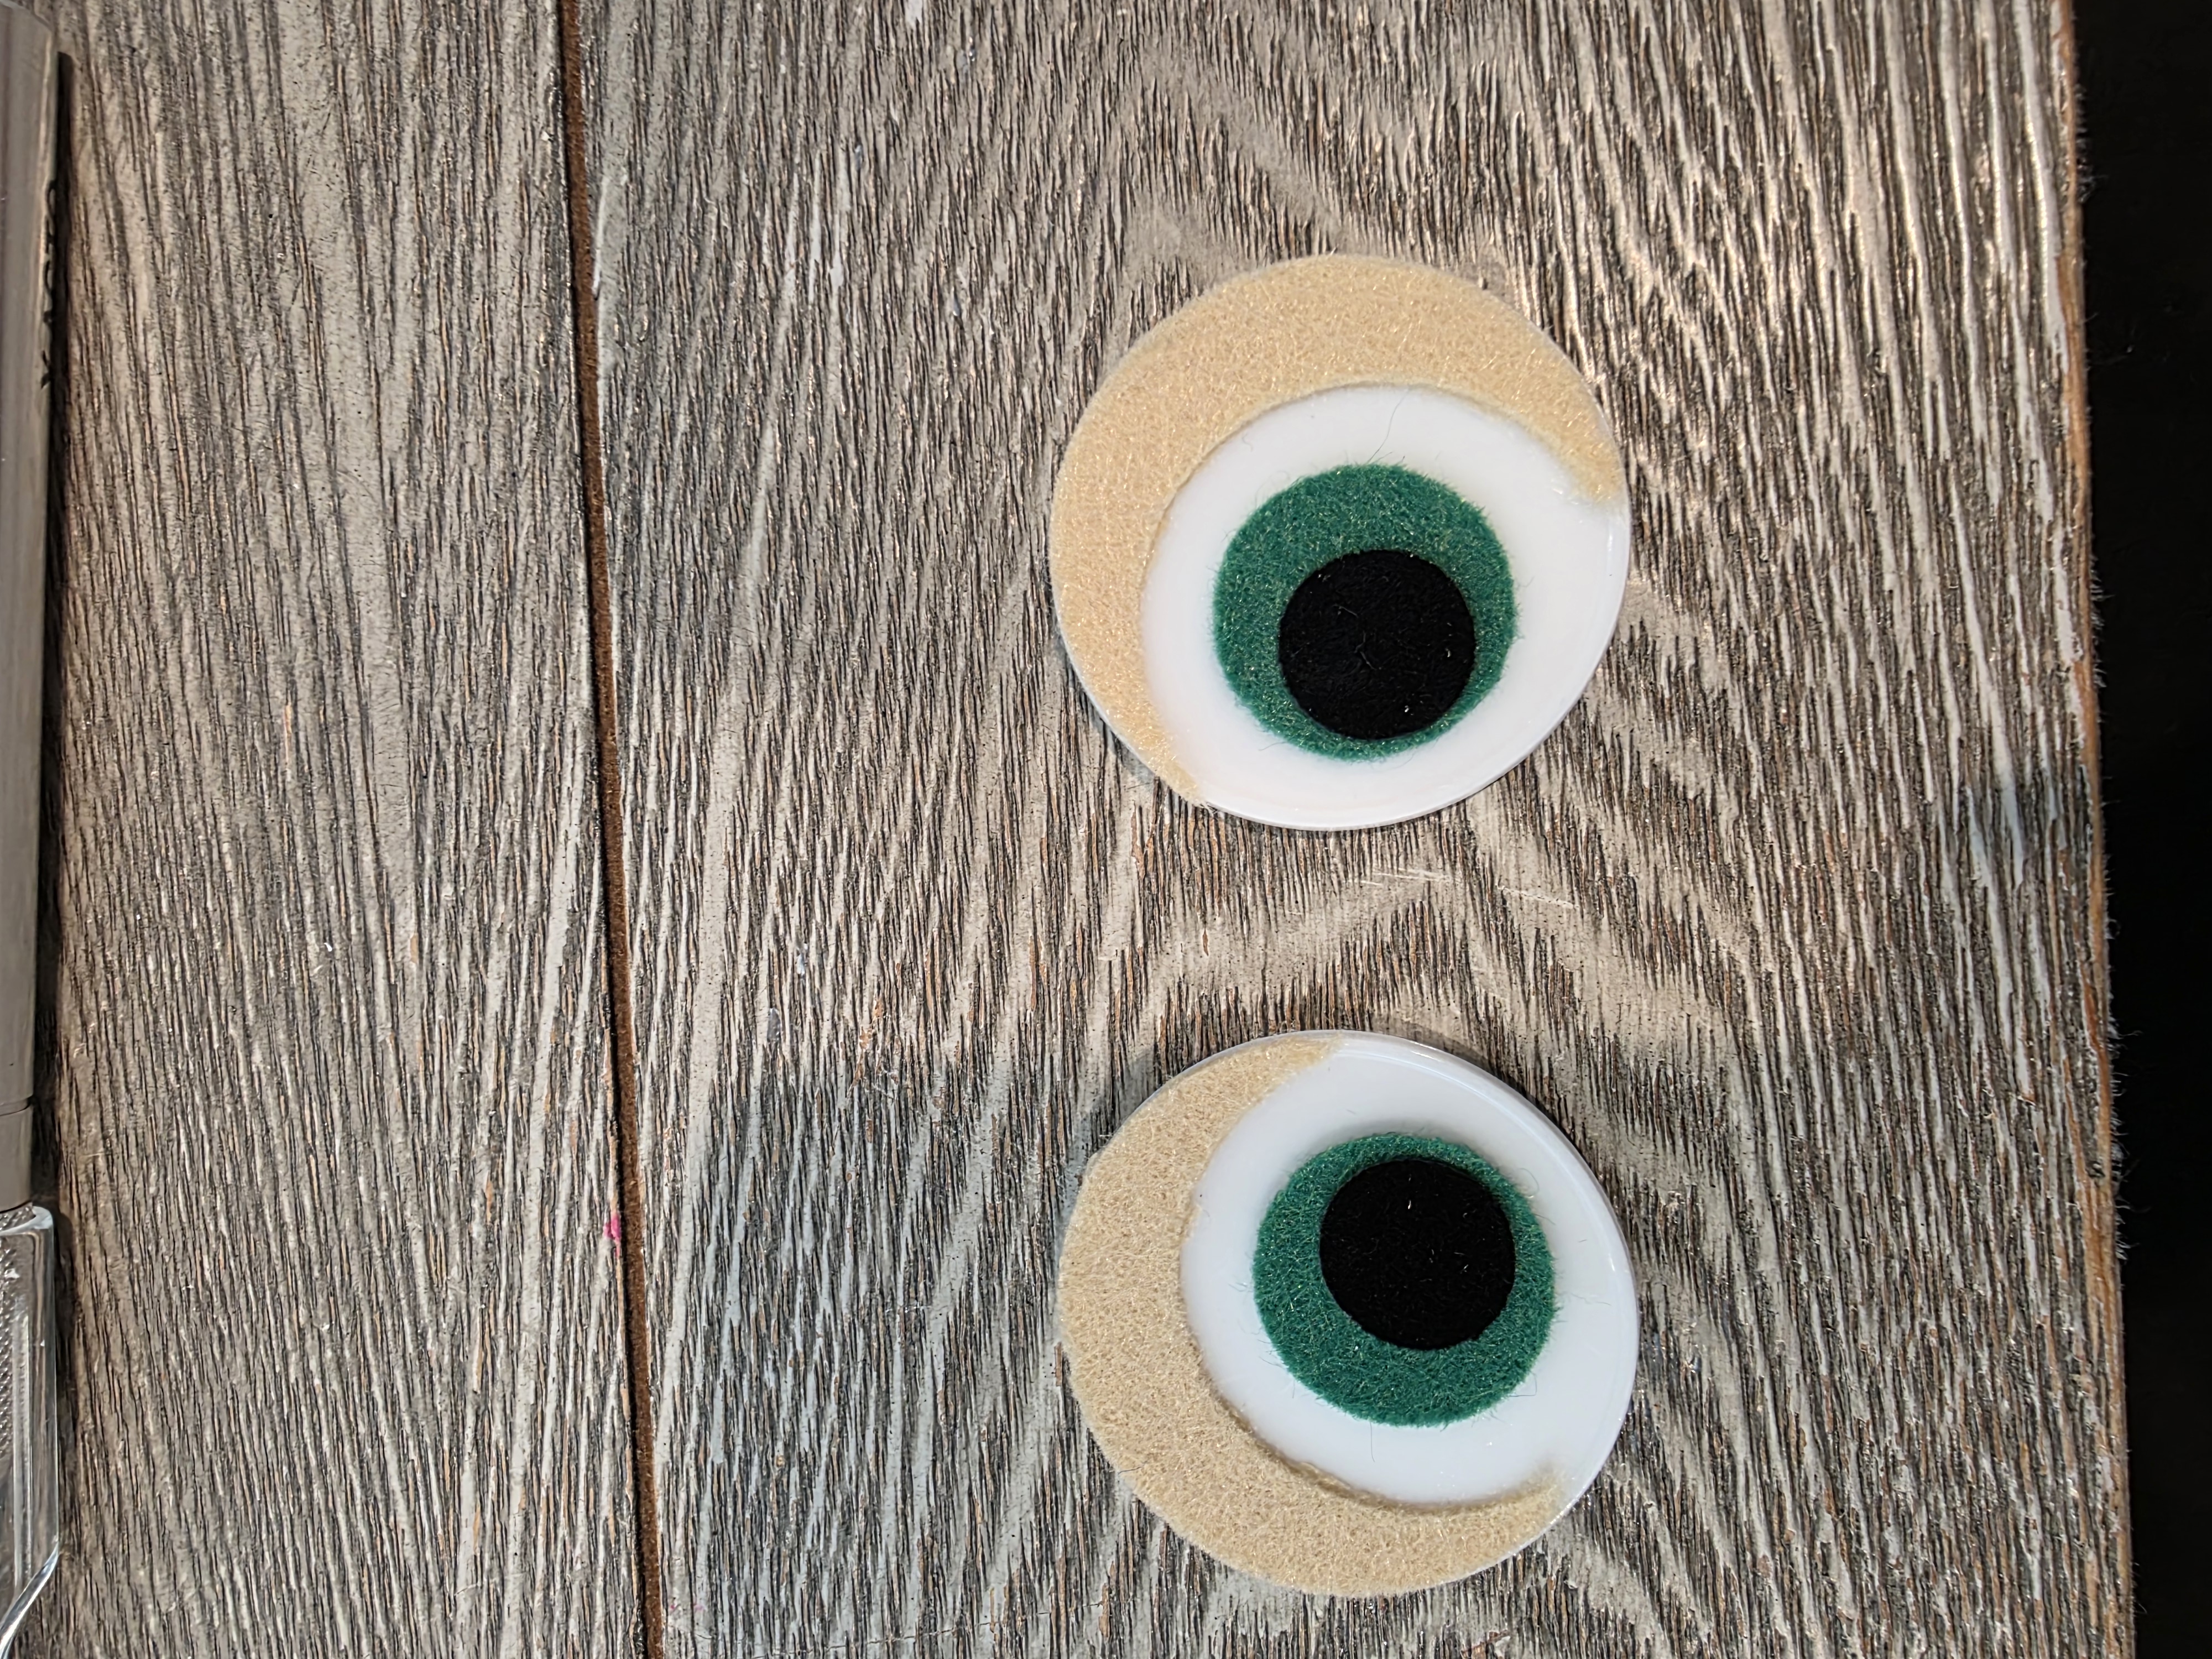
I used the Cricut to design and cut out sticky fabric sheets for the eyes. The base of the eyes are blank poker chips.
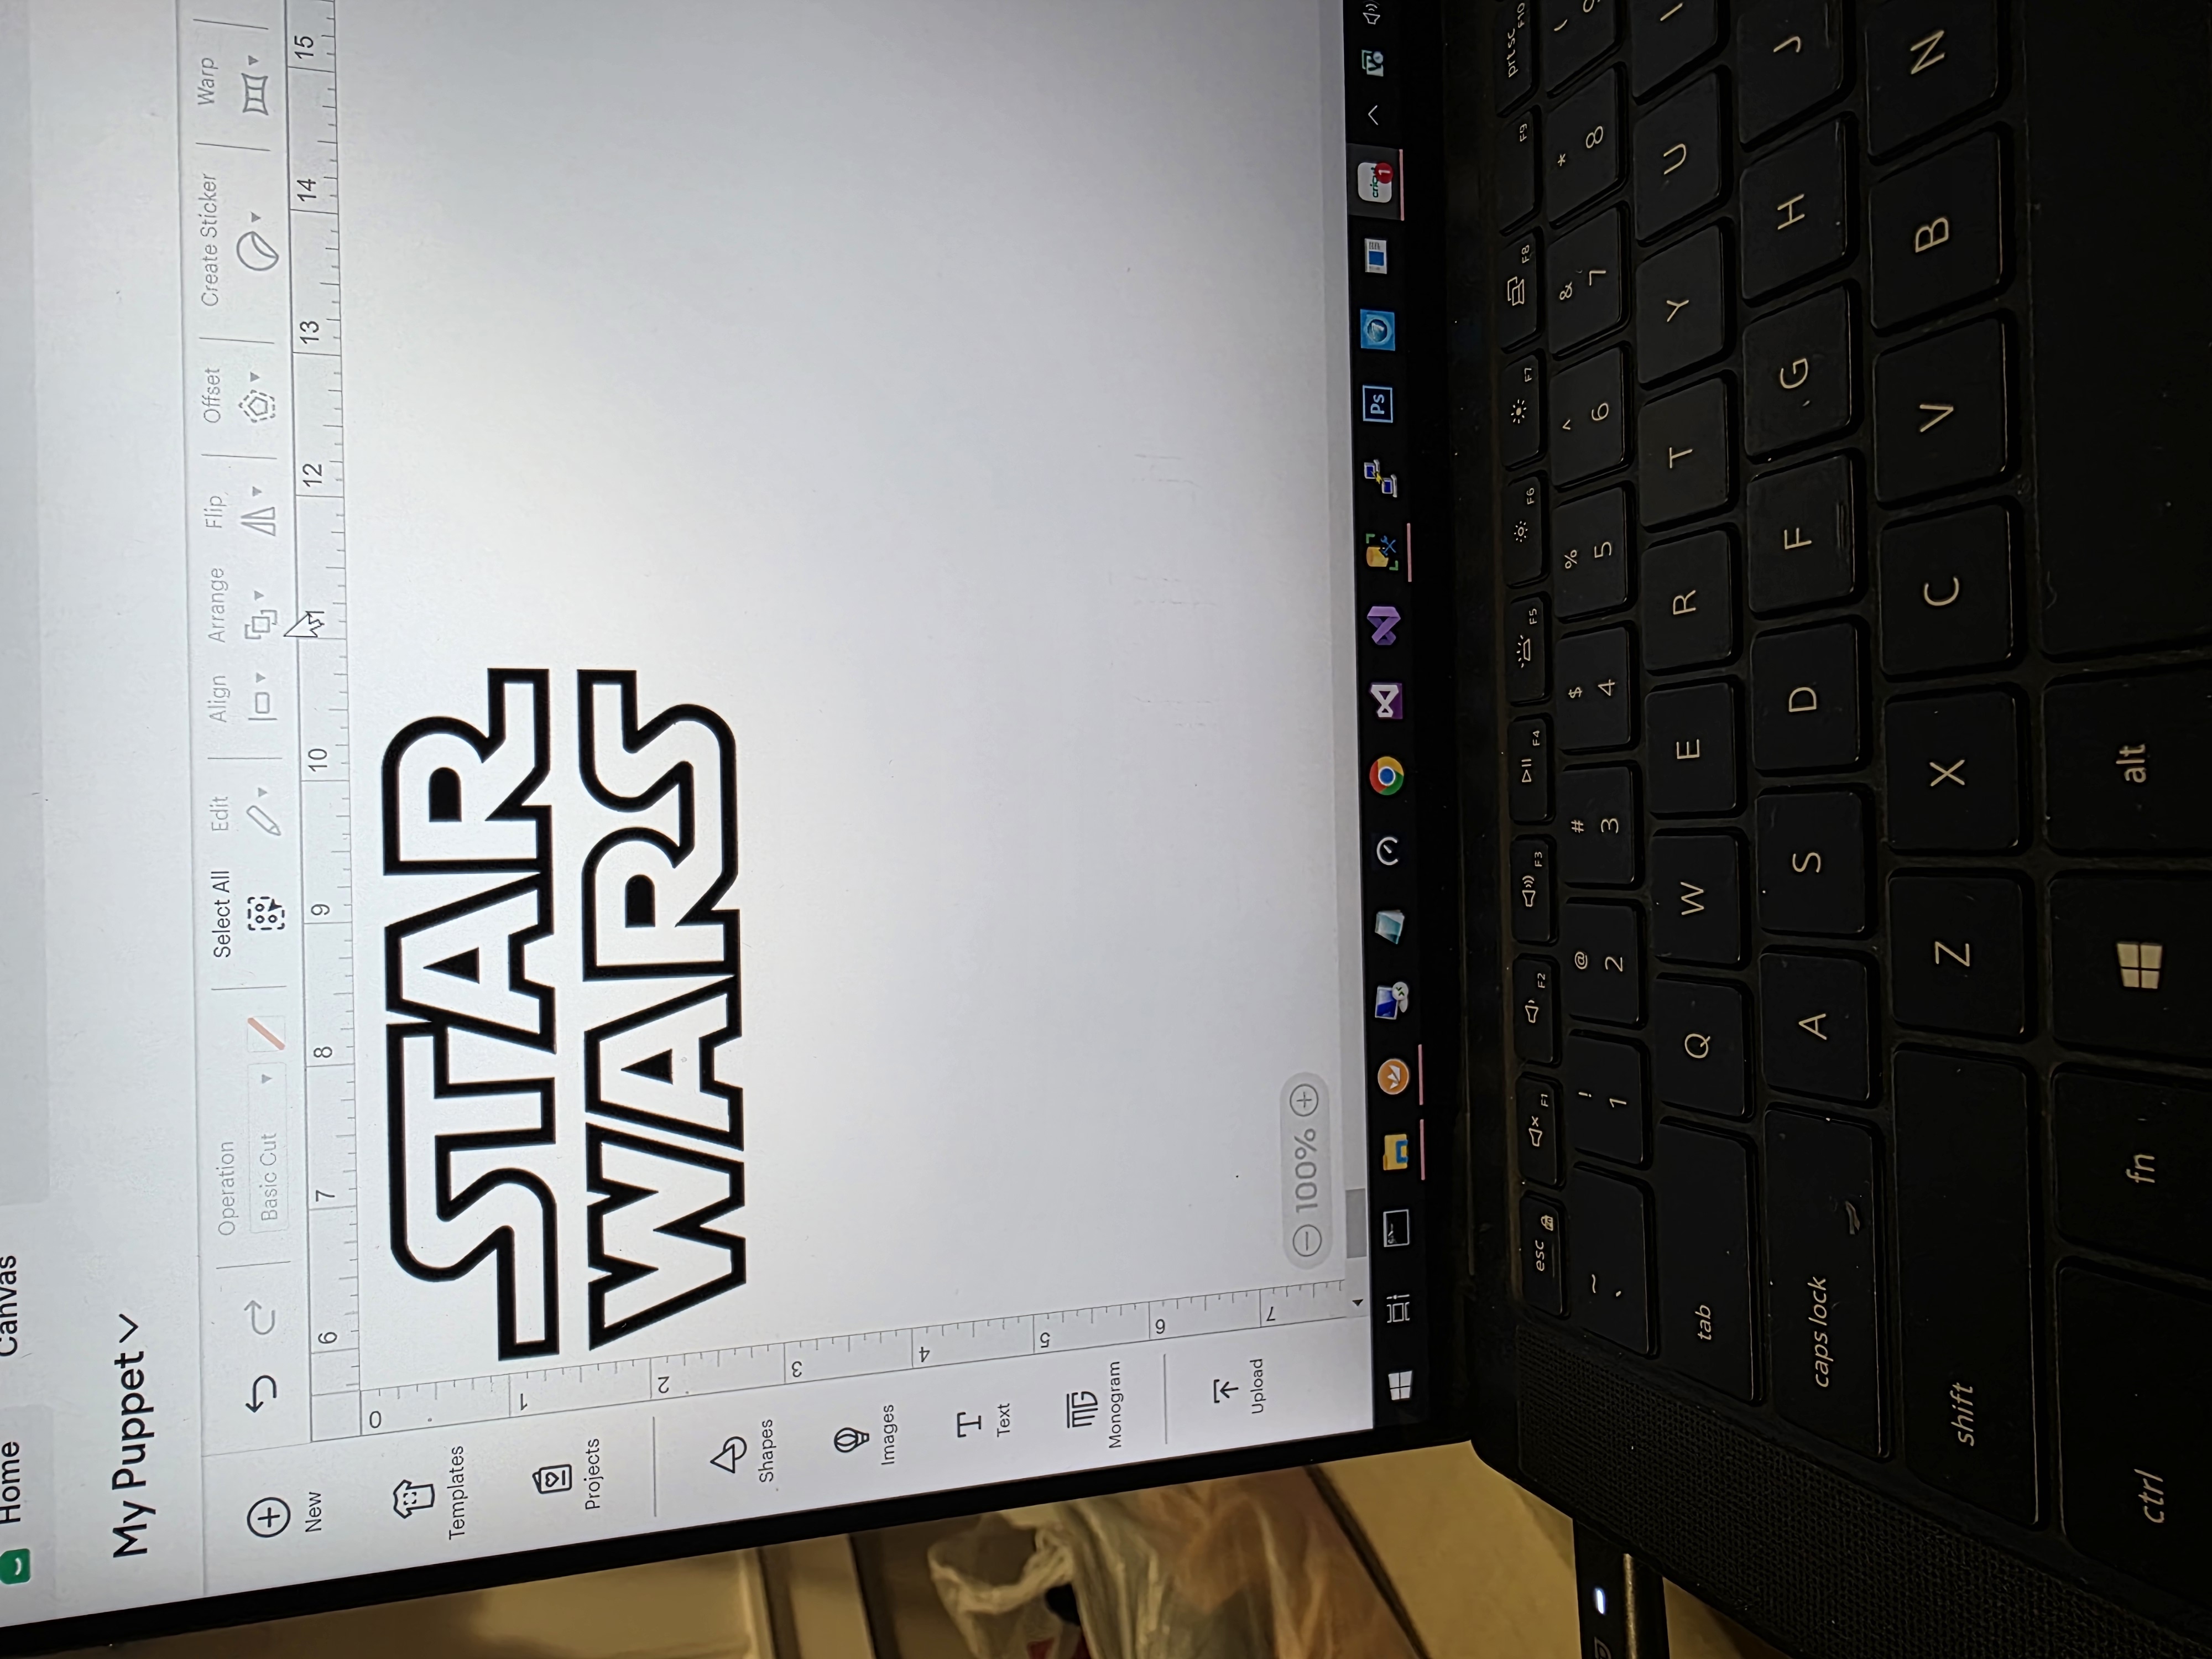
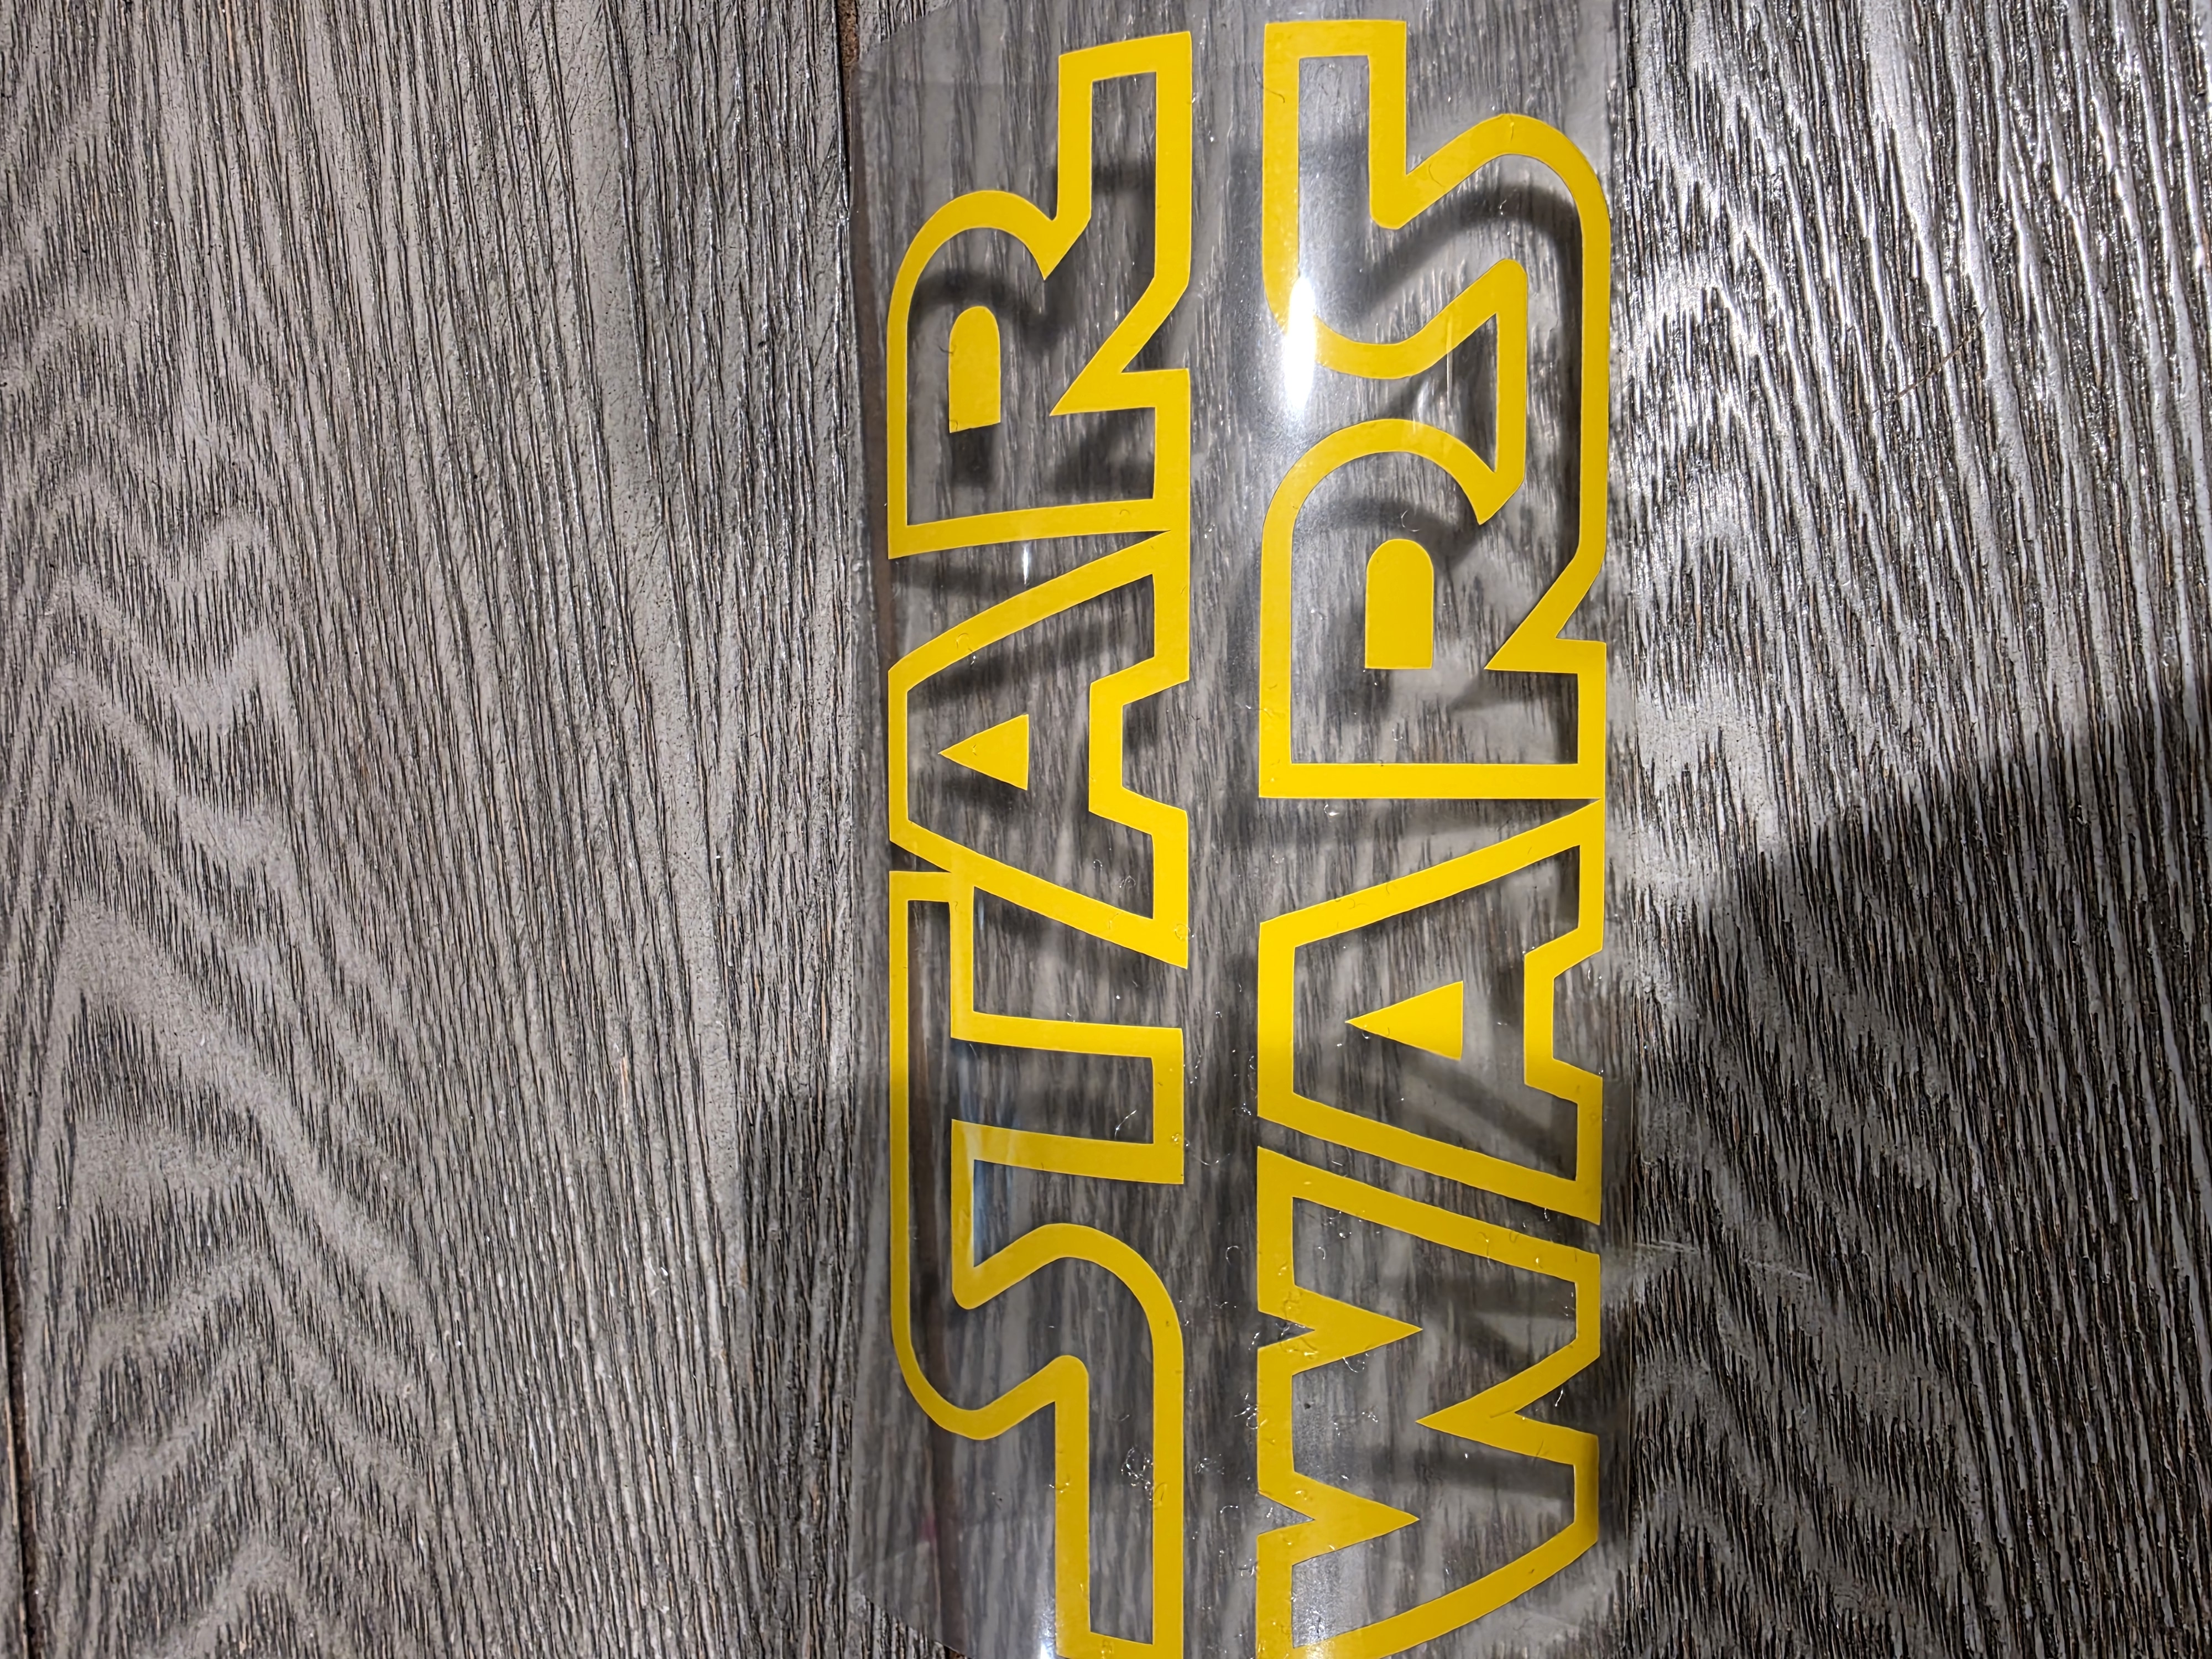
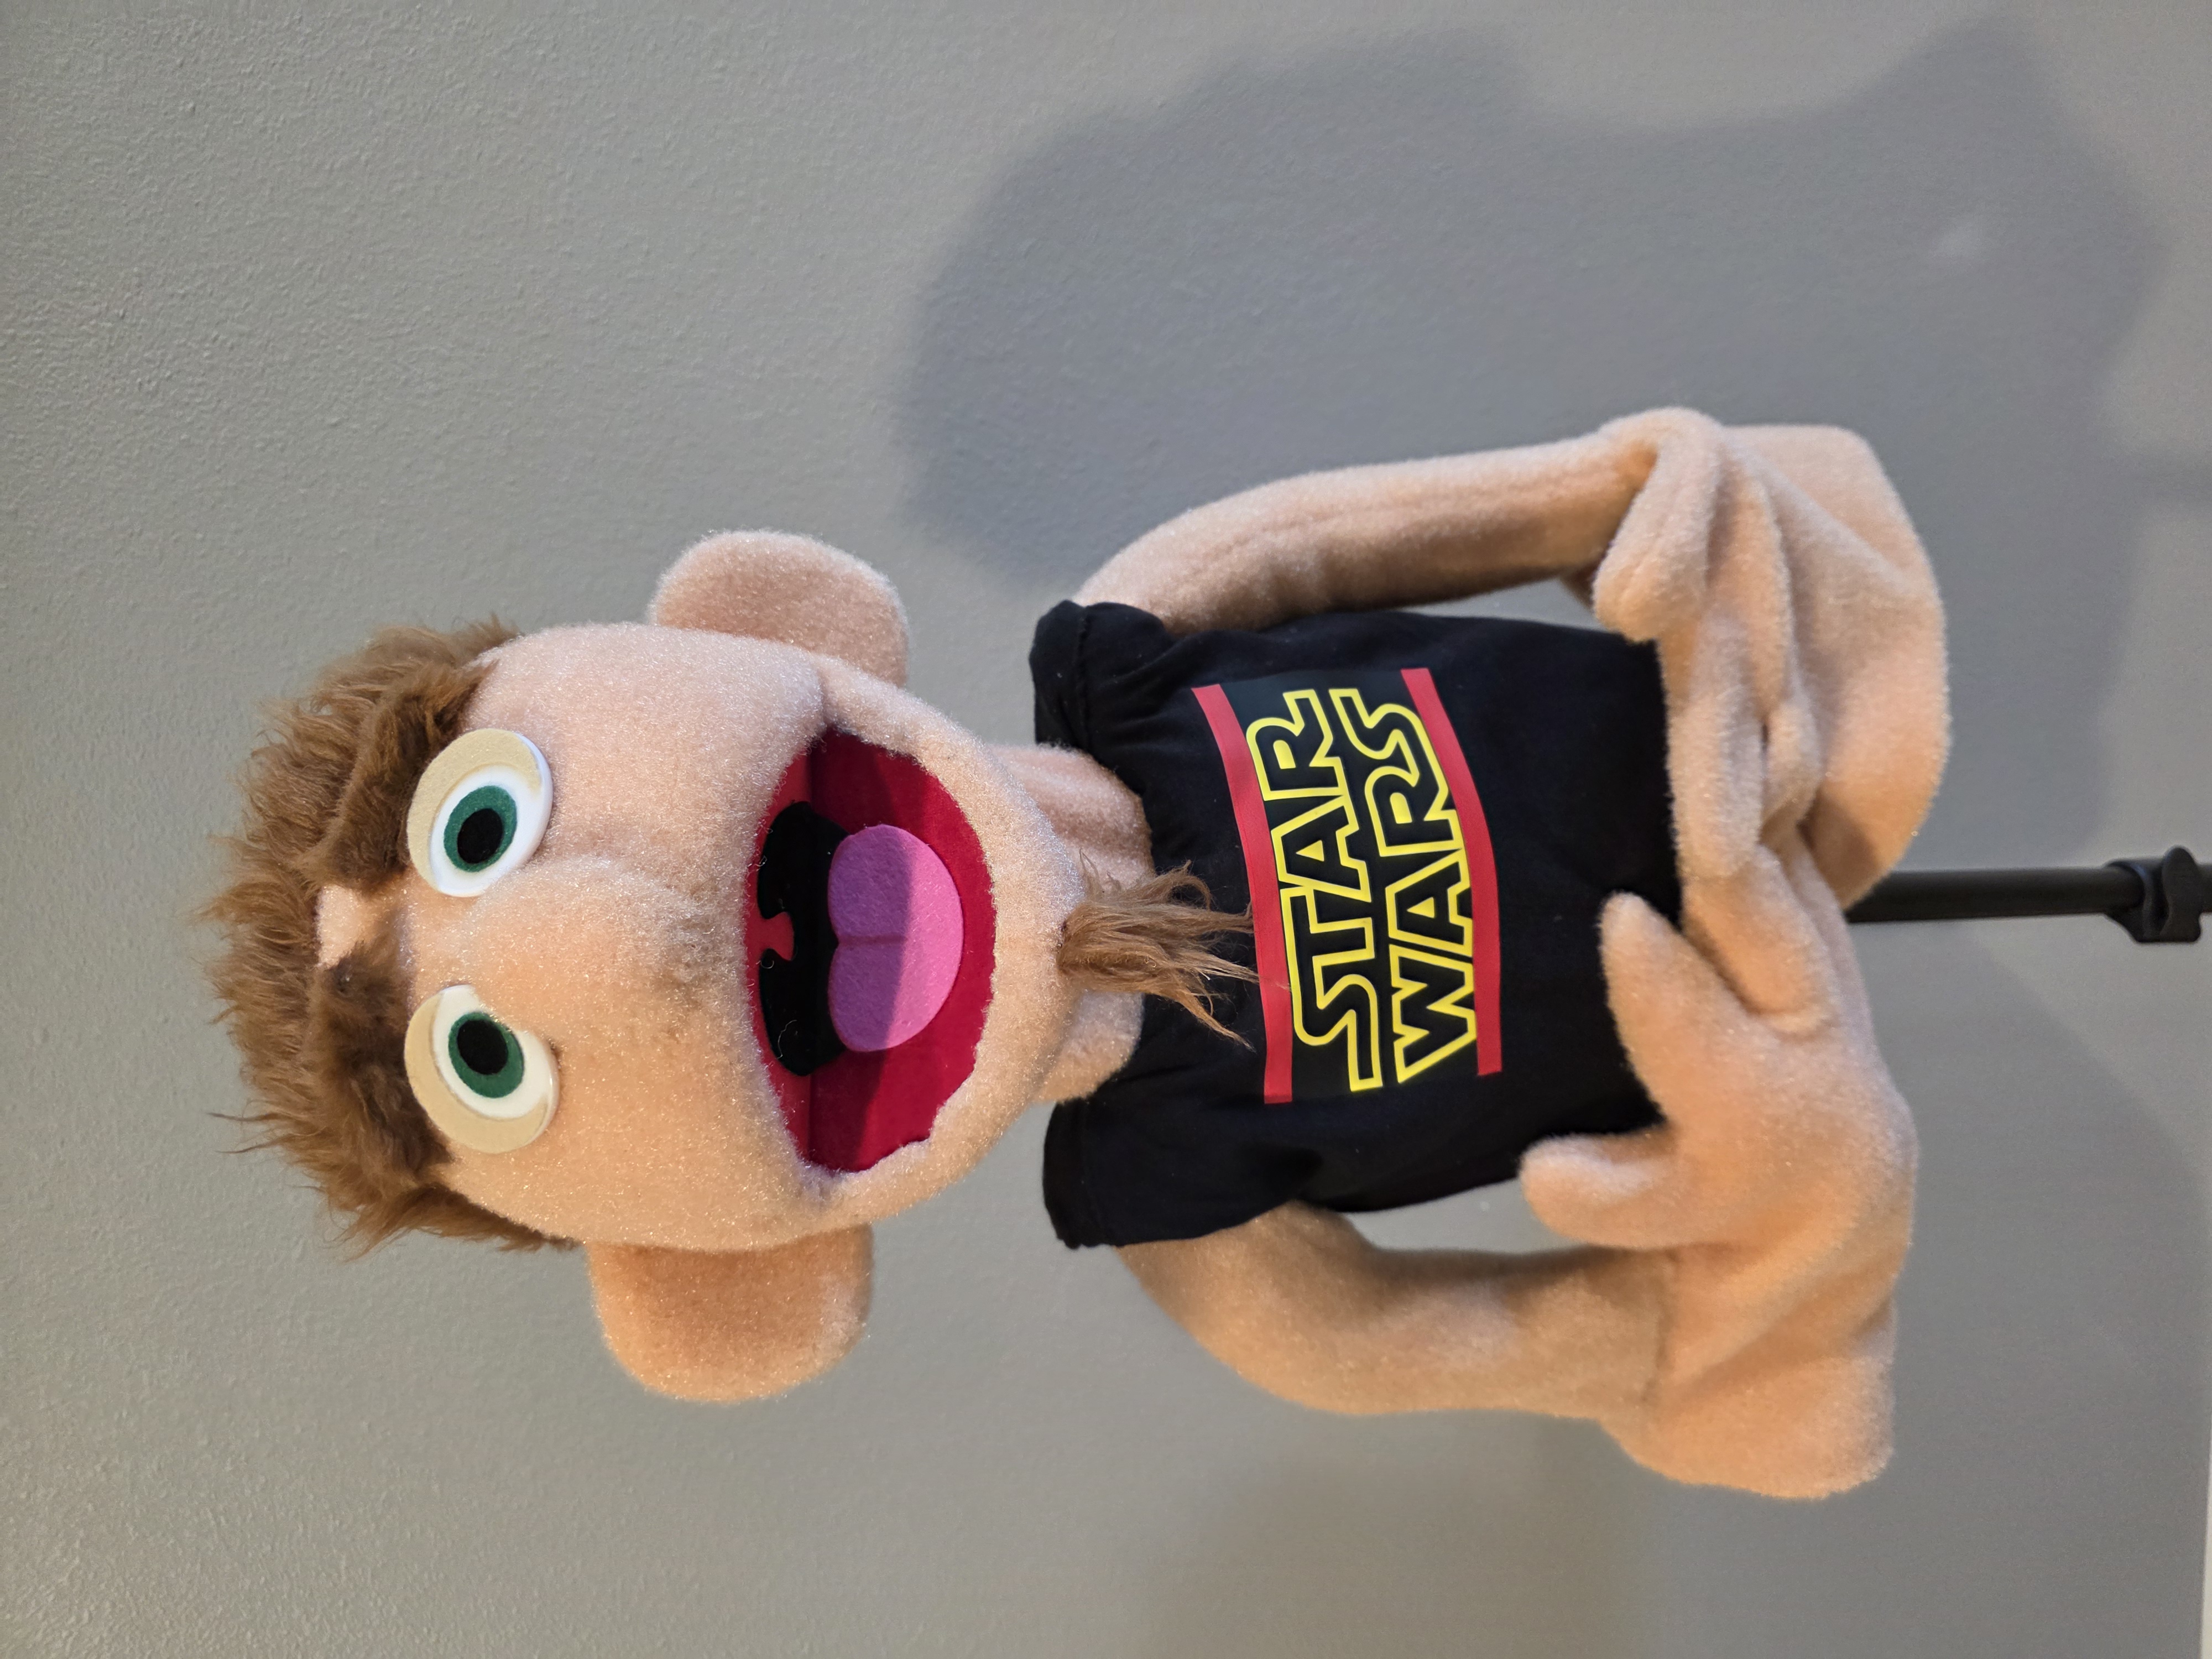
For the nose, I used a small styrofoam egg and wrapped it with fleece. For the eyebrows, I glued faux fur to the metal rods from the eyebrow mech. For the ears, I just drew up some basic ear shapes and used that template to sew them together. I stuffed them with foam using the same shape. For the hair, I used the same faux fur for the eyebrows and used masking tape to cover the head and draw a hair line on one side of the head. After you do that, you lay it flat on cardstock and make any darts you need to make it lay as flat as possible. Cut that out and mirror it to make your wig. I also used that faux fur to create and sew on a little goatee. For the inside of the mouth and tongue, I used the same pattern from my Ernie build and used the Cricut to cut it out from sticky velvet paper. For the shirt, I had a 2T long sleeve black t-shirt. I cut the sleeves and used the Cricut to create an iron-on Star Wars logo for it.
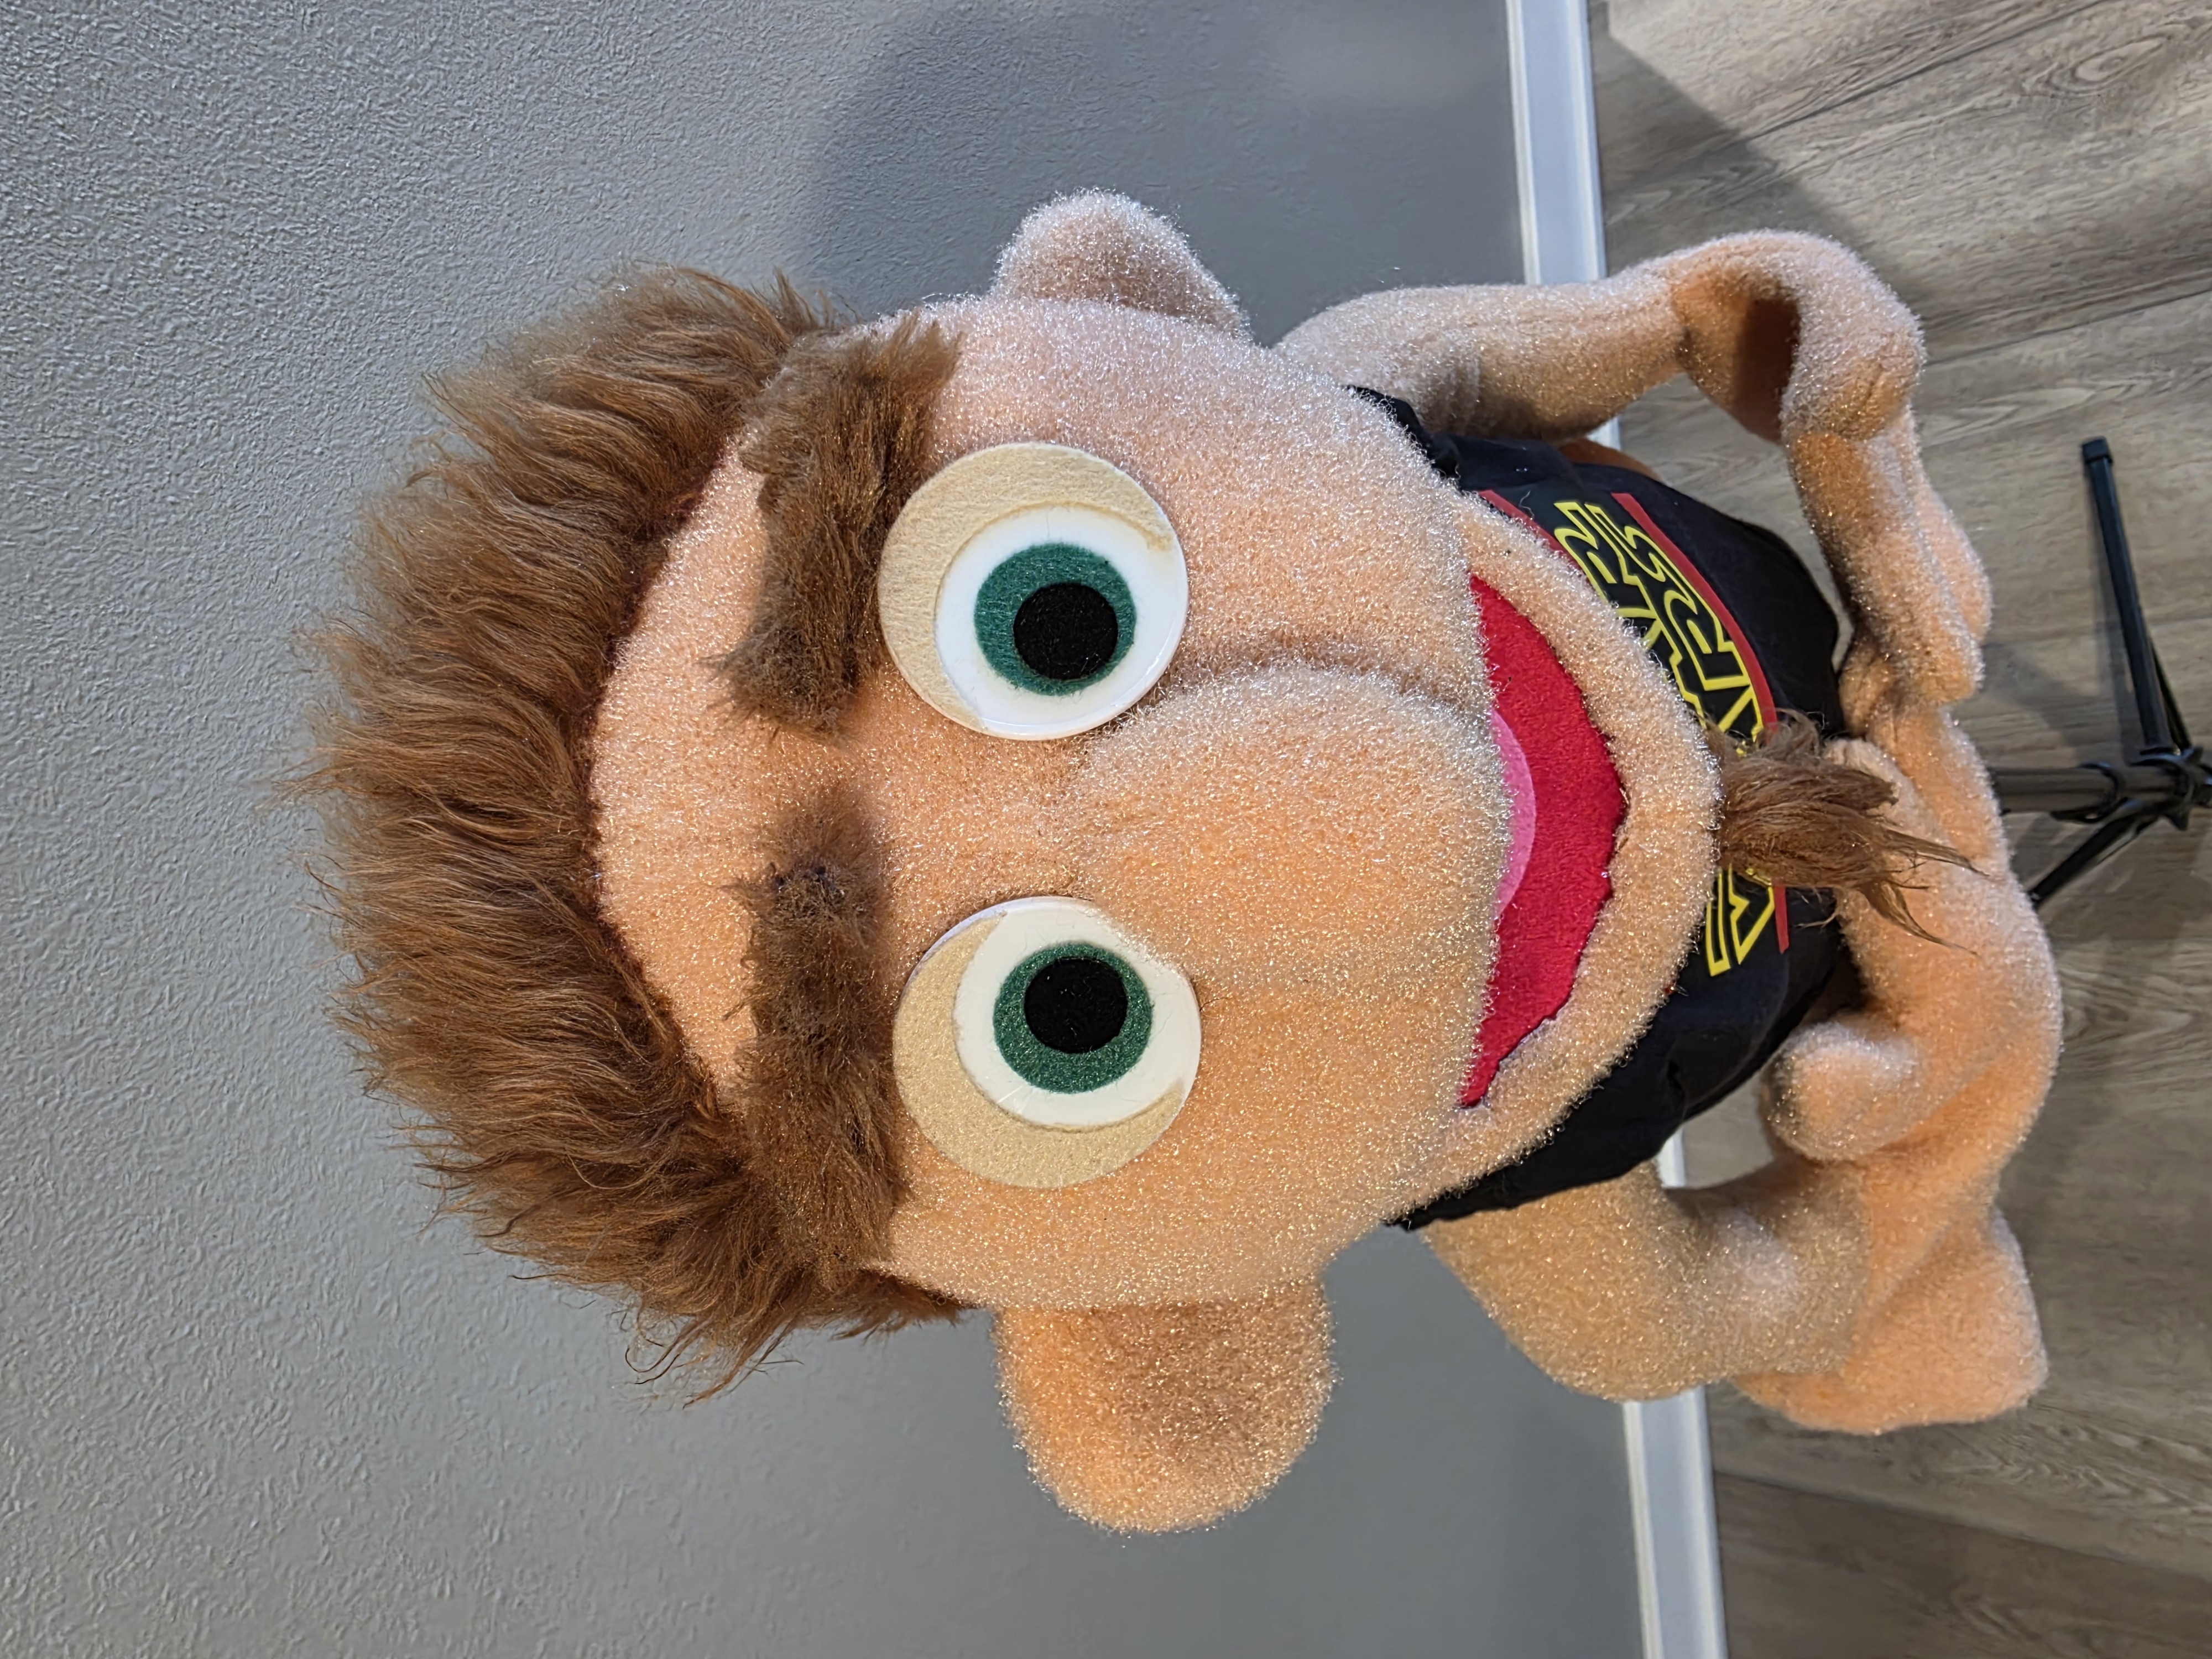
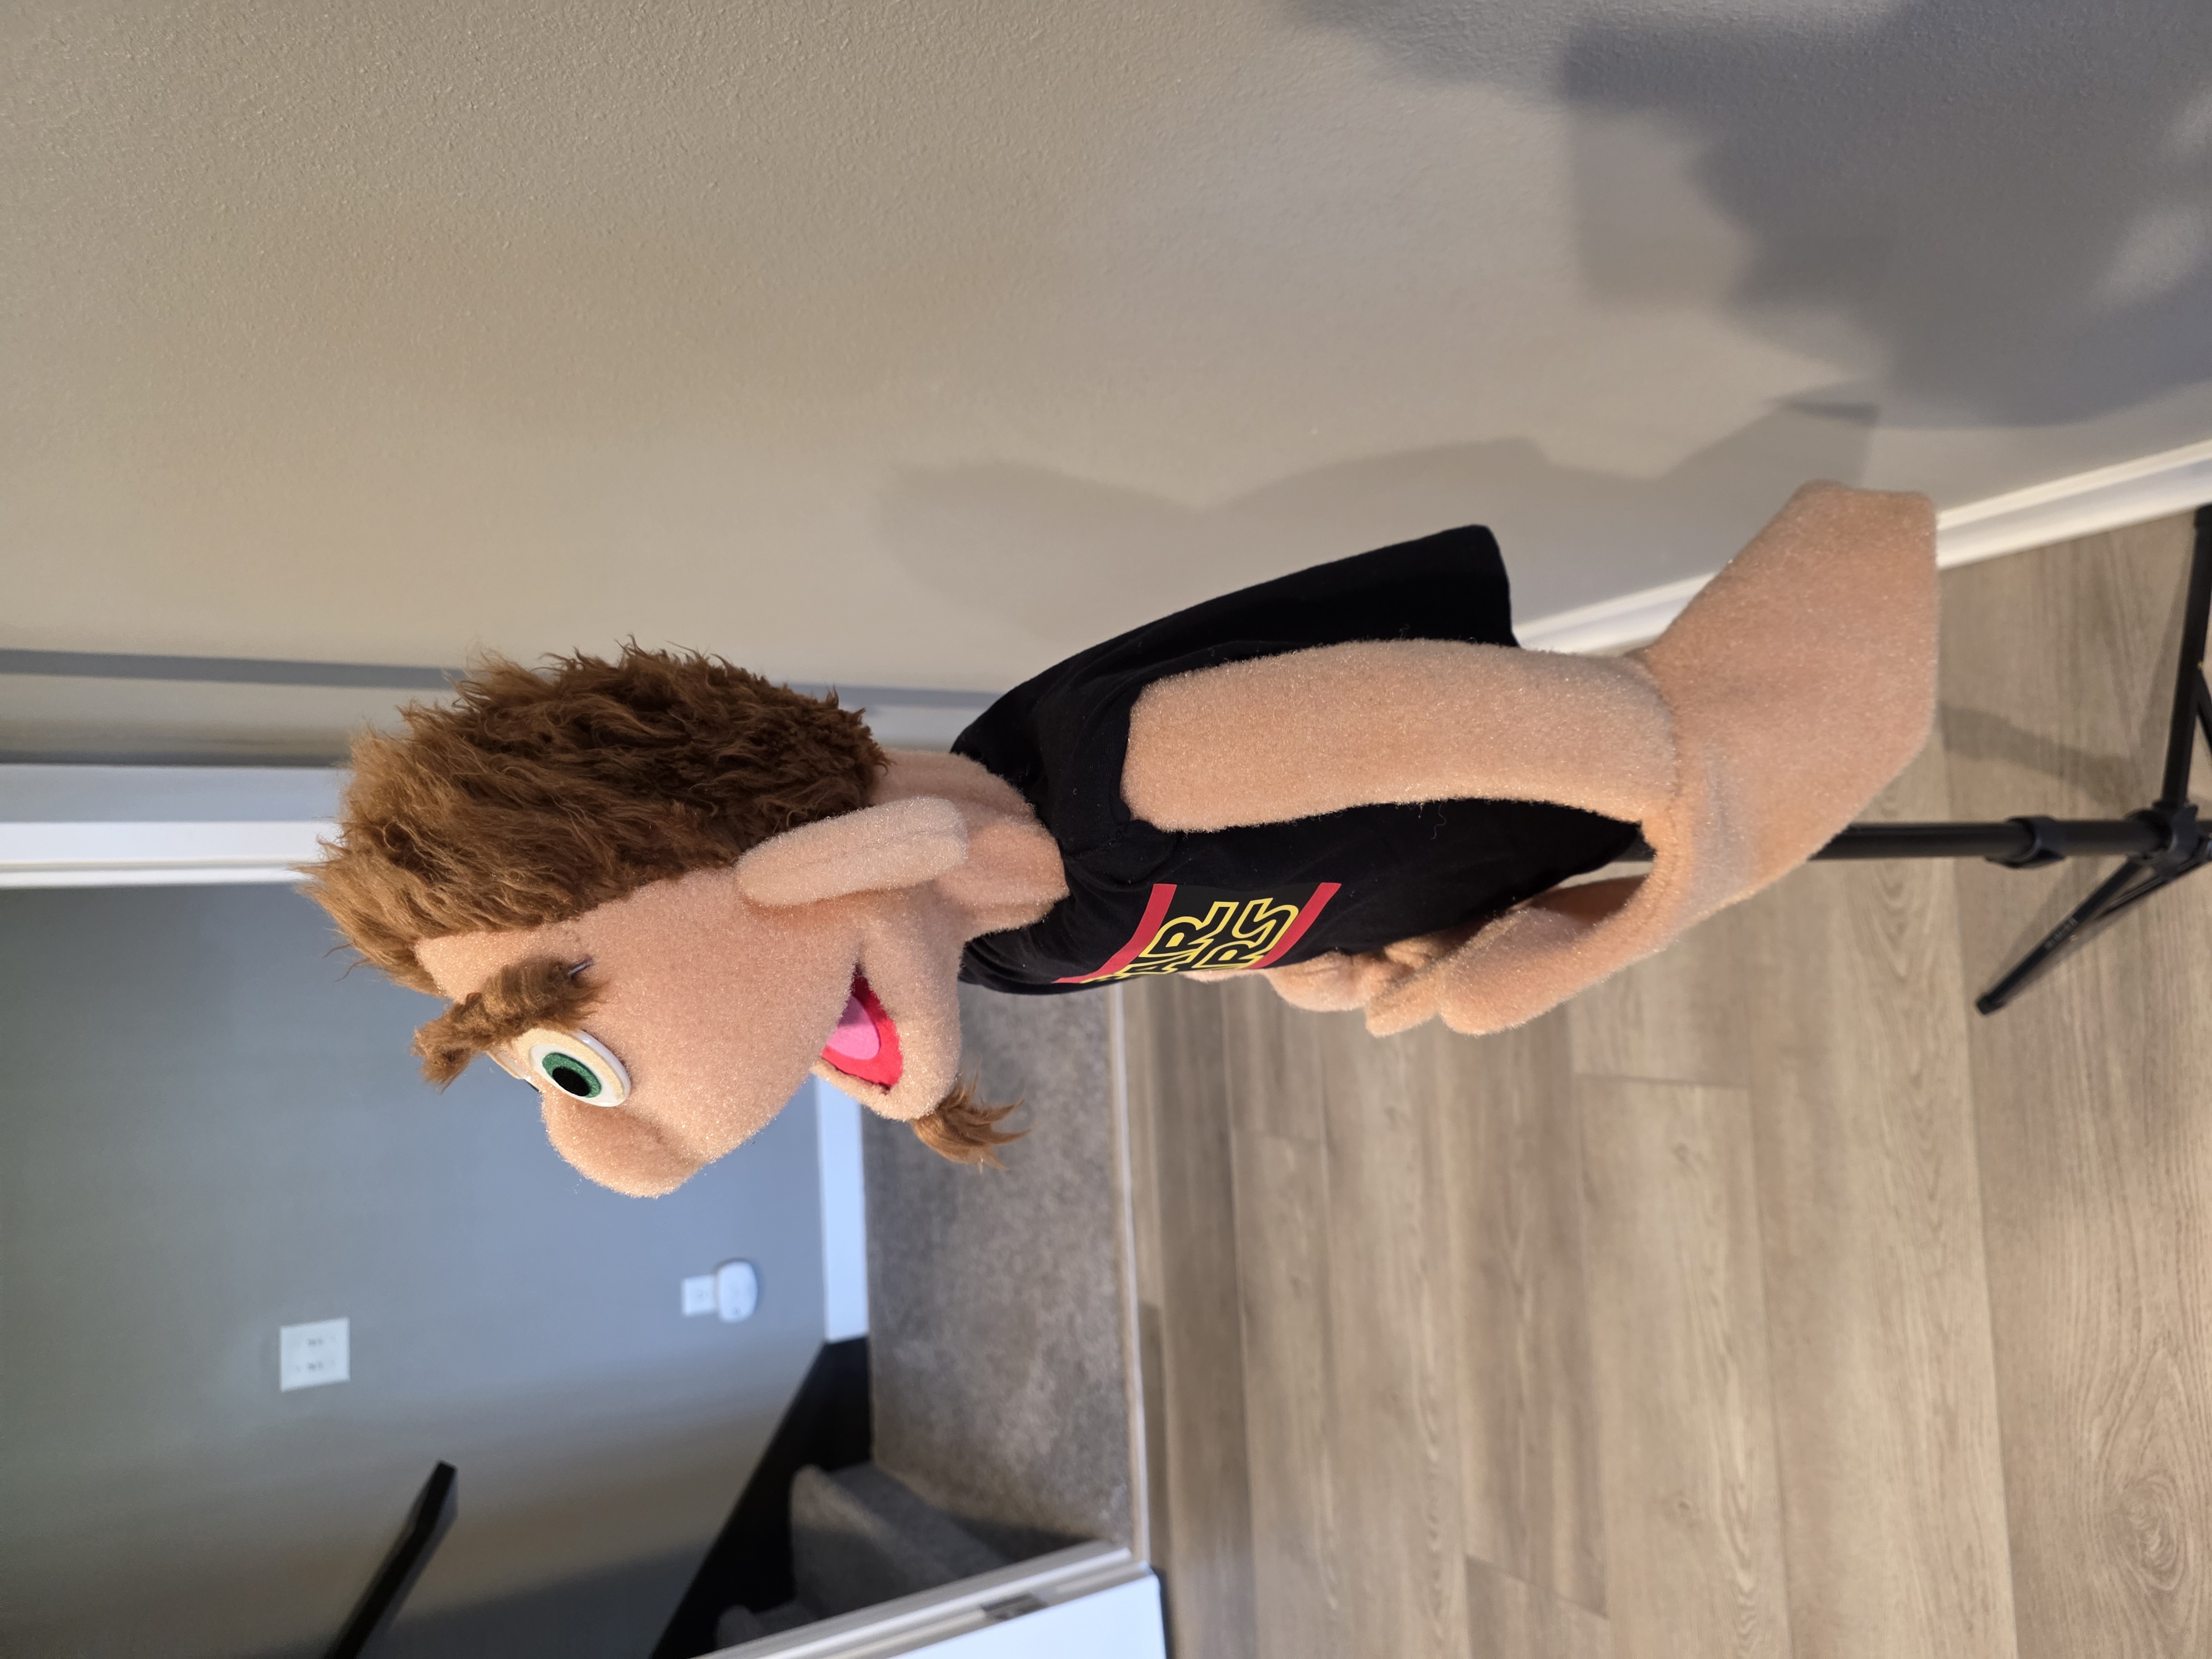
After putting it all together, we got our final Sun Bum puppet!

hi there what do you think your Elmo would be priced as if you ever have it on sale ,maybe about 150,
would you say ?
Nah. You can’t get any high quality replica at that price. My cookie sold for close to $800 if that helps, amd Elmo takes way more time.