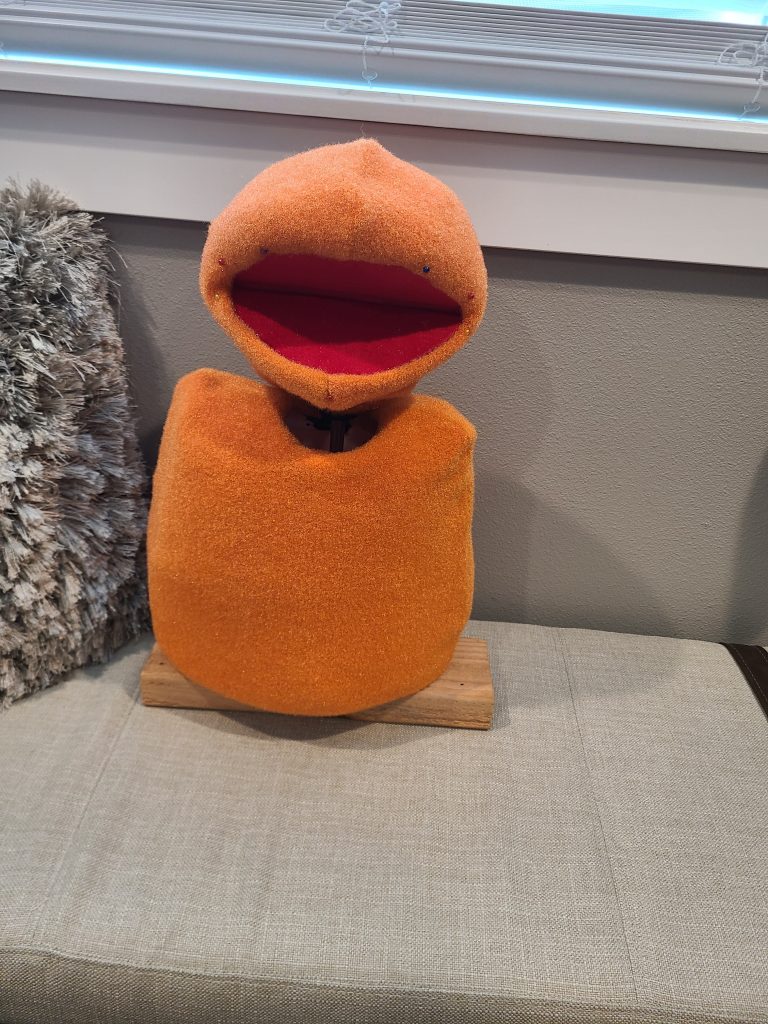
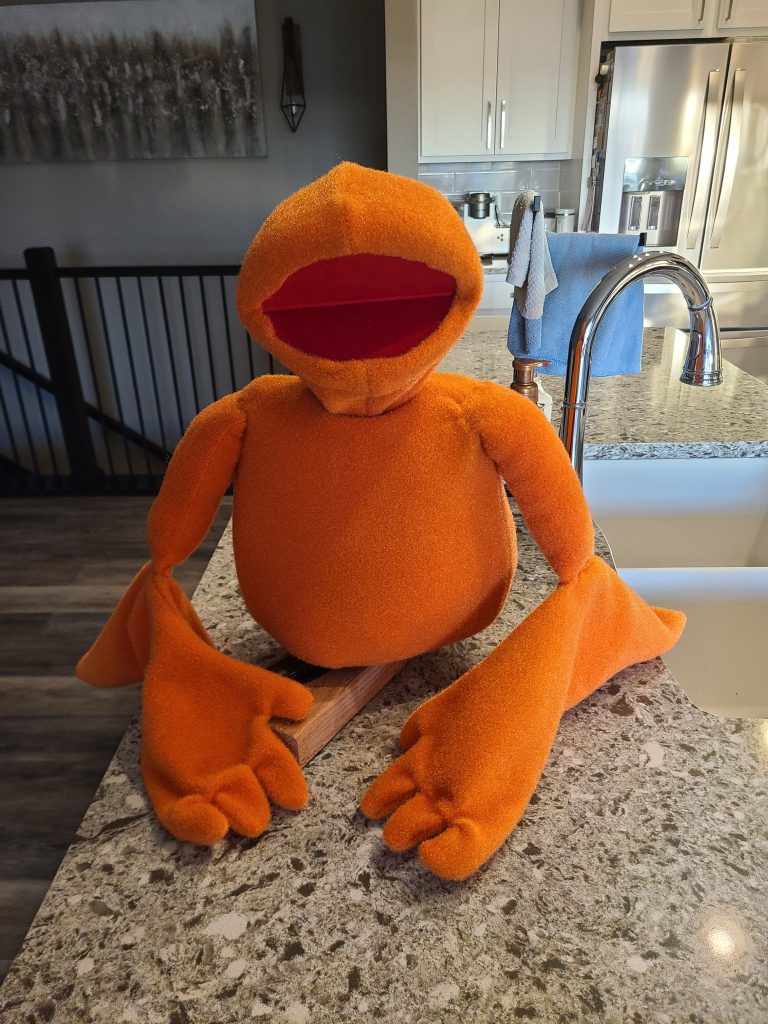
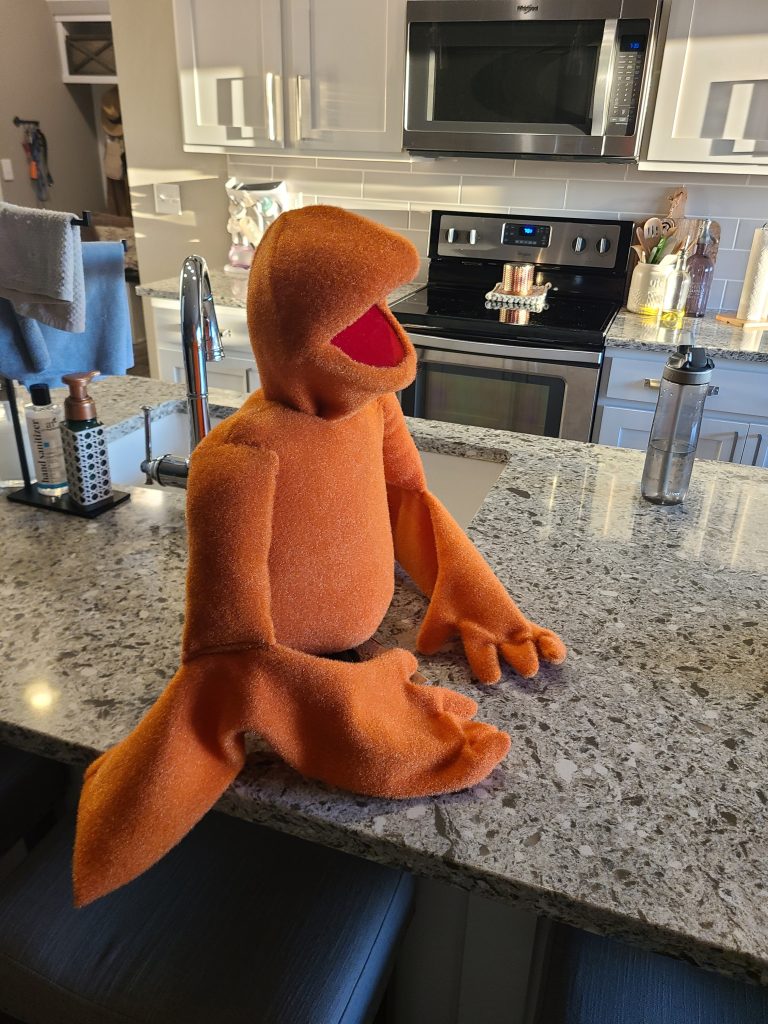
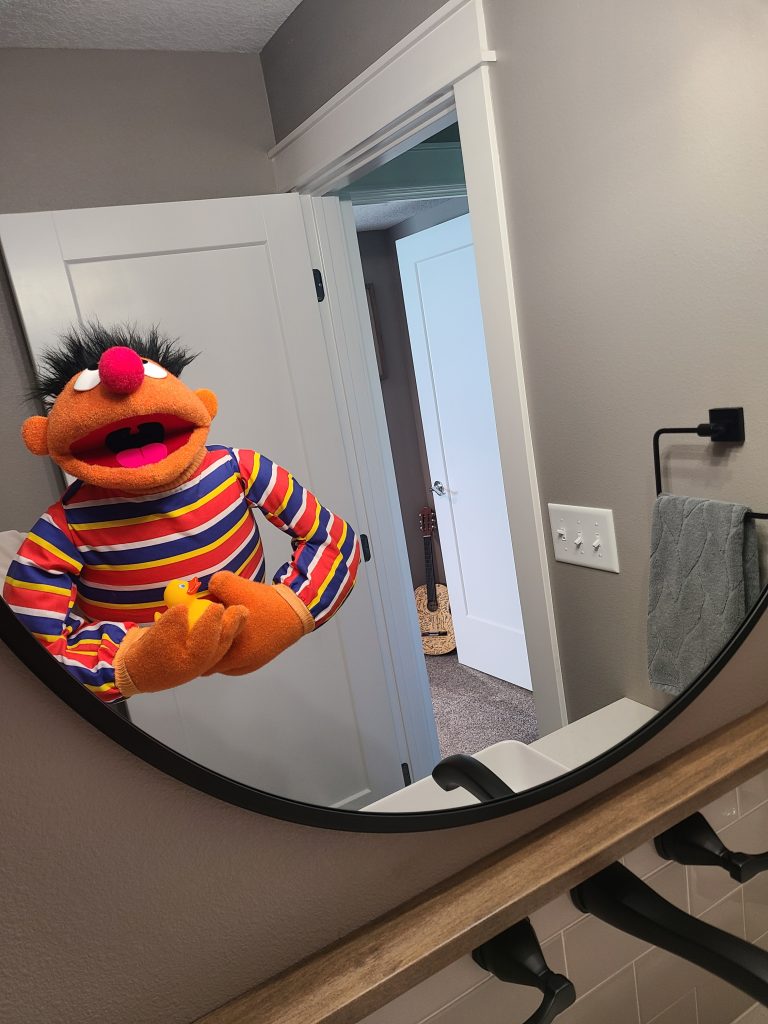
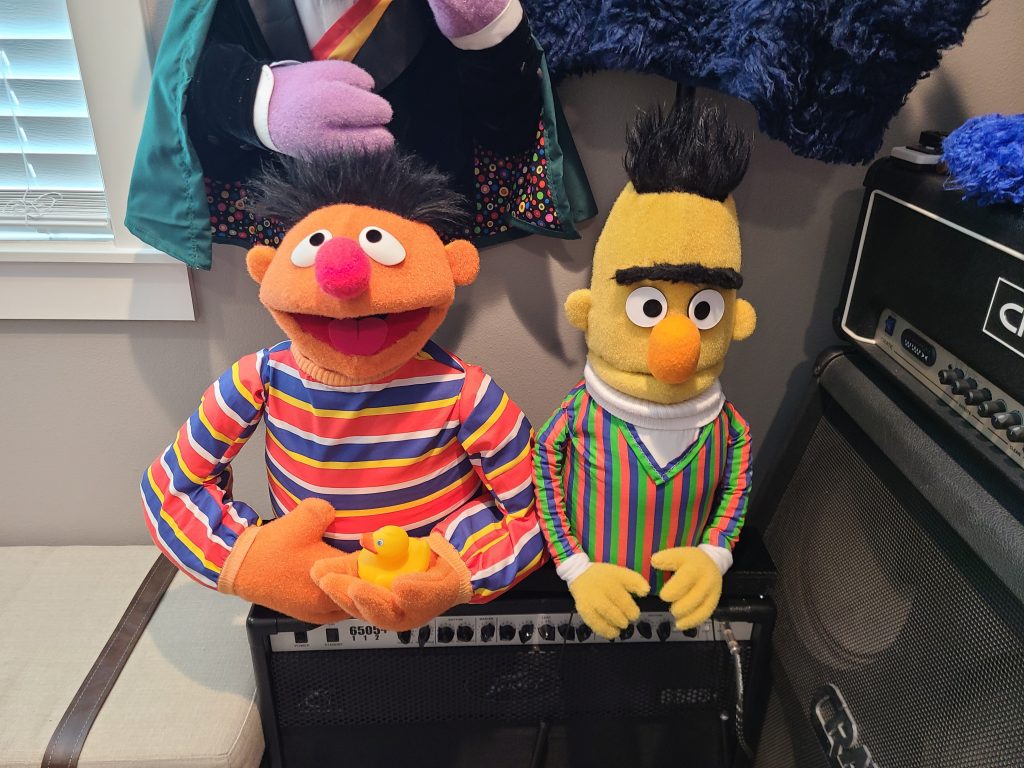
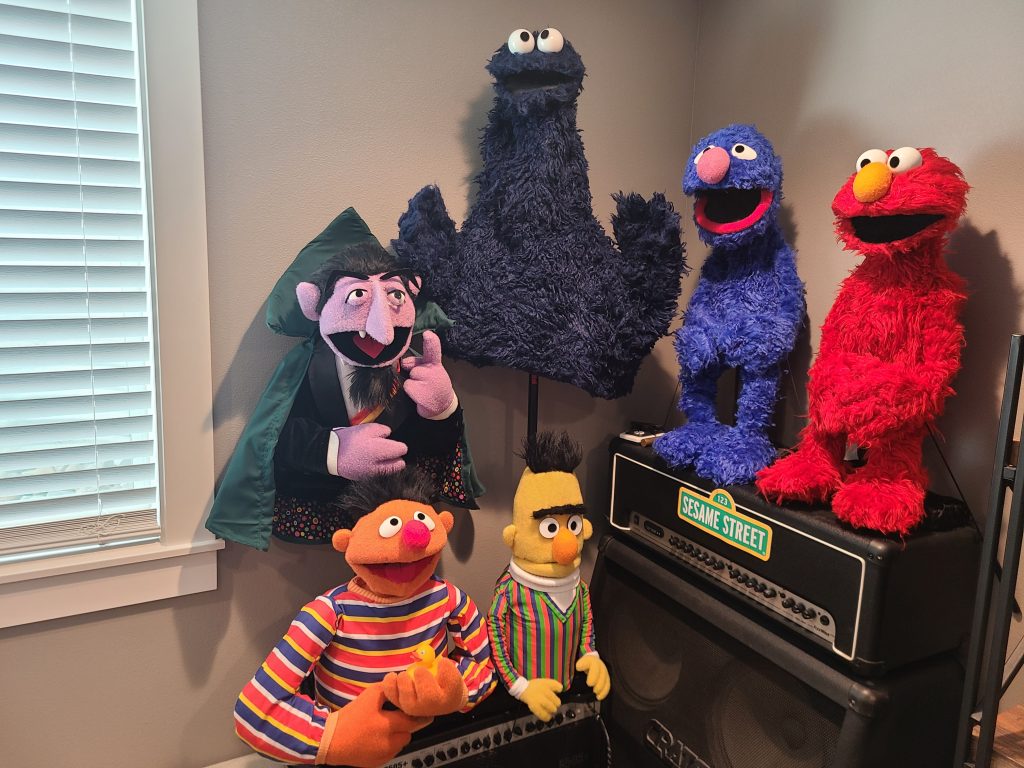
Ernie Replica Puppet Build
Replica Builds, Sesame StreetThis is a quick image guide on how I built my Ernie replica. I tried to provide a lot of pictures for you to give you ideas on how you can build your own. Enjoy and feel free to ask me anything.
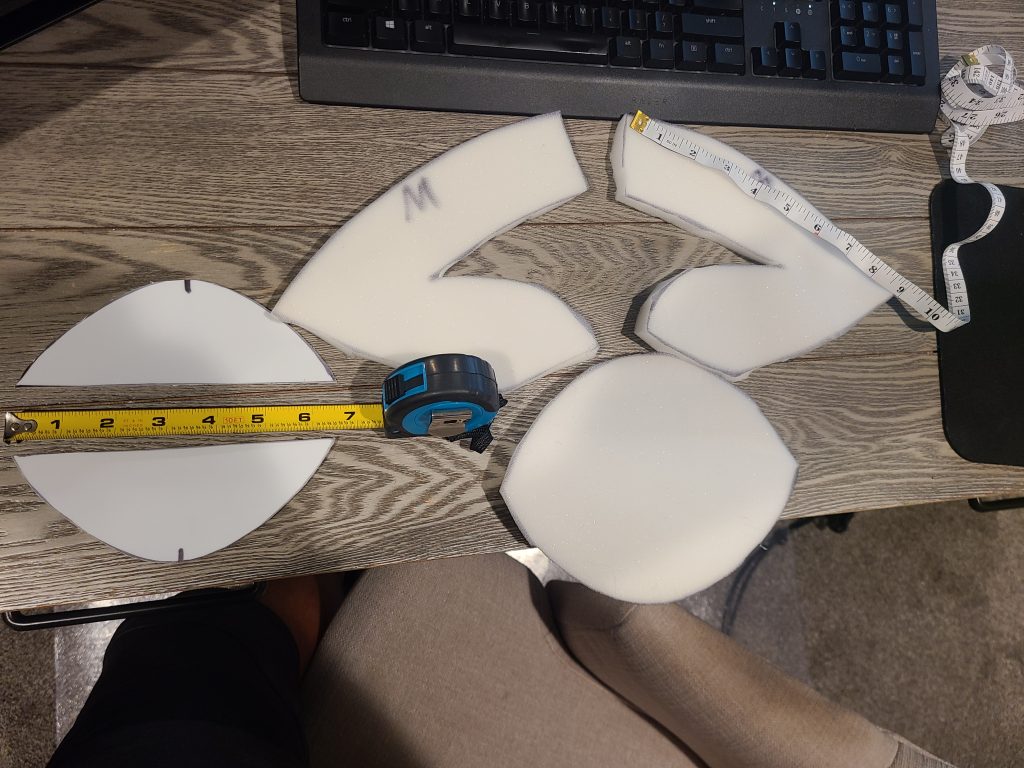
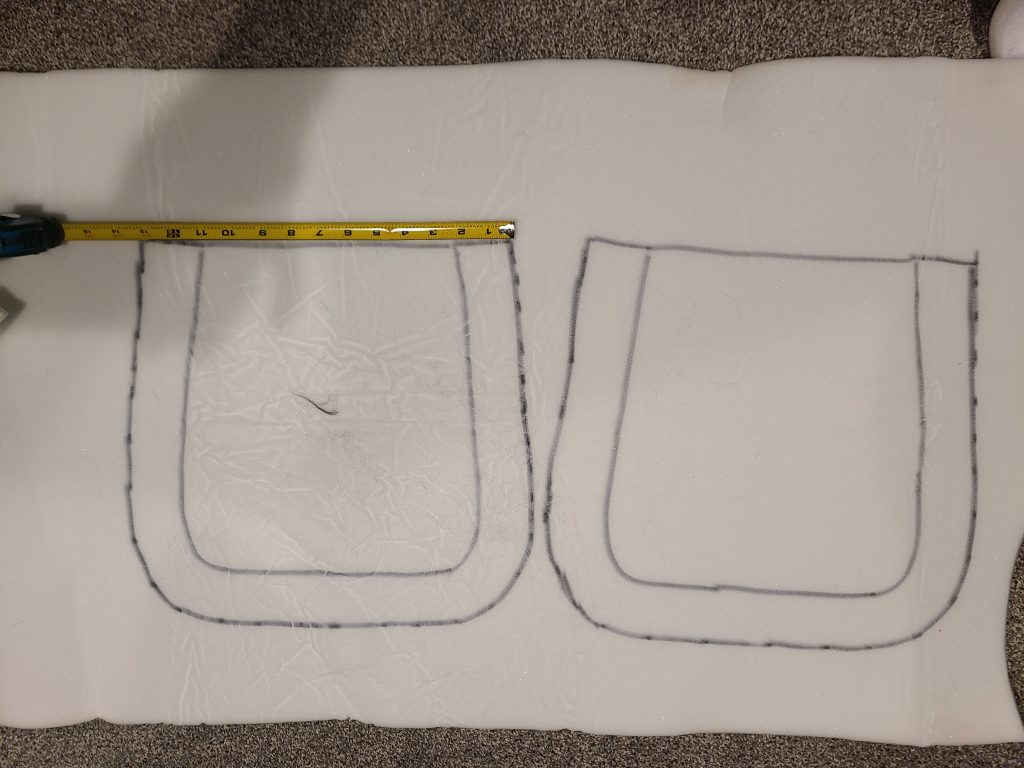
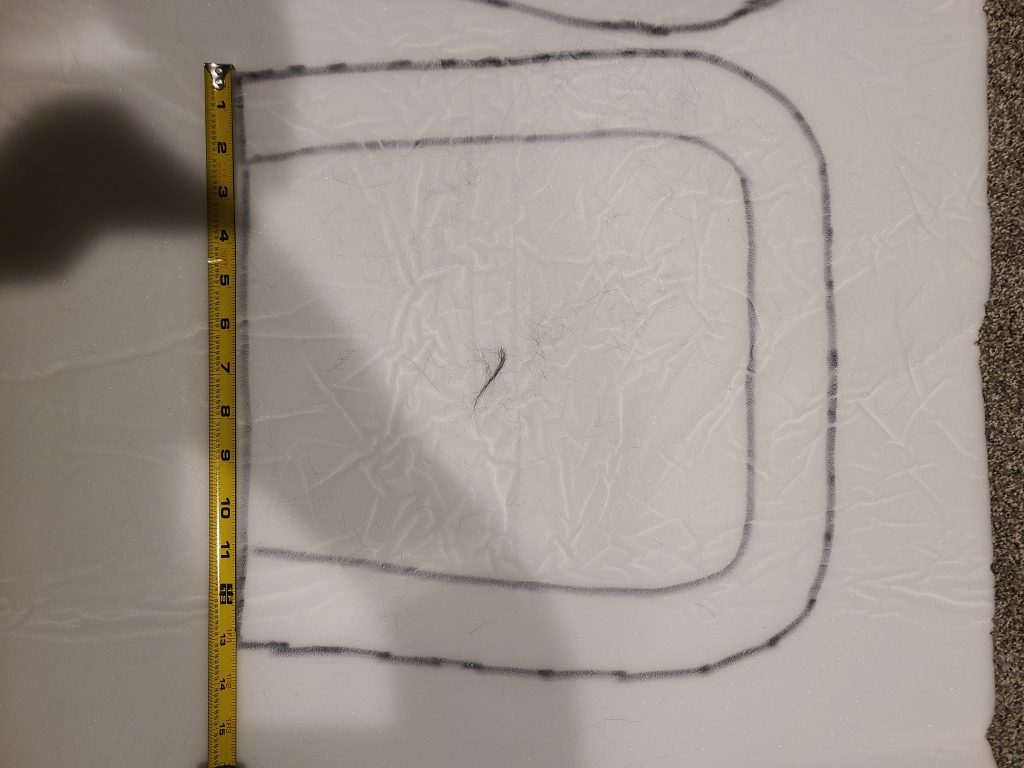
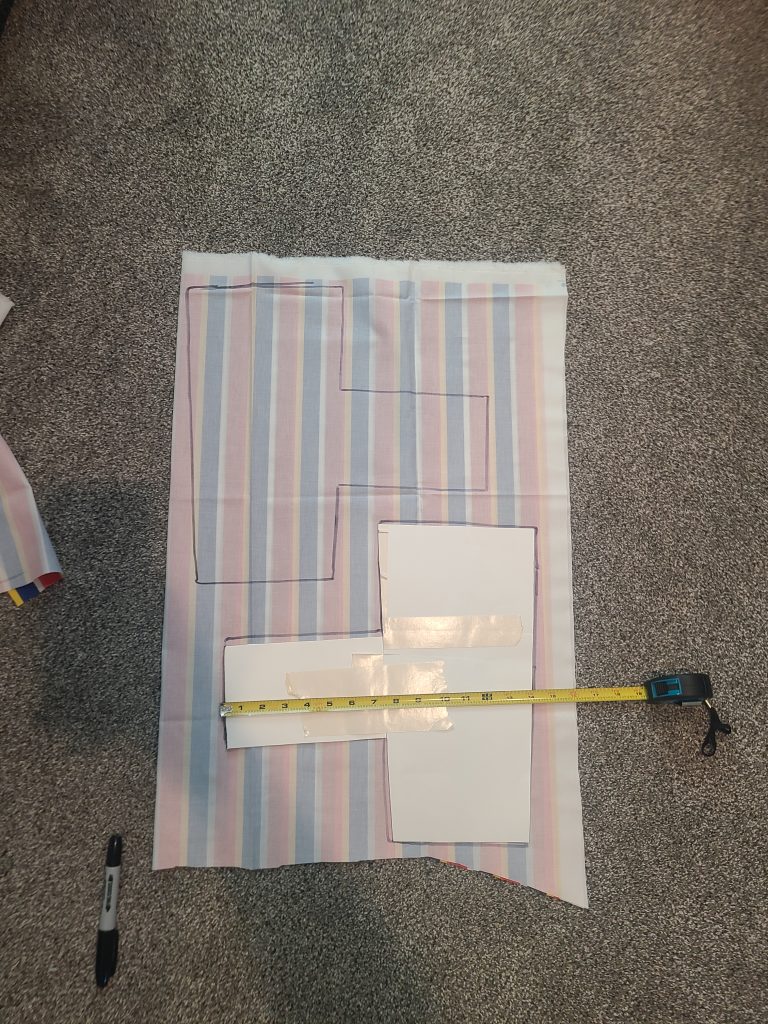
Made and cut out foam patterns and mouth plate. I gave you sizing information for scale.
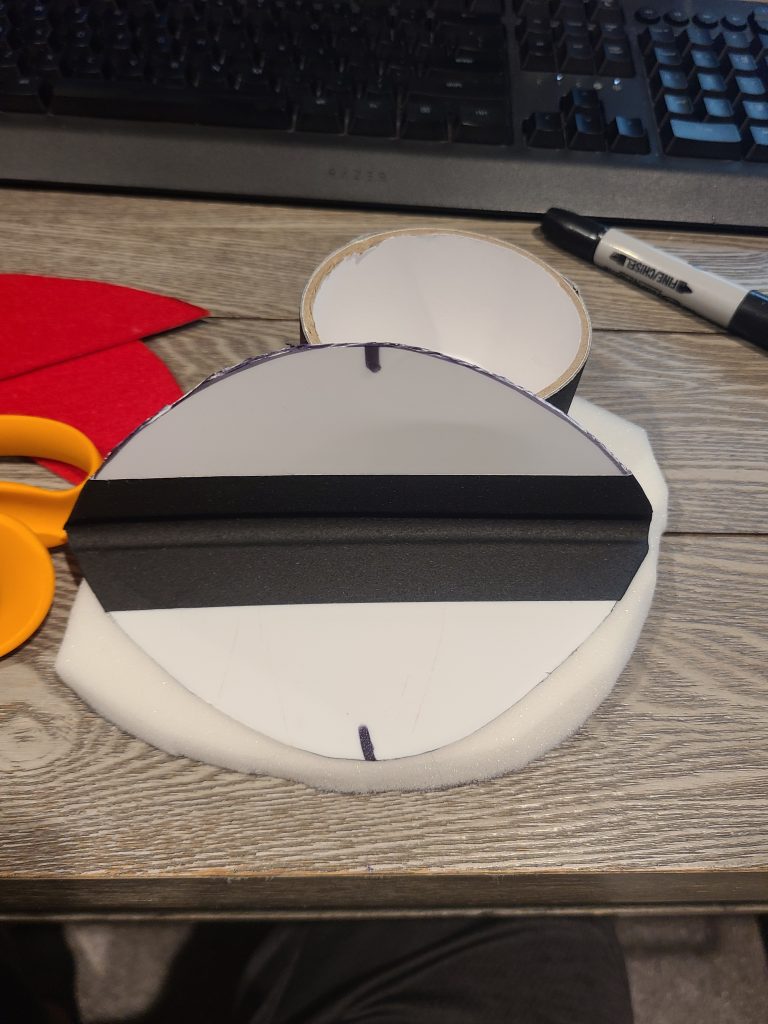
Attached mouth plate with gaffer tape. Mouth plate is from a plastic storage bin lid.
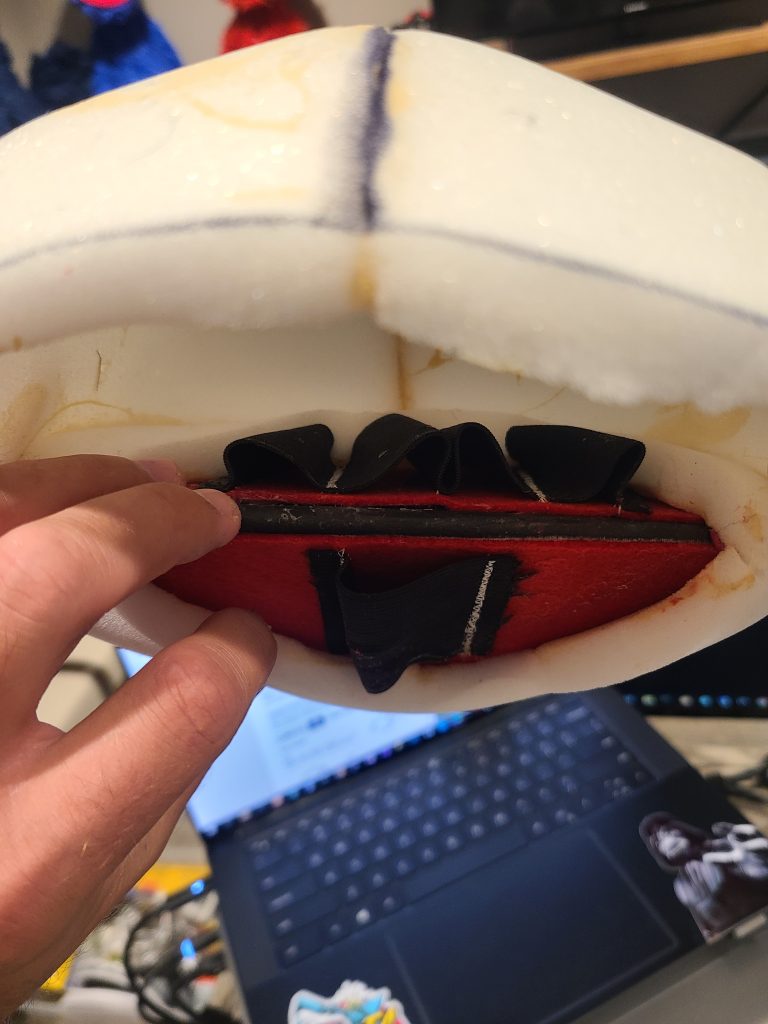
Built mouth plate finger grips for better control. Used elastic bands for finger loops and sewed it to fabric.
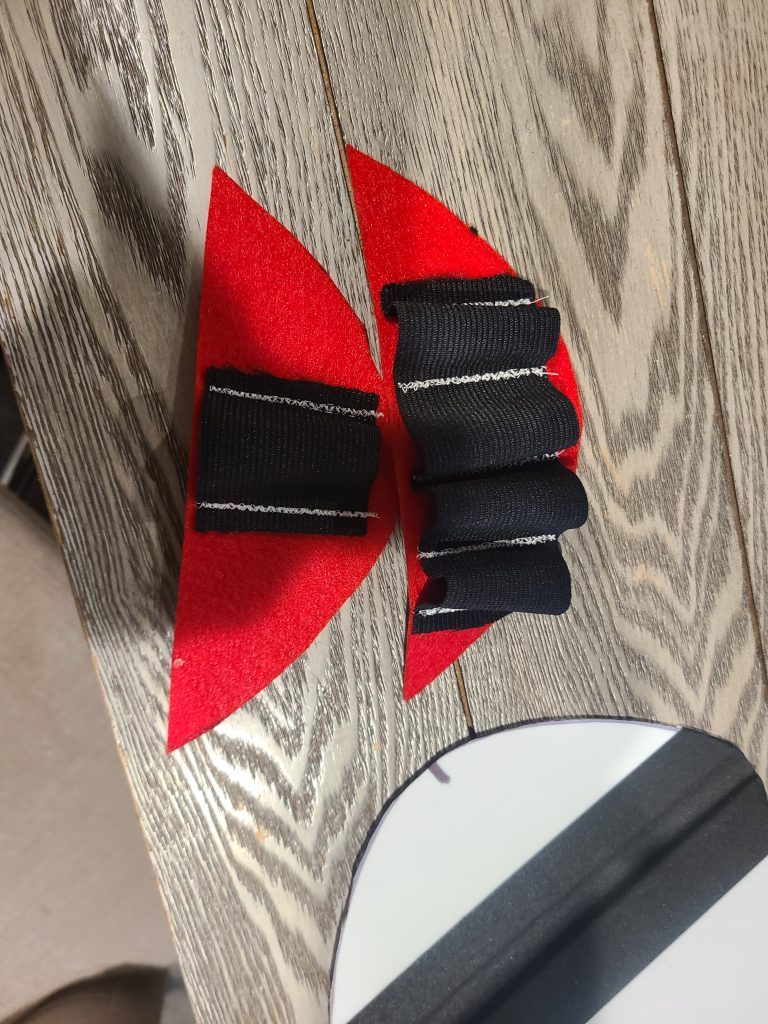
Attached fabric finger grips with contact cement to back of mouth plate.
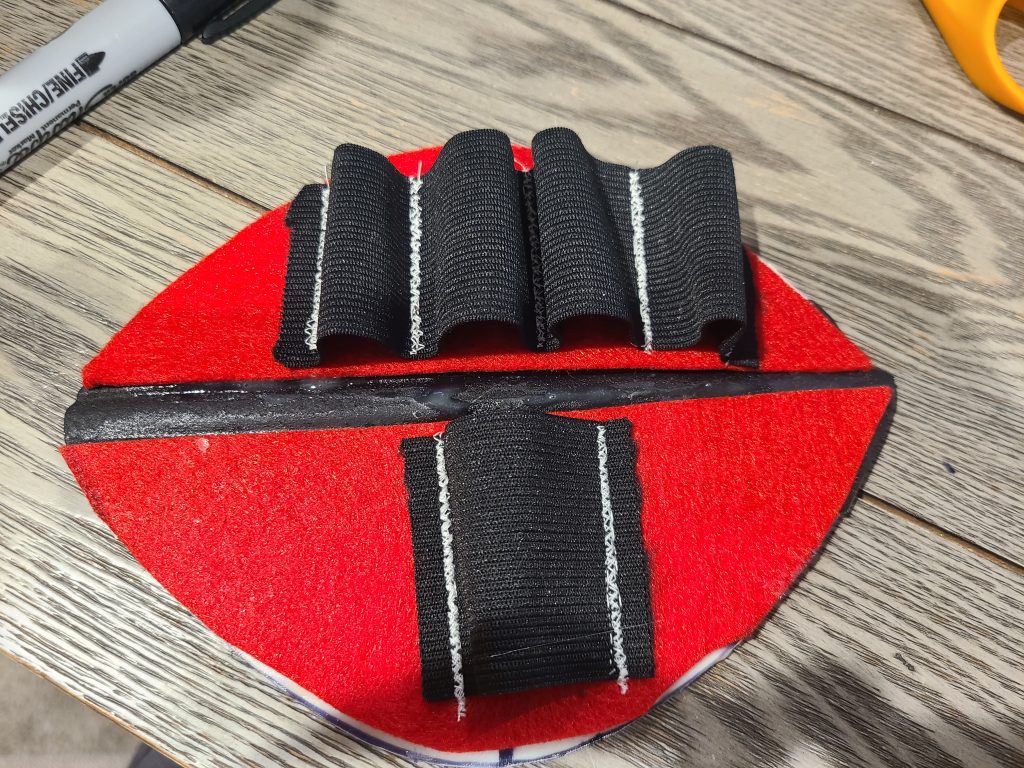
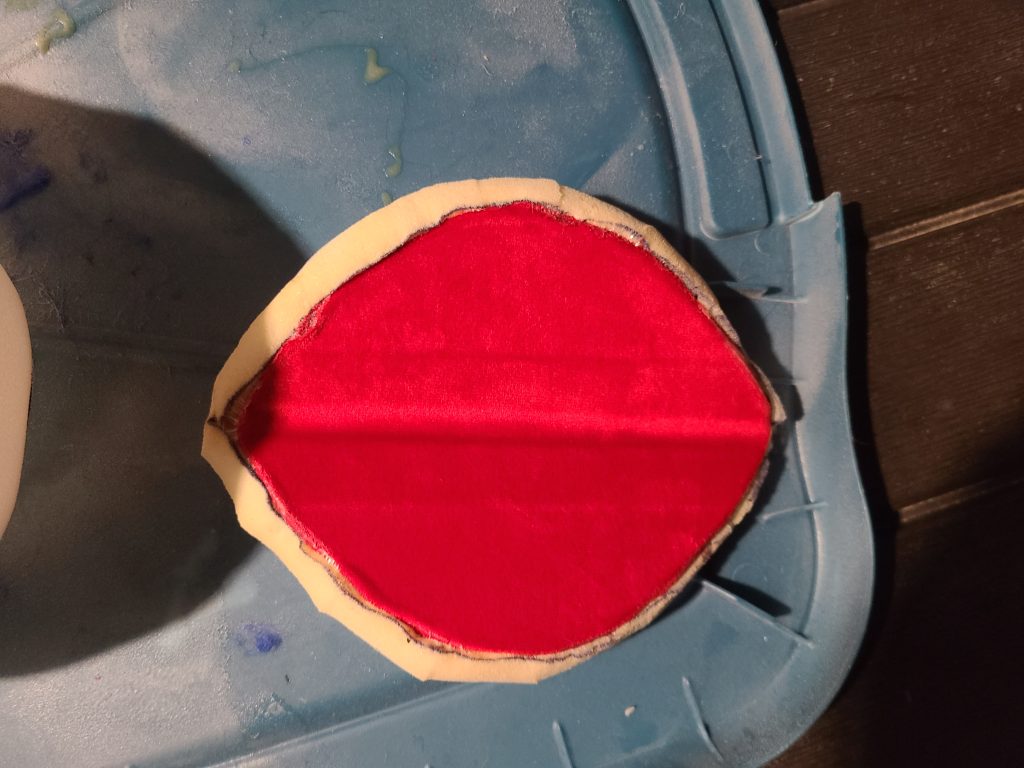
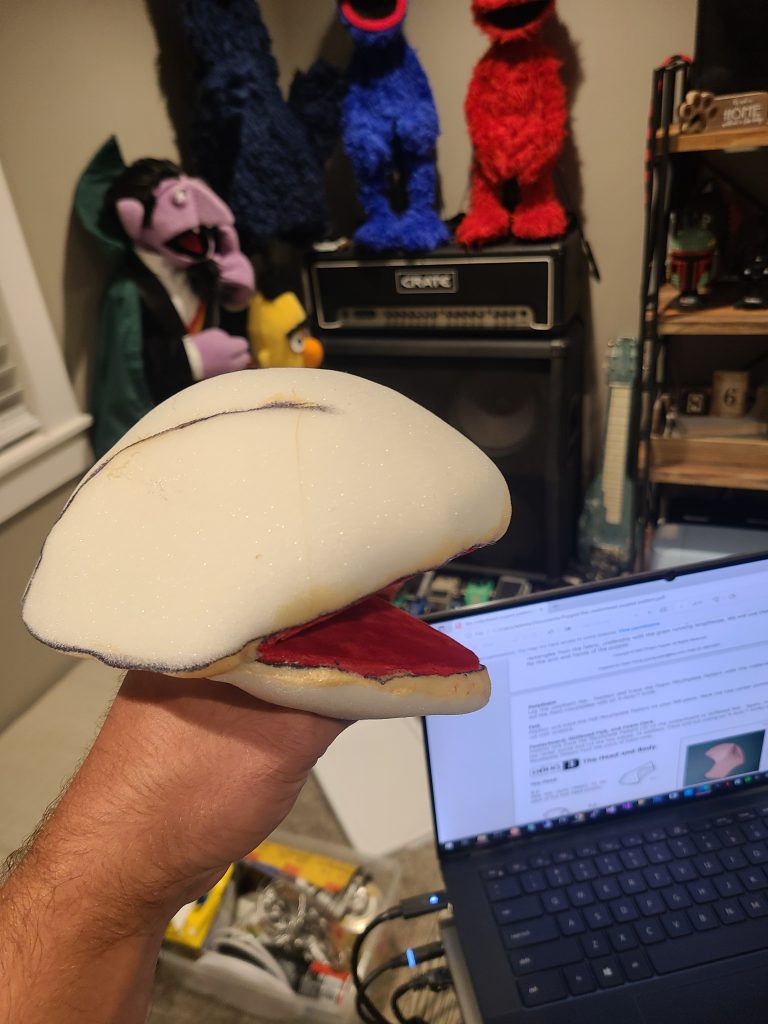
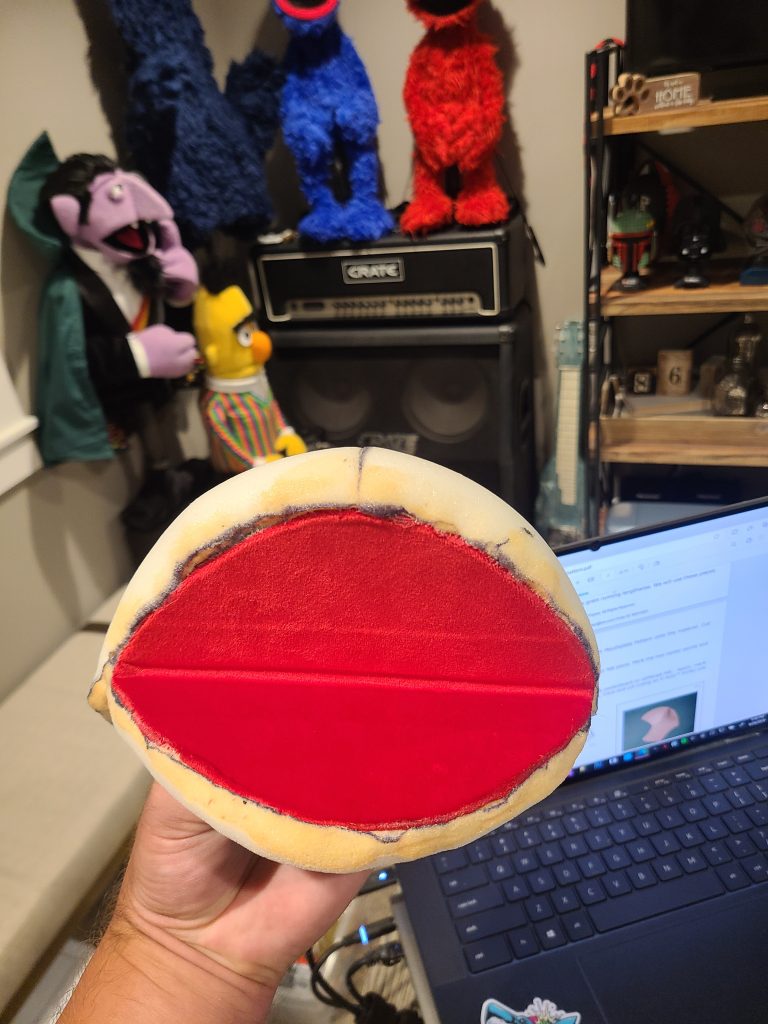
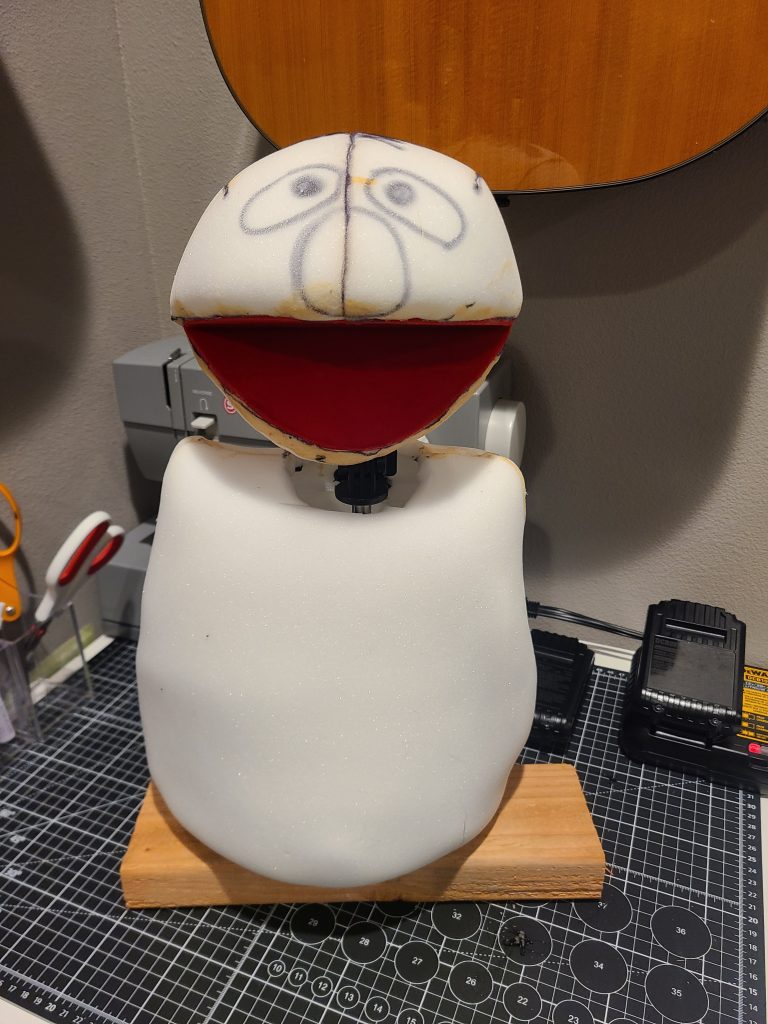
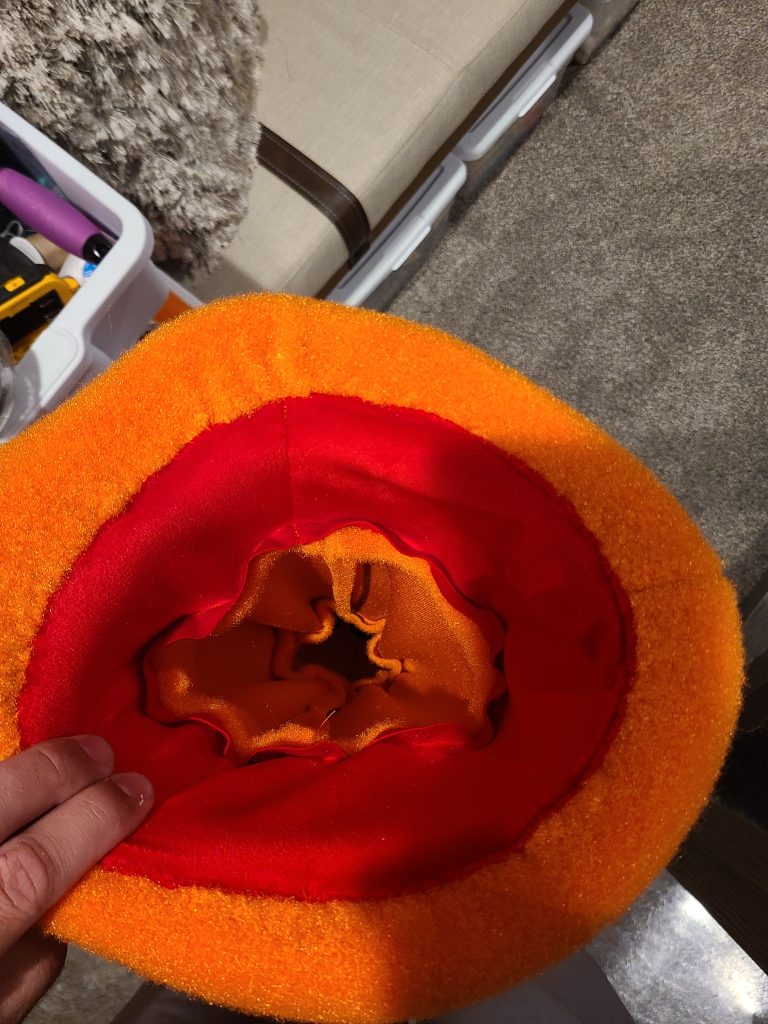
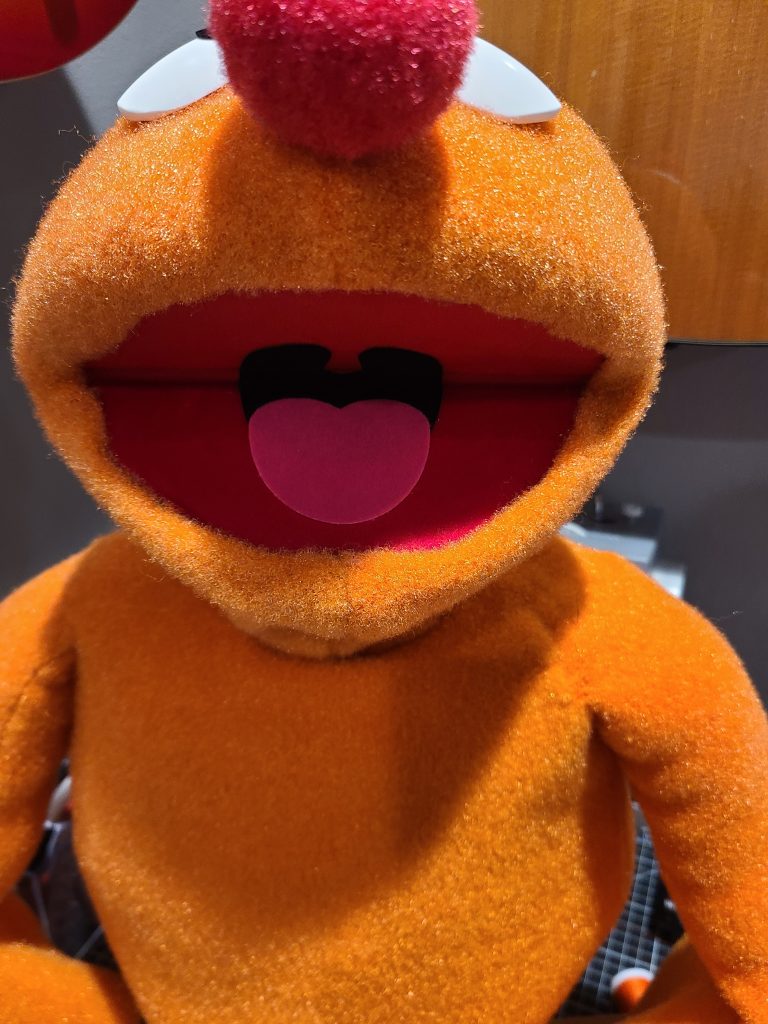
Added red velvet fabric to mouth plate with spray adhesive. Attached foam around mouth plate with contact cement. This will be used to attach mouth plate to skull and fabric skin to mouth plate.
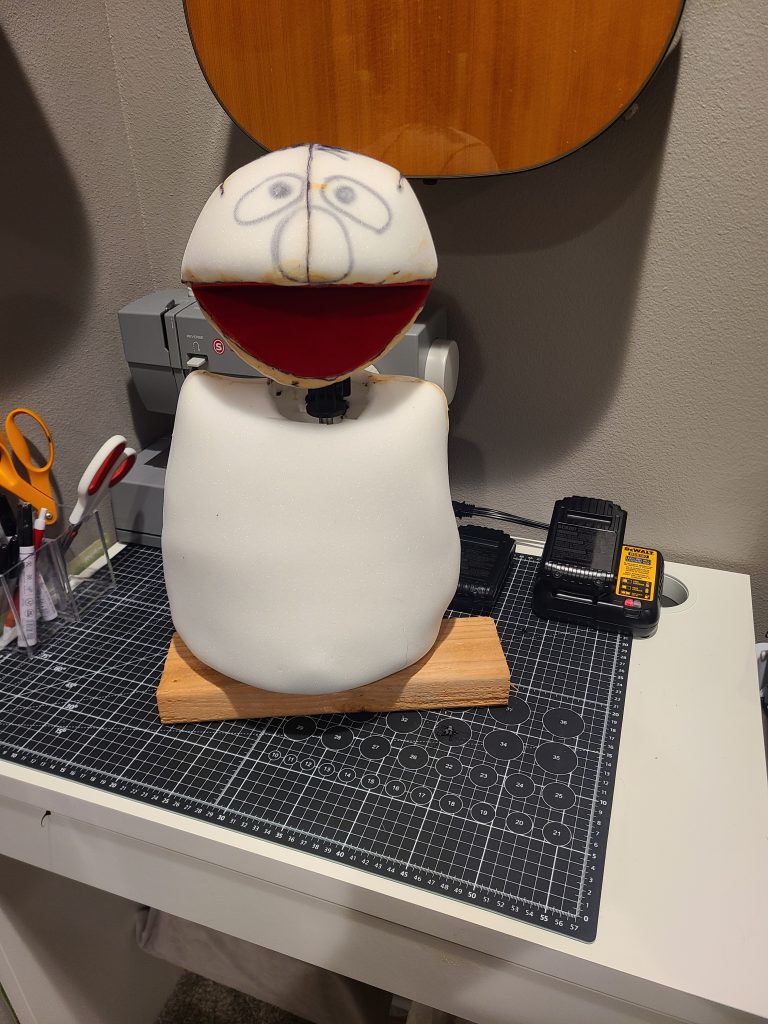
Preparing to attach mouth plate to foam skull with contact cement.
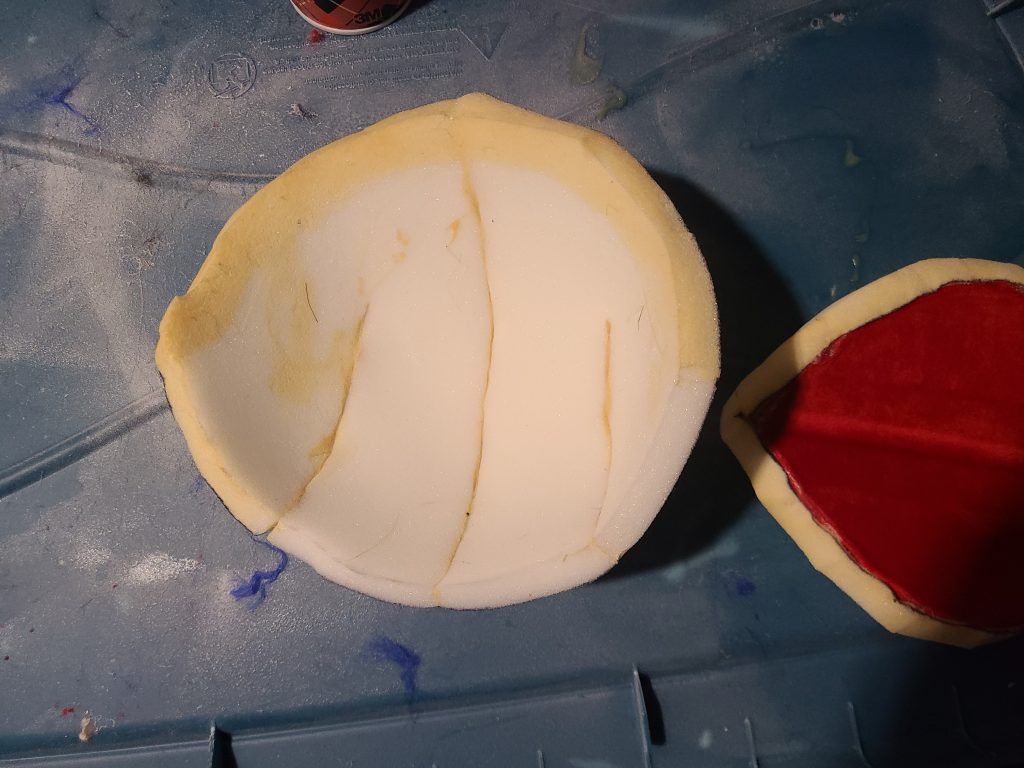
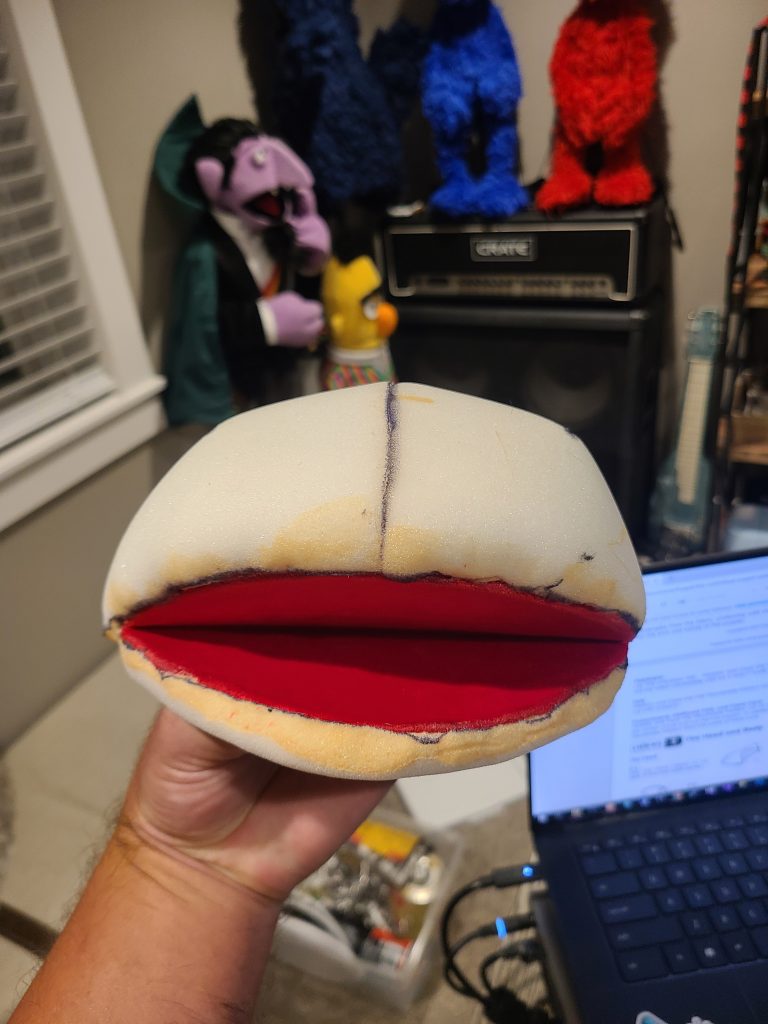
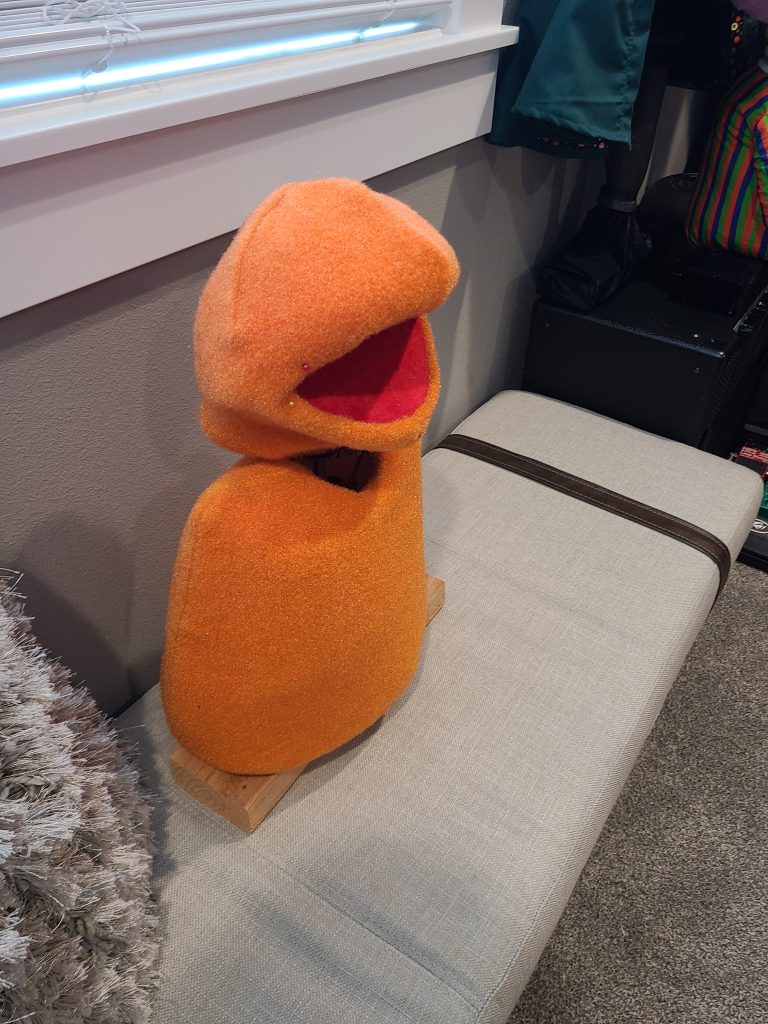
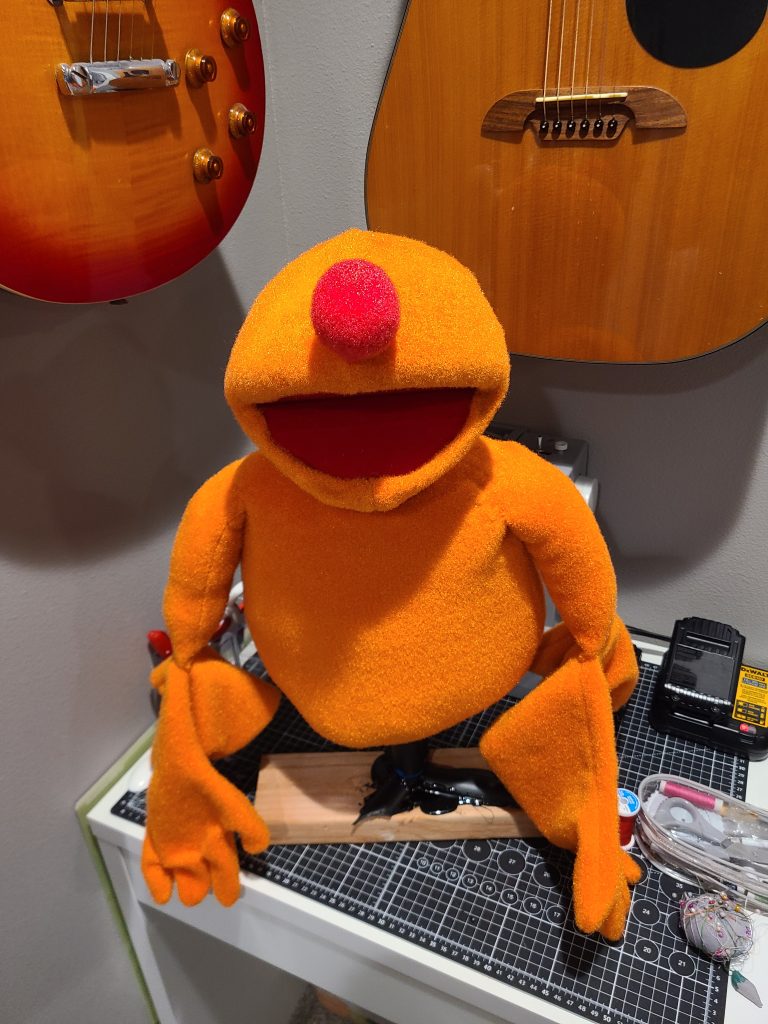
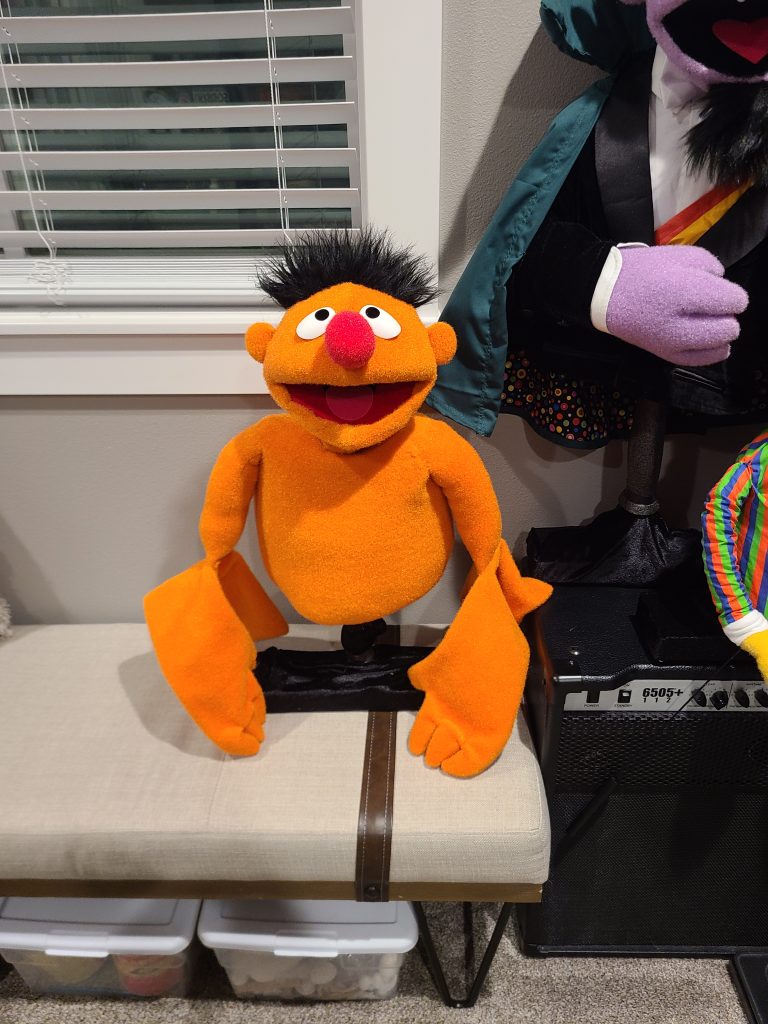
Attached mouth plate to foam skull.
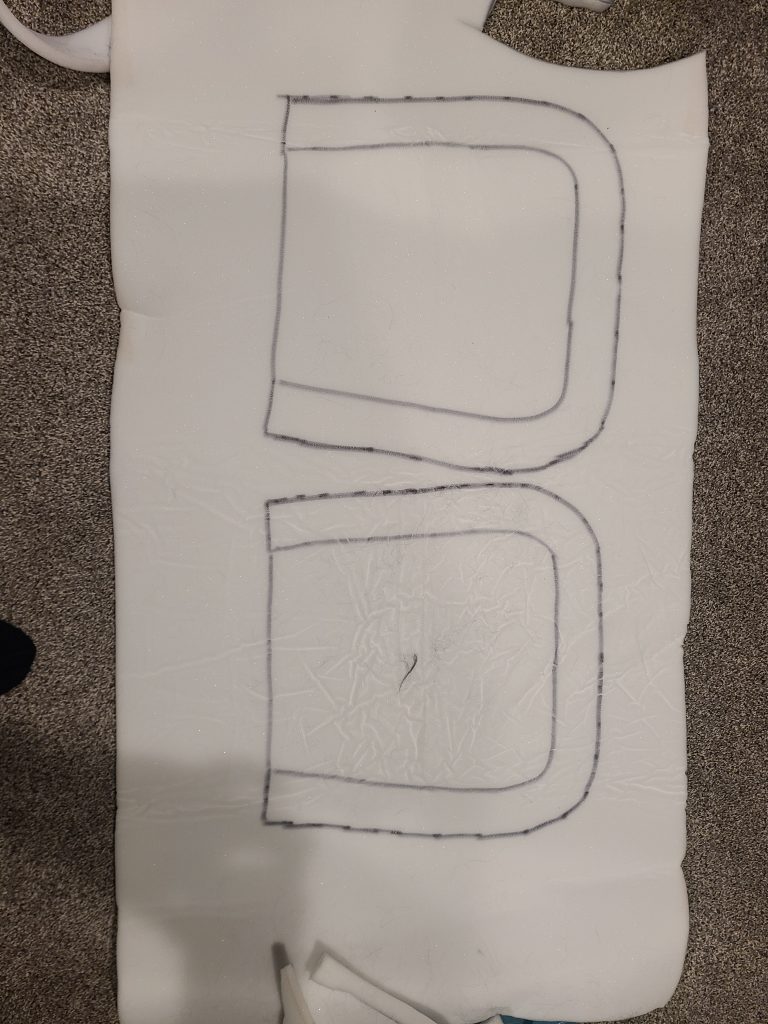
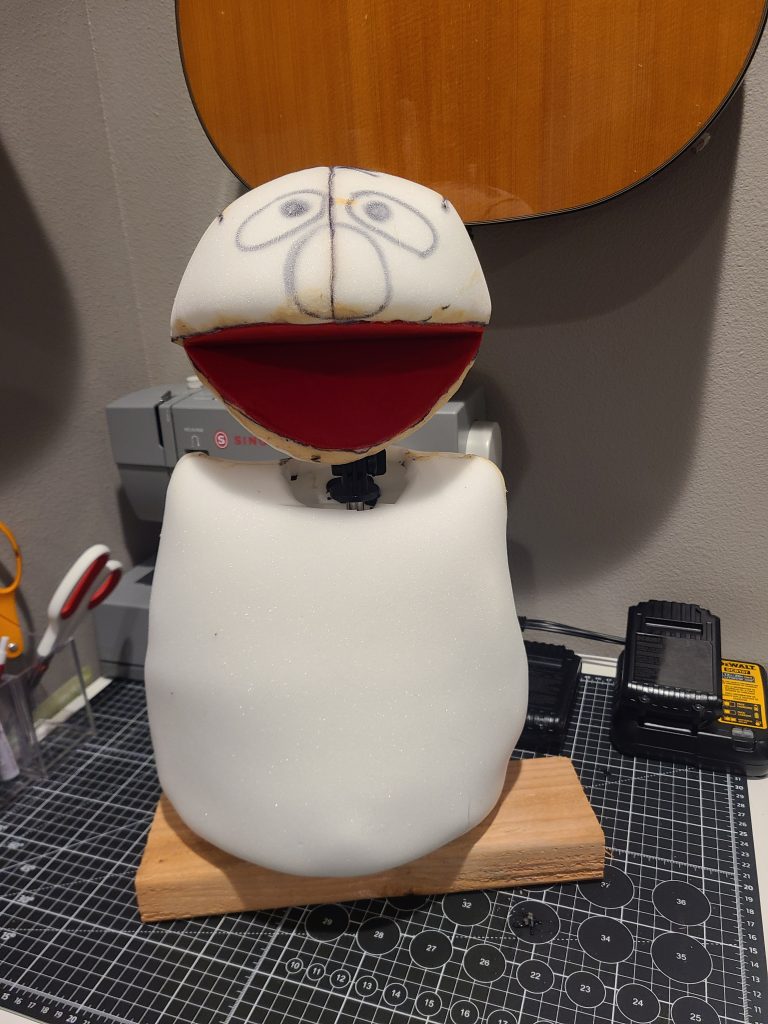
Designing foam body pattern. Please note that I altered this quite a bit once I put it together to get a better shape.

Attached foam body pieces together with contact cement. Altered shape and trimmed it down quite a bit. Used poly boning on the inside to hold the structure since I am only using 1/2″ foam.
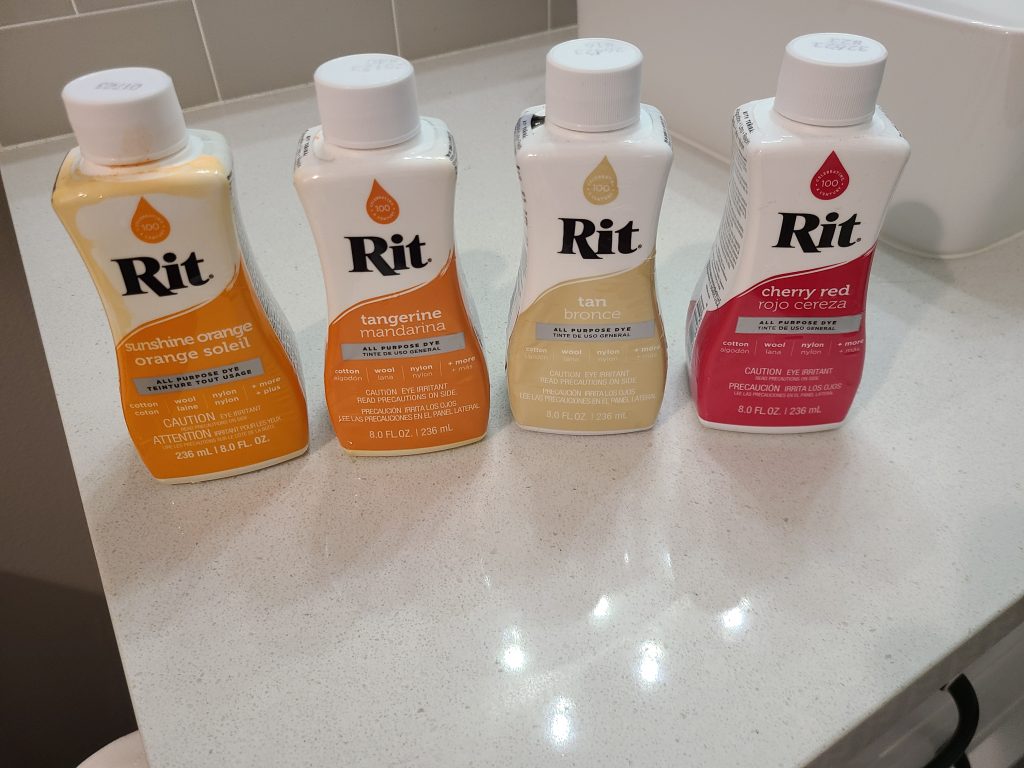
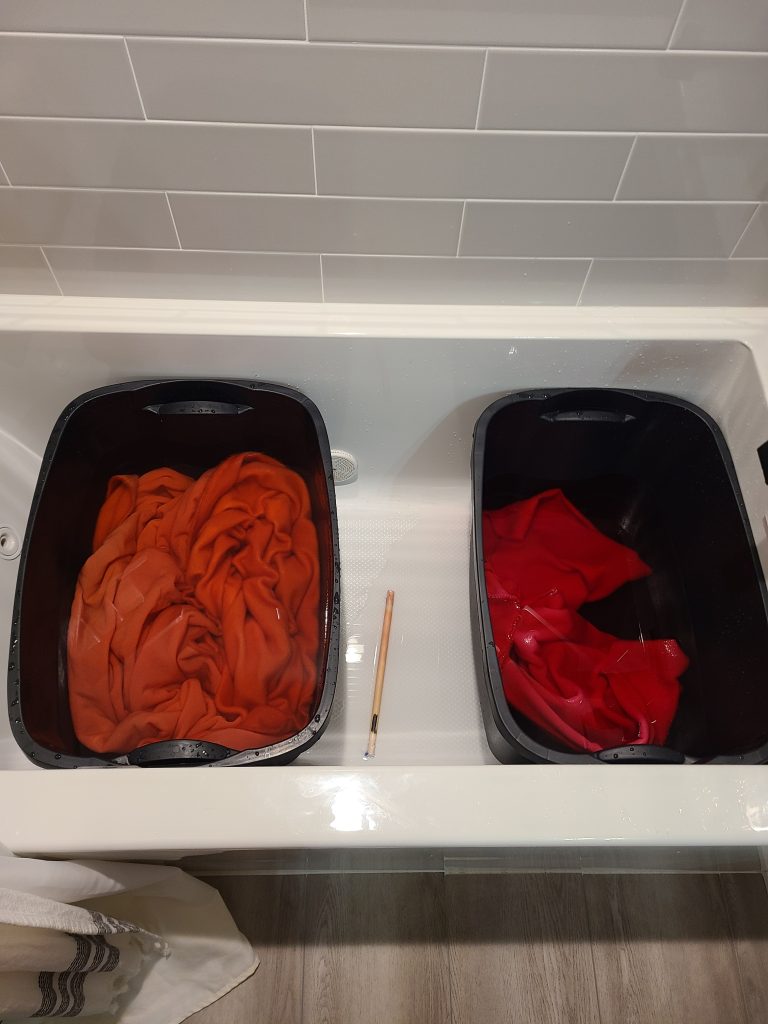
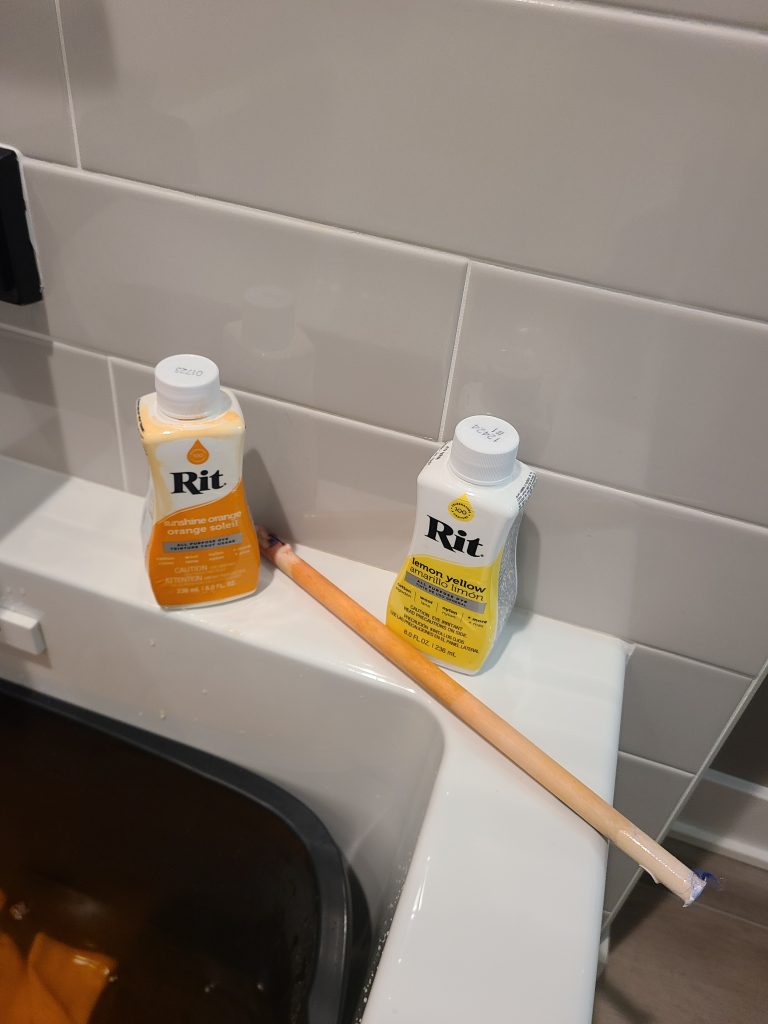
Dying fleece with Rits dye. Using the colors below. All 4 colors used in body while just red used for nose.

Cutting out and sewing head fabric pattern.
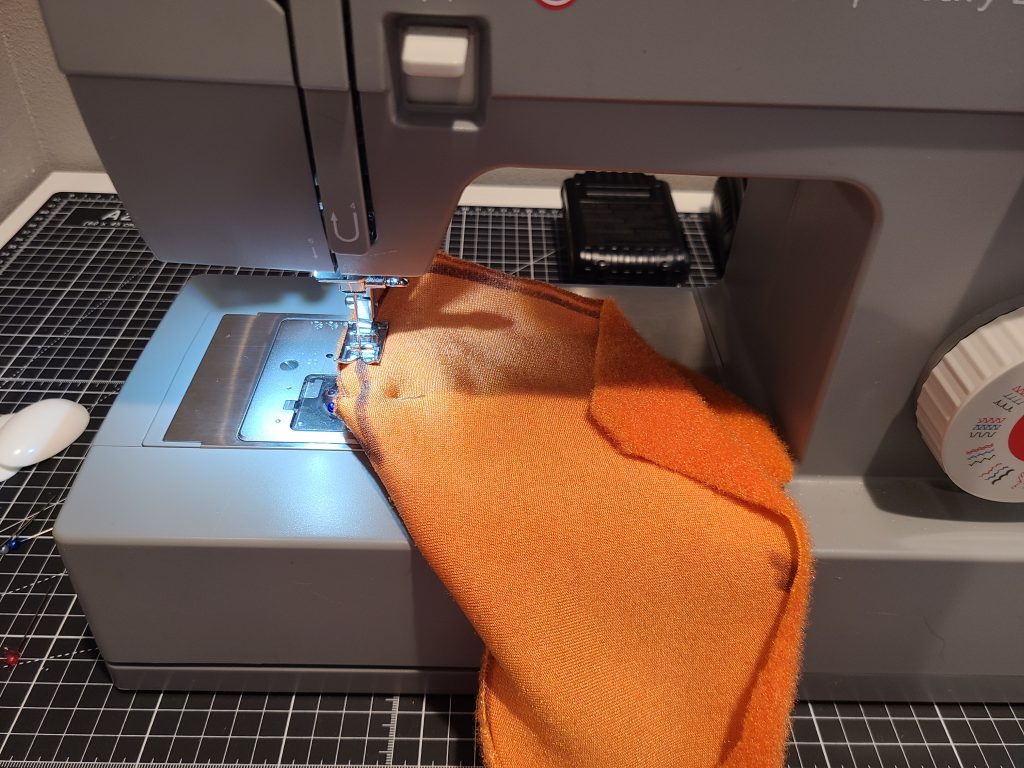
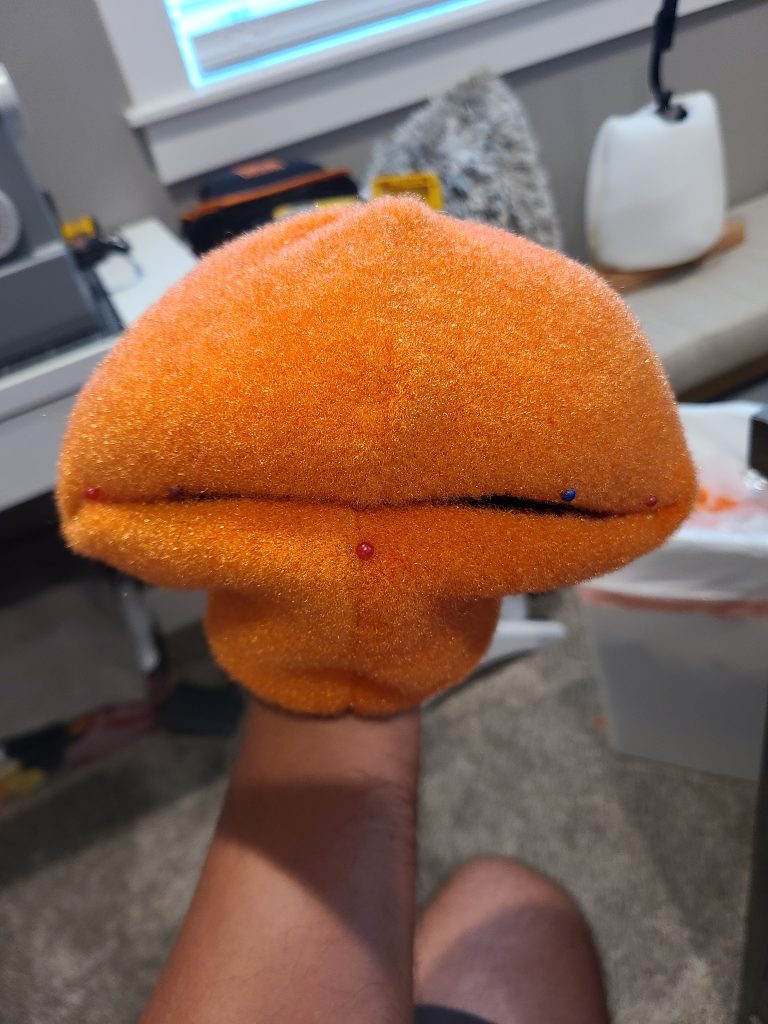
Test fitting head pattern.
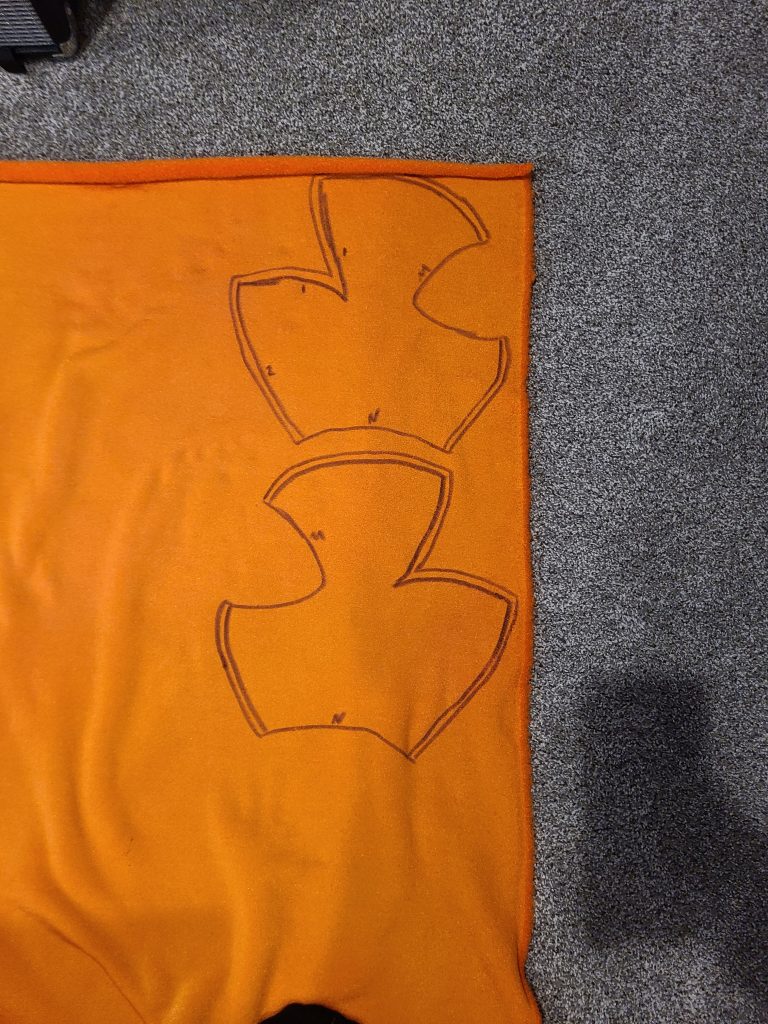
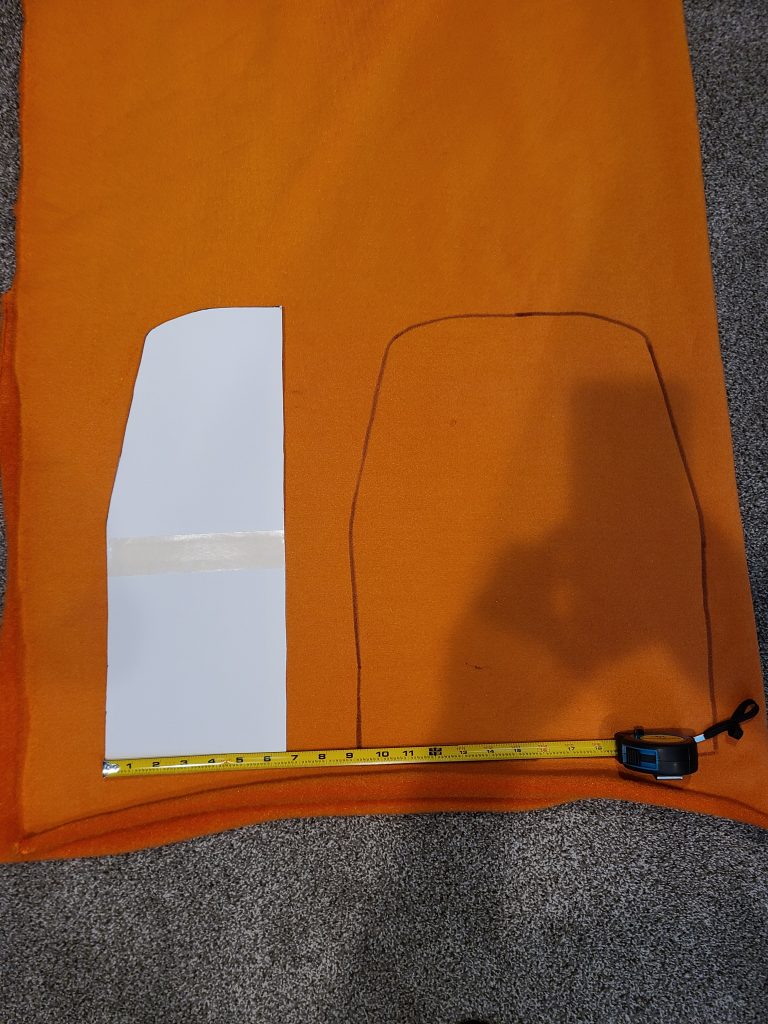
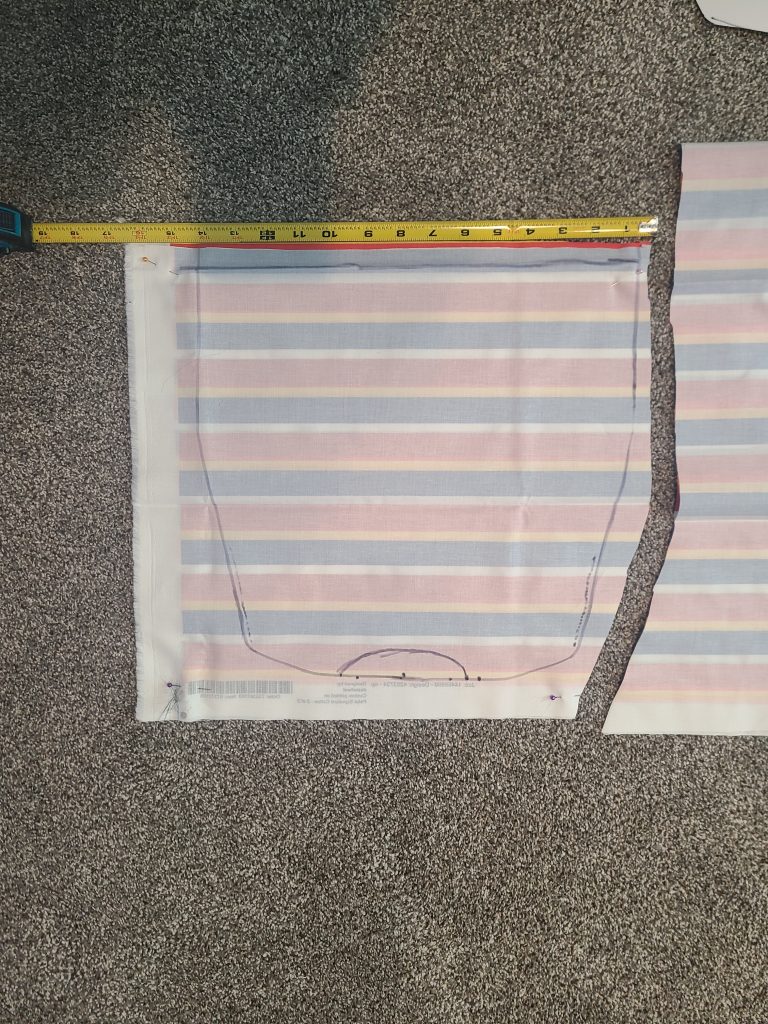
Creating, sewing, and cutting out body fabric pattern.
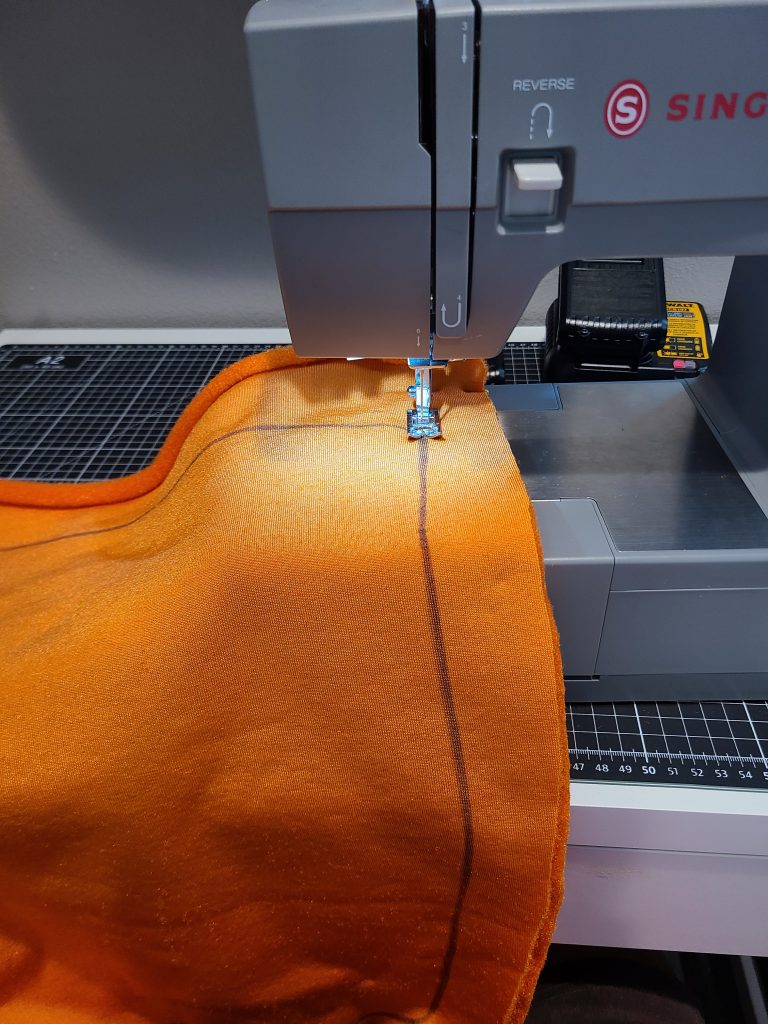
Test fitting body pattern.
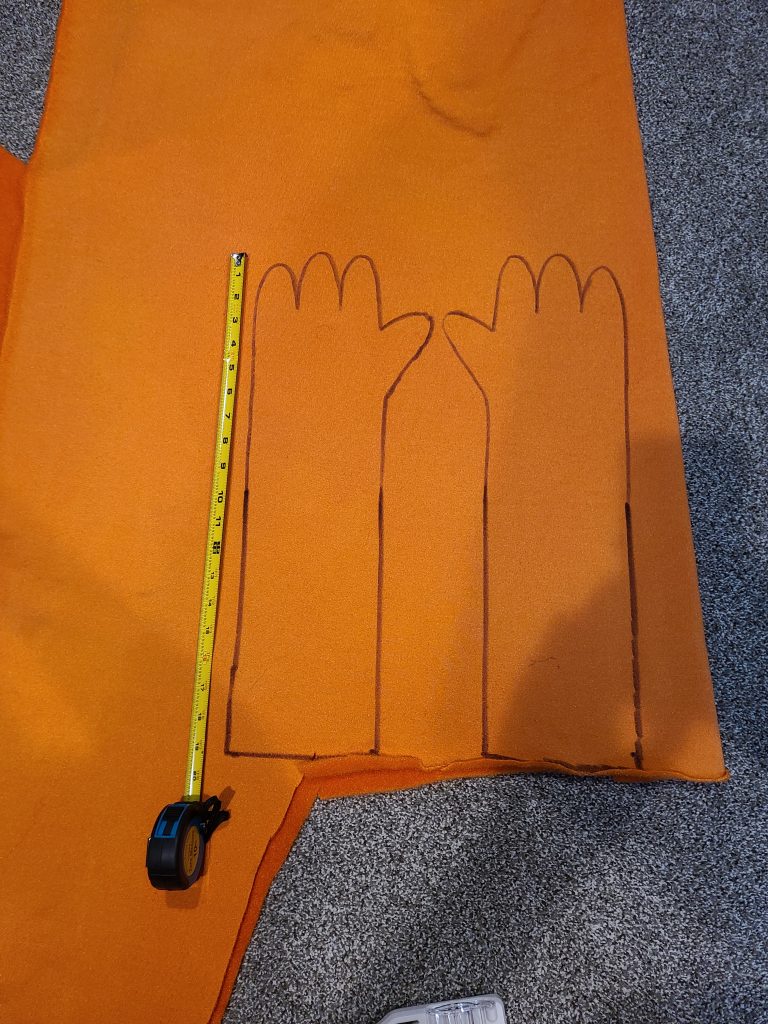
Creating, sewing, and cutting out arm and glove pattern.
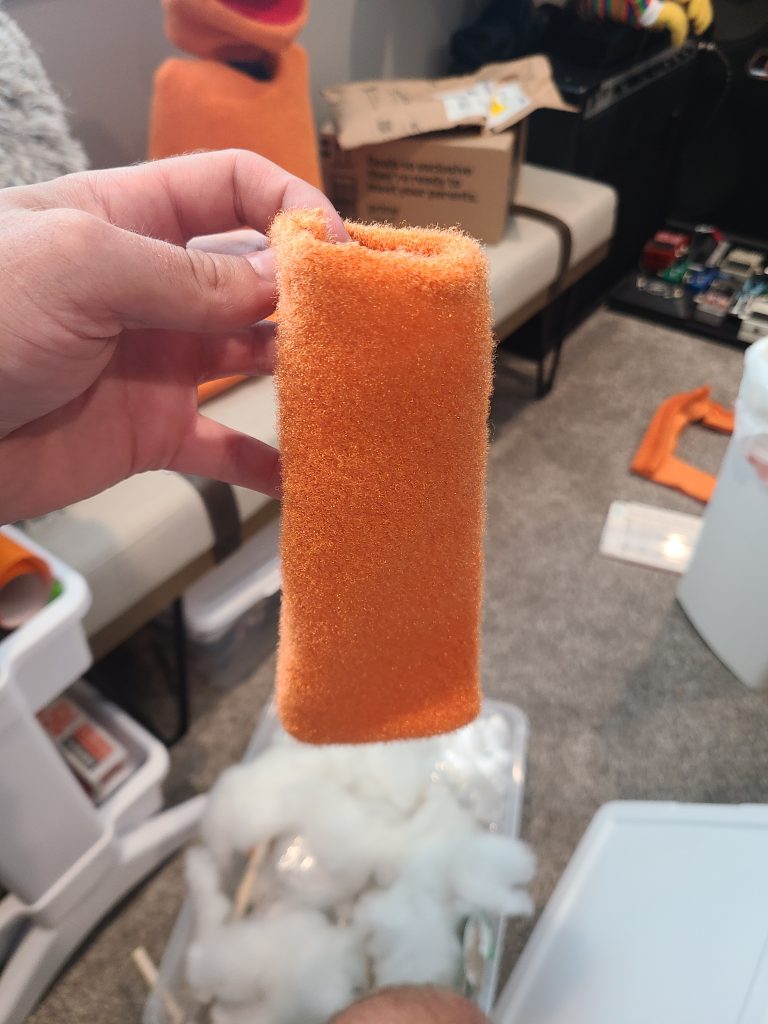
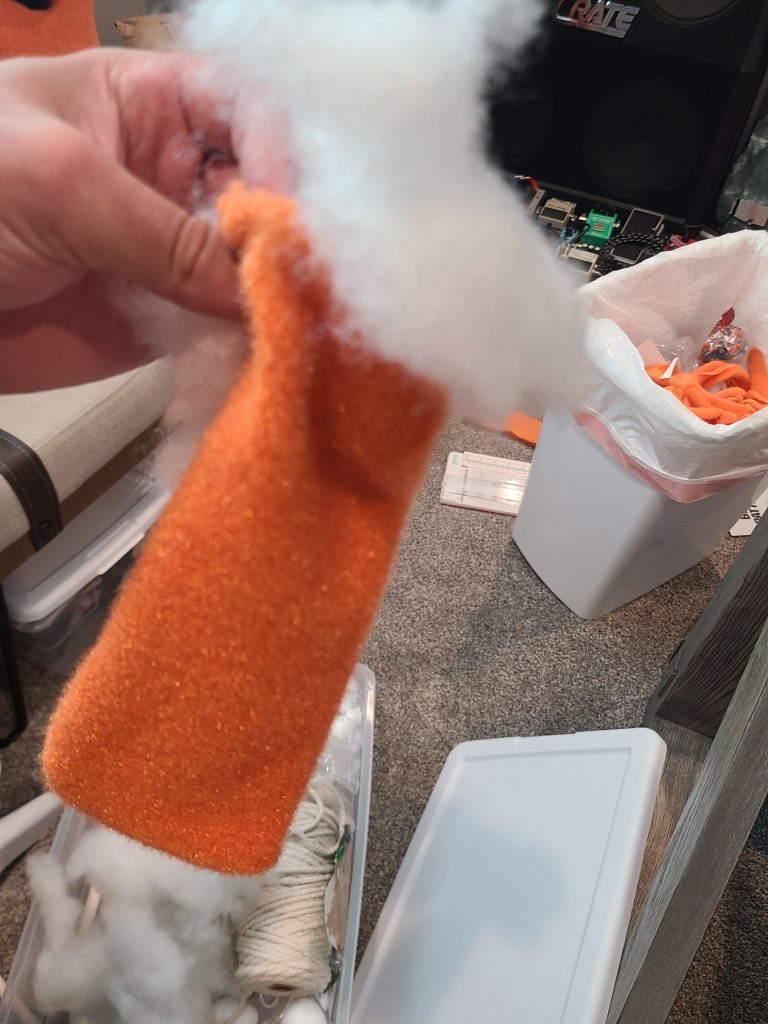
Creating bicep (9″x8″) pattern, sewing, and stuffing with poly-fil.
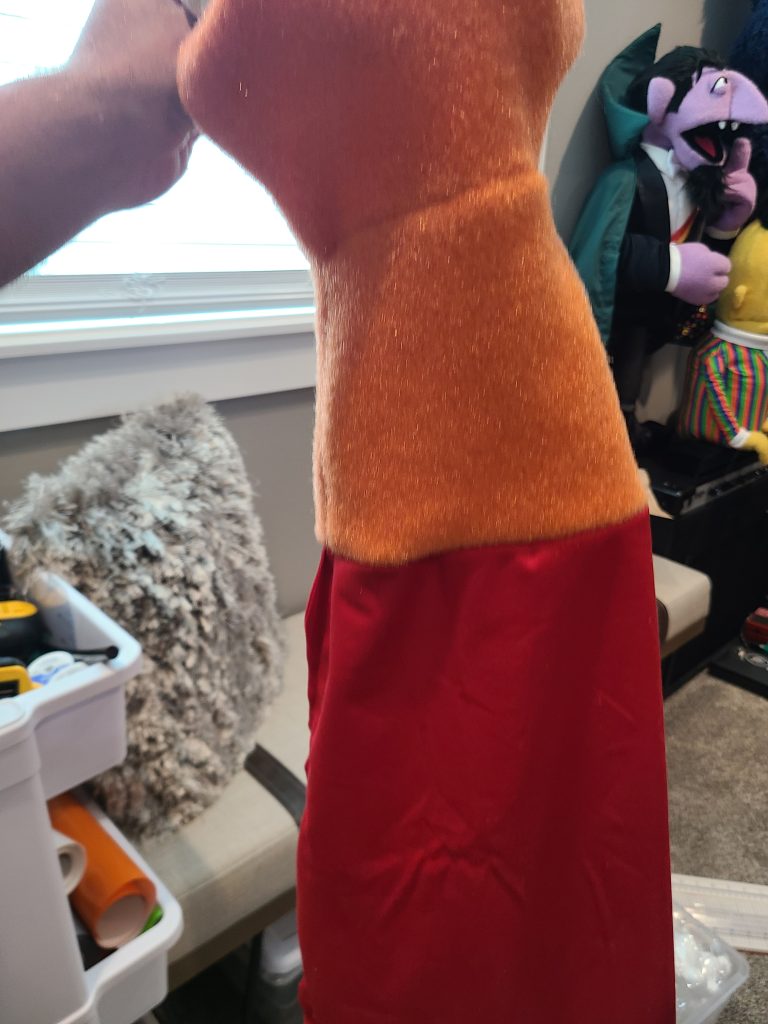
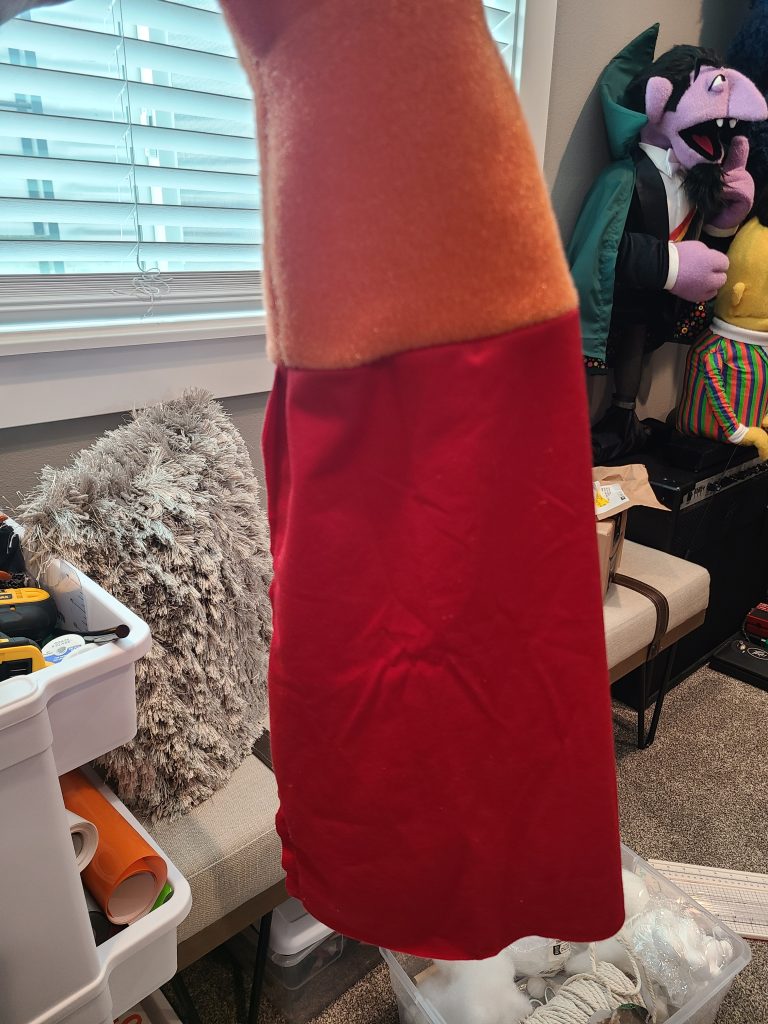
Creating and sewing together neck and neck sleeve. I used red velvet for the sleeve to make it more comfortable.
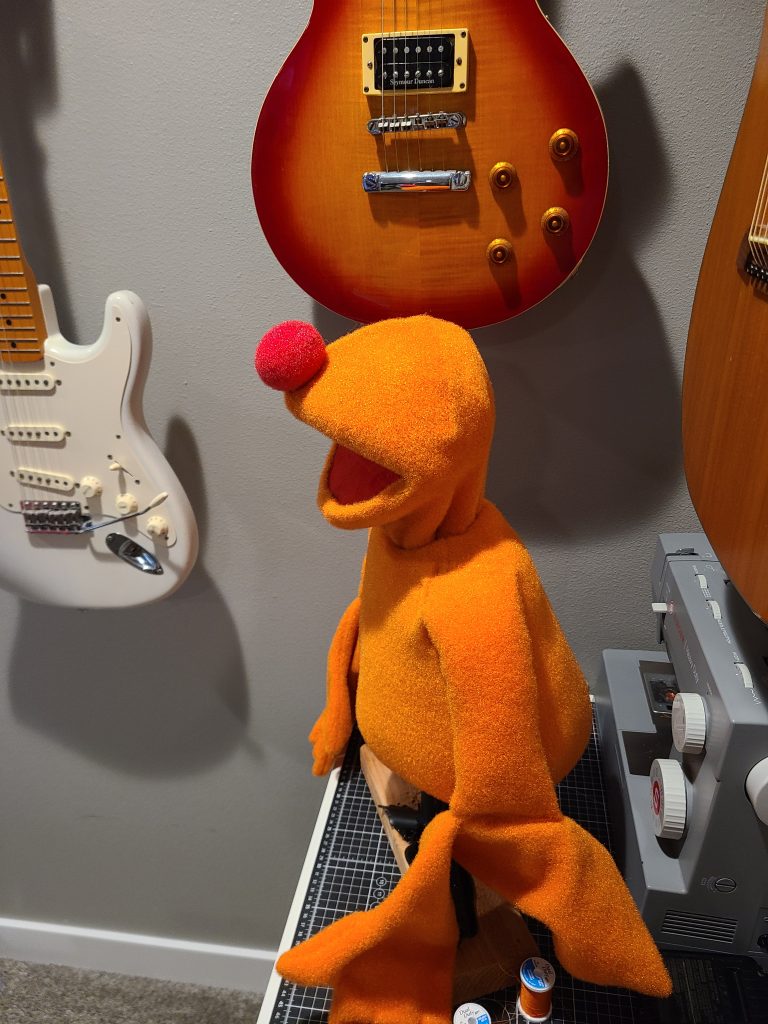
Test fitting head/neck to body and biceps to arm with pins.
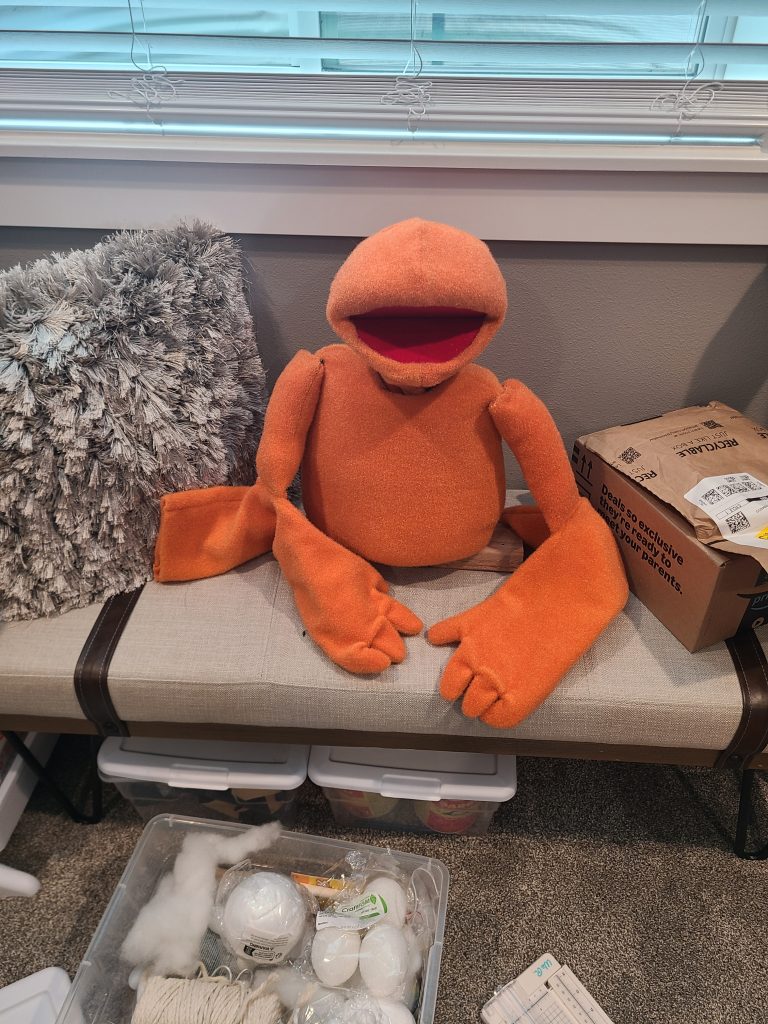
Sewed biceps to body and biceps to arms.
Sewed neck sleeve to bottom of body at desired height.
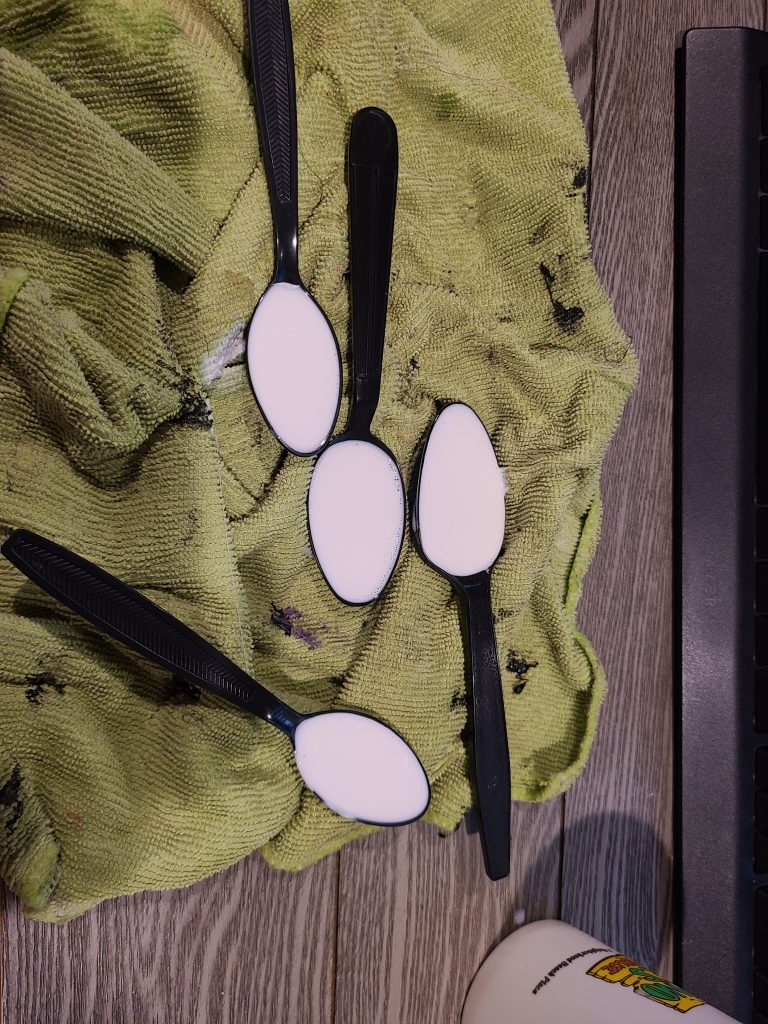
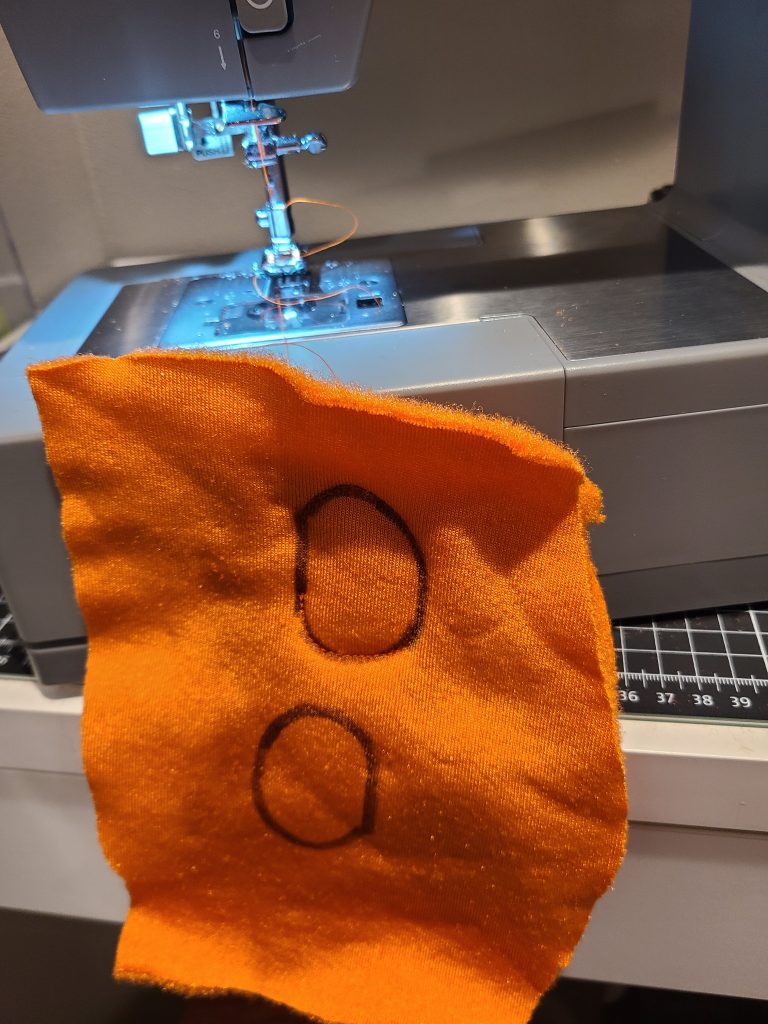
Creating various eye shape designs from different sized plastic spoons and liquid white plastic. (Plastic spoons must be flexible to get hardened plastic out successfully.)
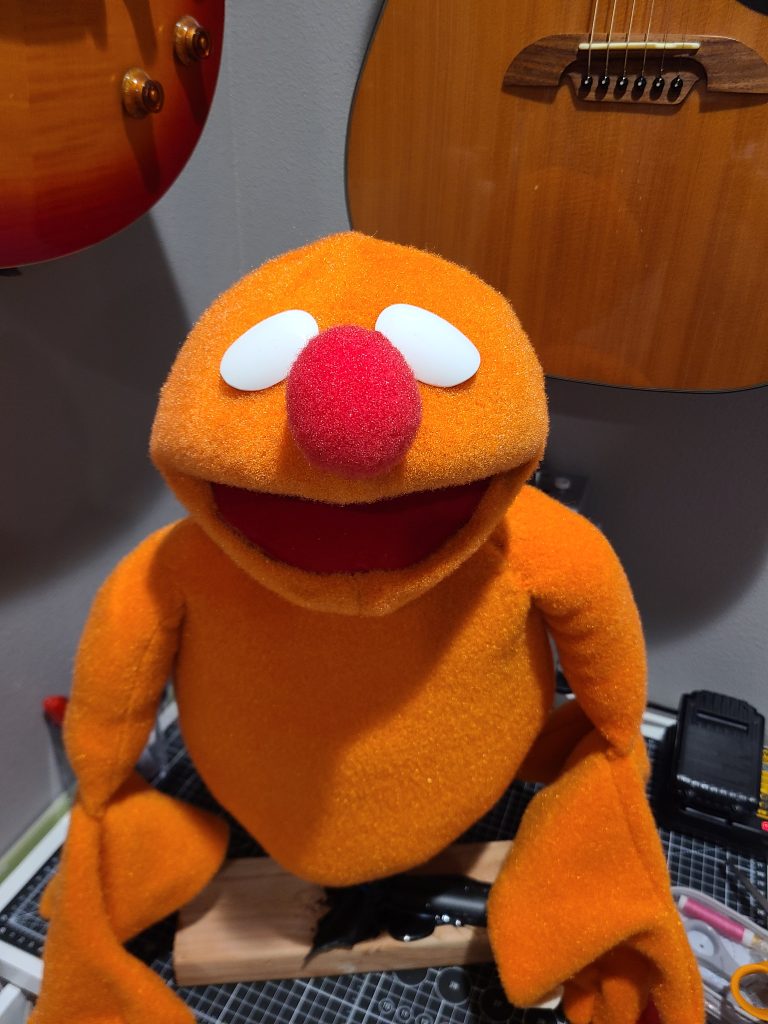
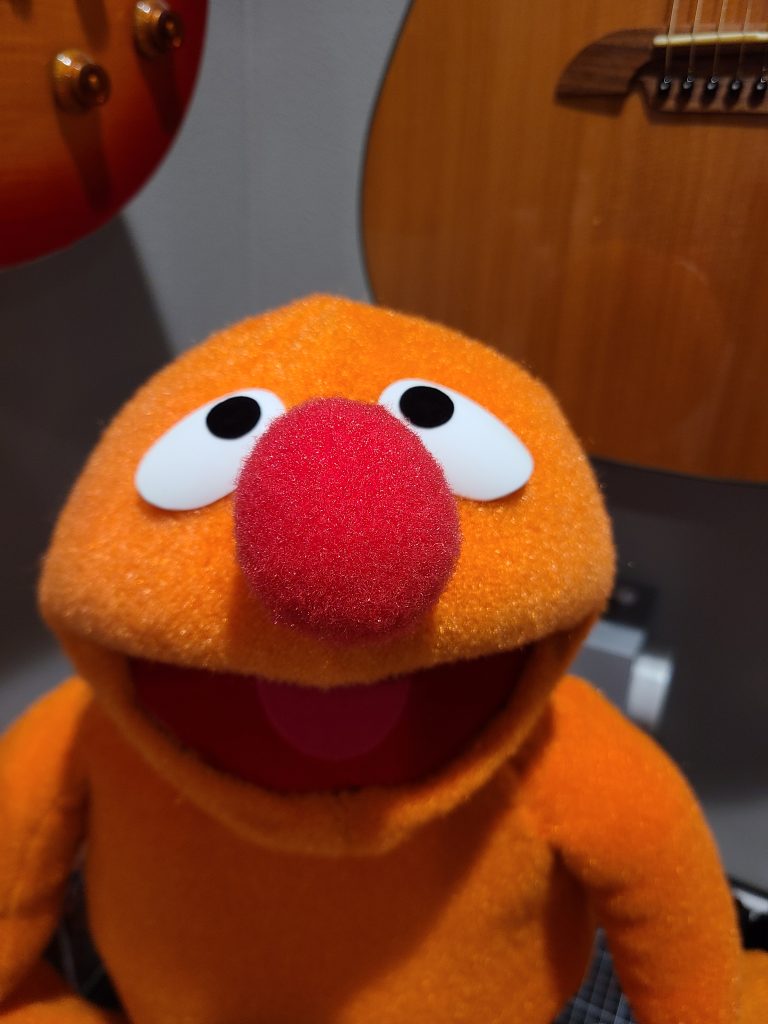
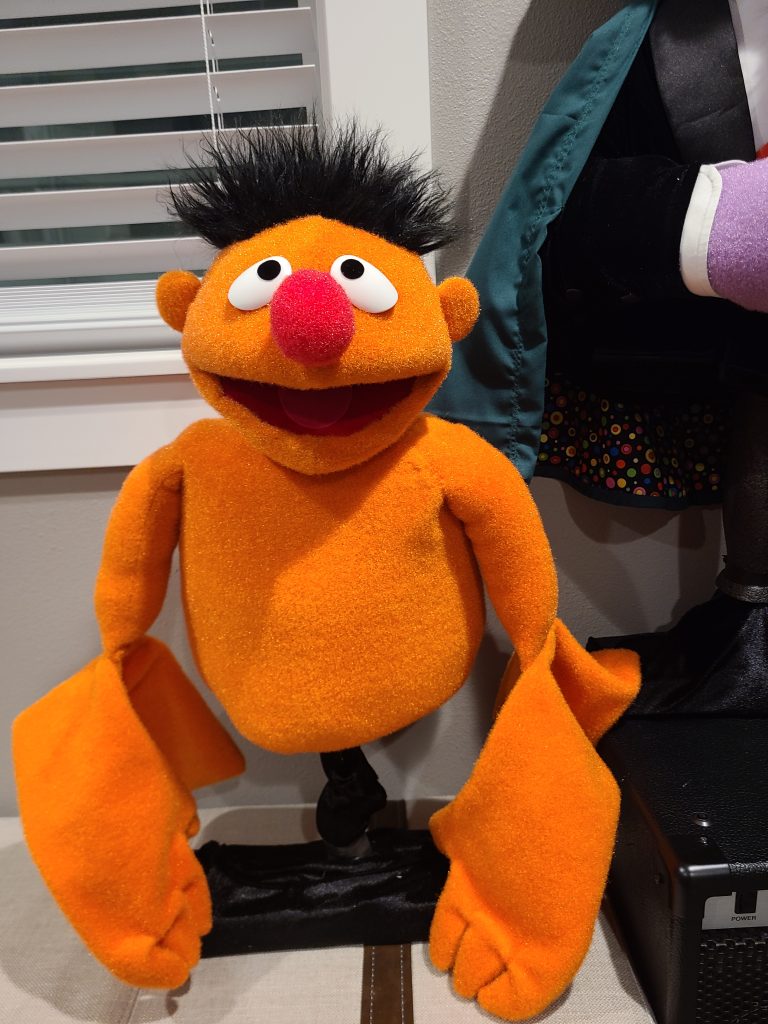
Created nose from small styrofoam egg trimmed and formed into a ball. Covered with red dyed fleece. Sewed to head.
Attached eyes from smaller plastic spoon mold with contact cement. I first cut and sanded them into desired shape.
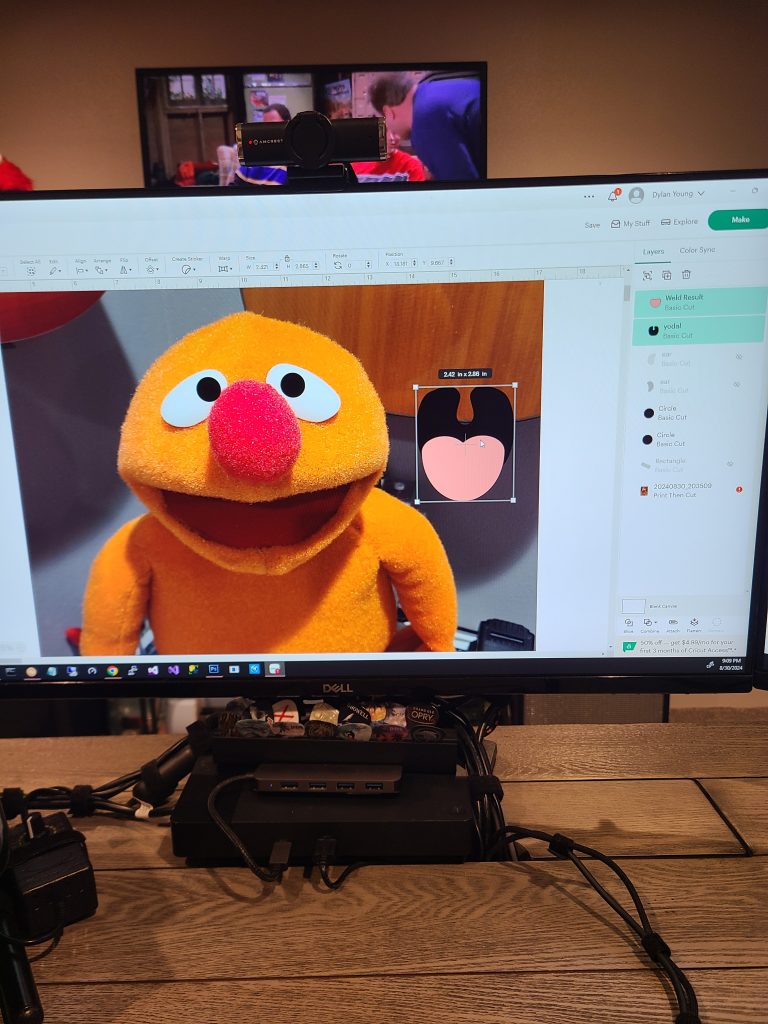
Used Cricut and computer to scale and cut out pupil, inside mouth, and tongue from sticky velvet paper. If you have one, a Cricut is awesome to get perfect cuts. Later I used a red marker to create a line halfway down the tongue to make it appear more realistic.
Designed, cut out, and sewed ears.
Created hairline by taping off top of head and drawing where I thought the hairline should go. Used that template to cut out the black faux fur and sew it to the head.
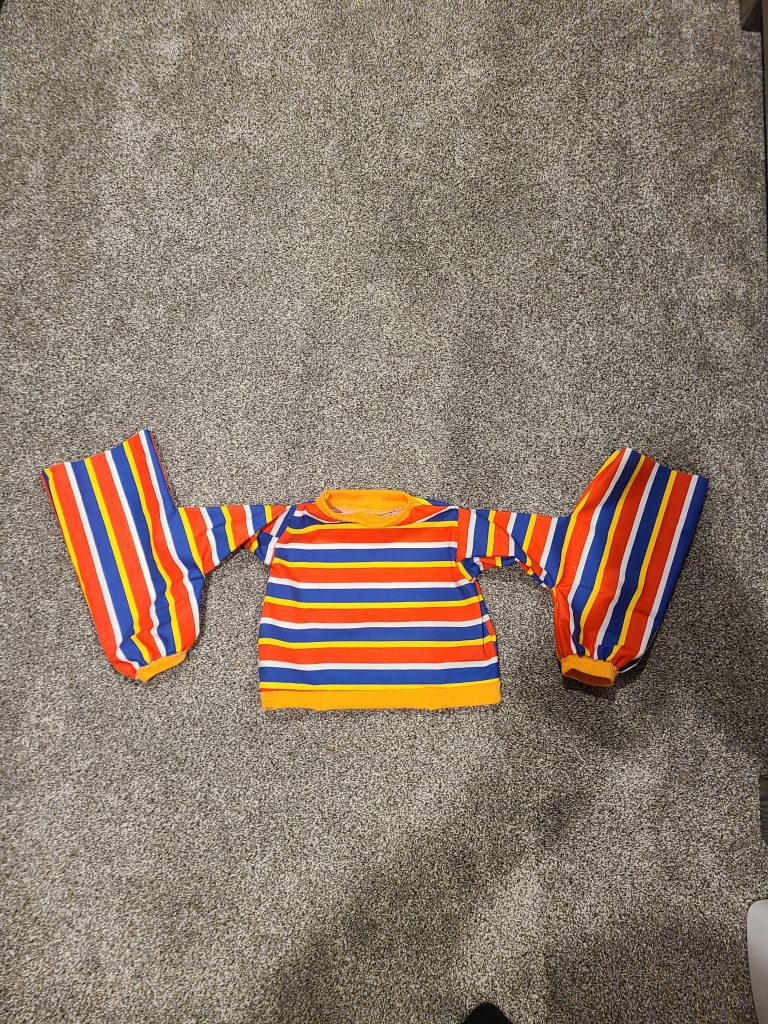
Designing and sewing together t-shirt pattern. I used the body fabric template shown above but added about 1/2″ to it.
Designed and sewed bicep and arm t-shirt pattern.
Sewed t-shirt arms to t-shirt body.
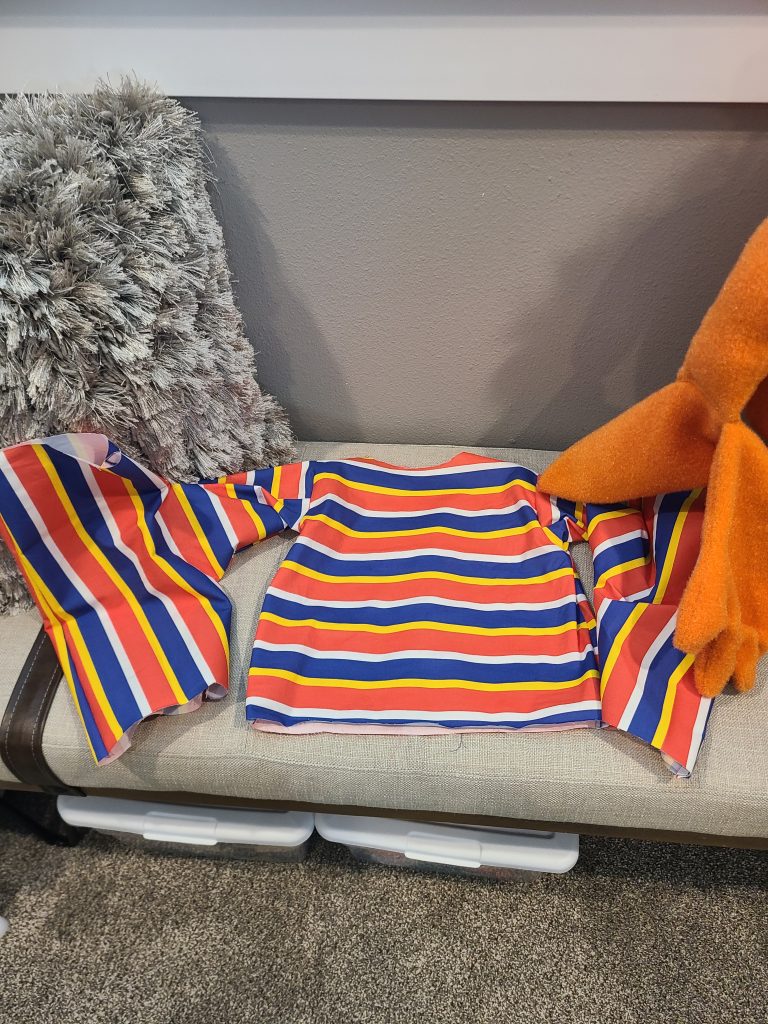
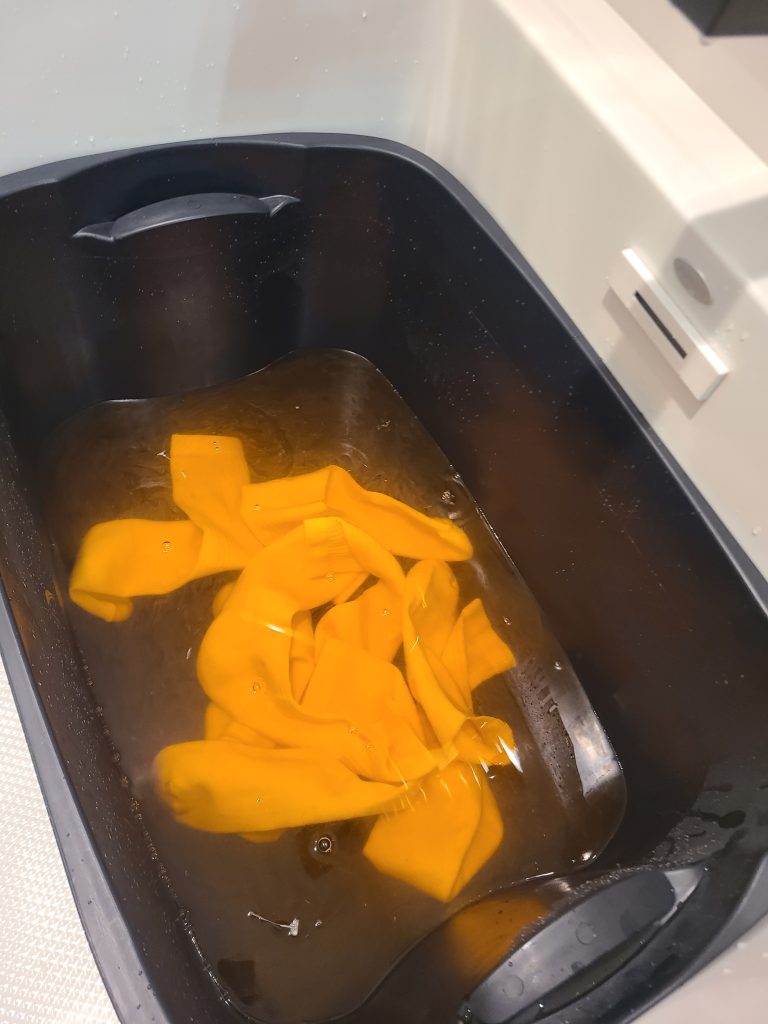
For the t-shirts sleeve cuff, neckline, and bottom of t-shirt I got a bunch of white tube socks and first dyed them a yellow orange.
I then used the pieces to create the sleeve cuff, neckline, and bottom of t-shirt. I sewed that to the t-shirt making nice cuffs and seams.
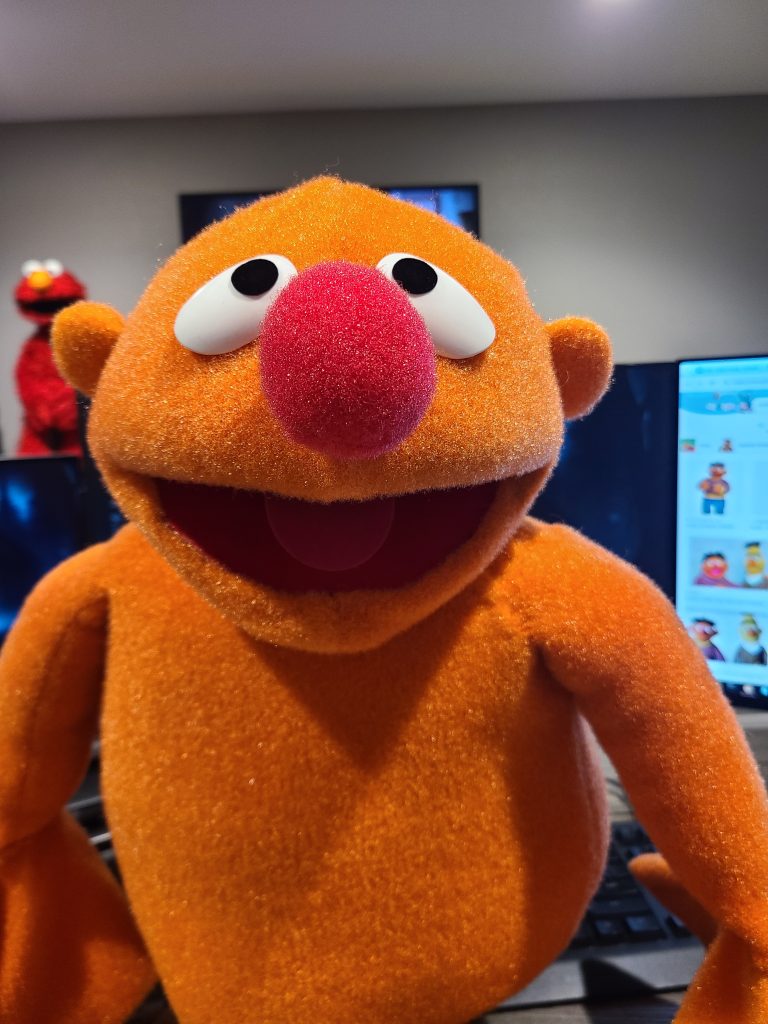
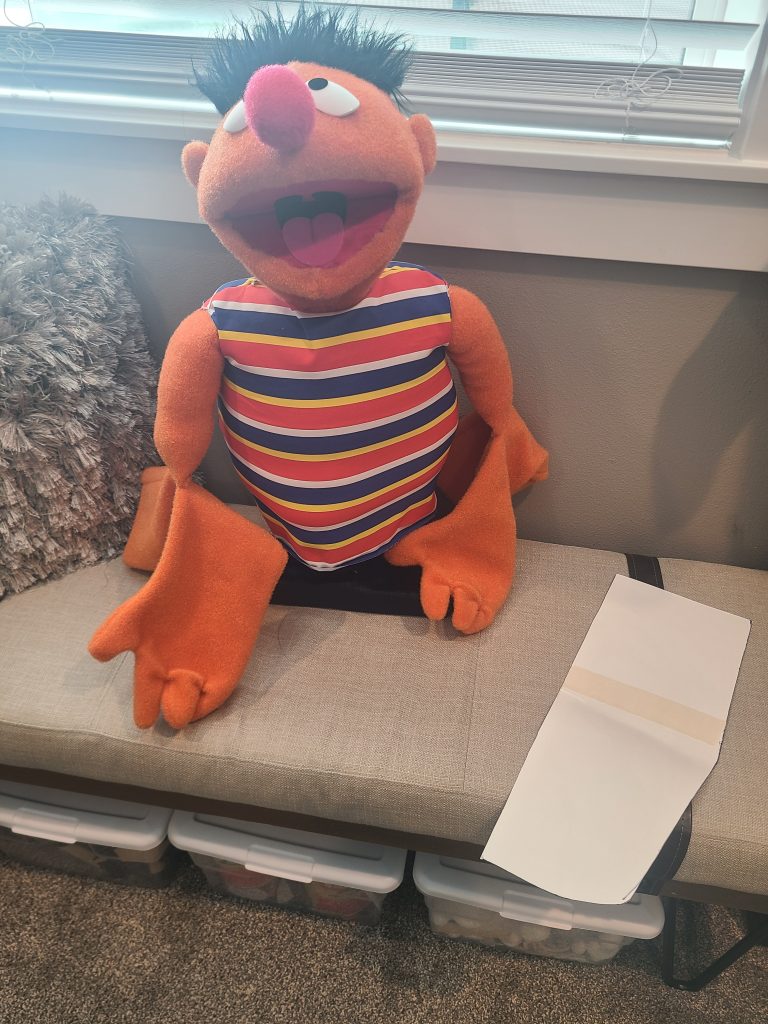
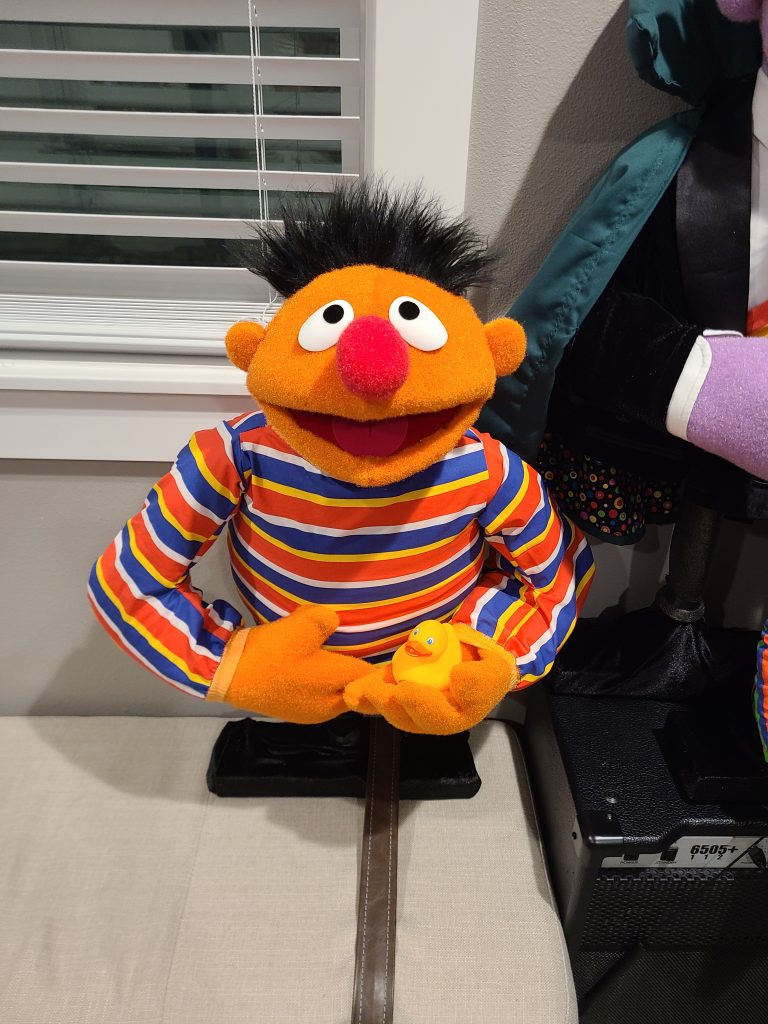
Put on t-shirt. Sewed the back end of the sleeves to the back end of the fabric gloves.
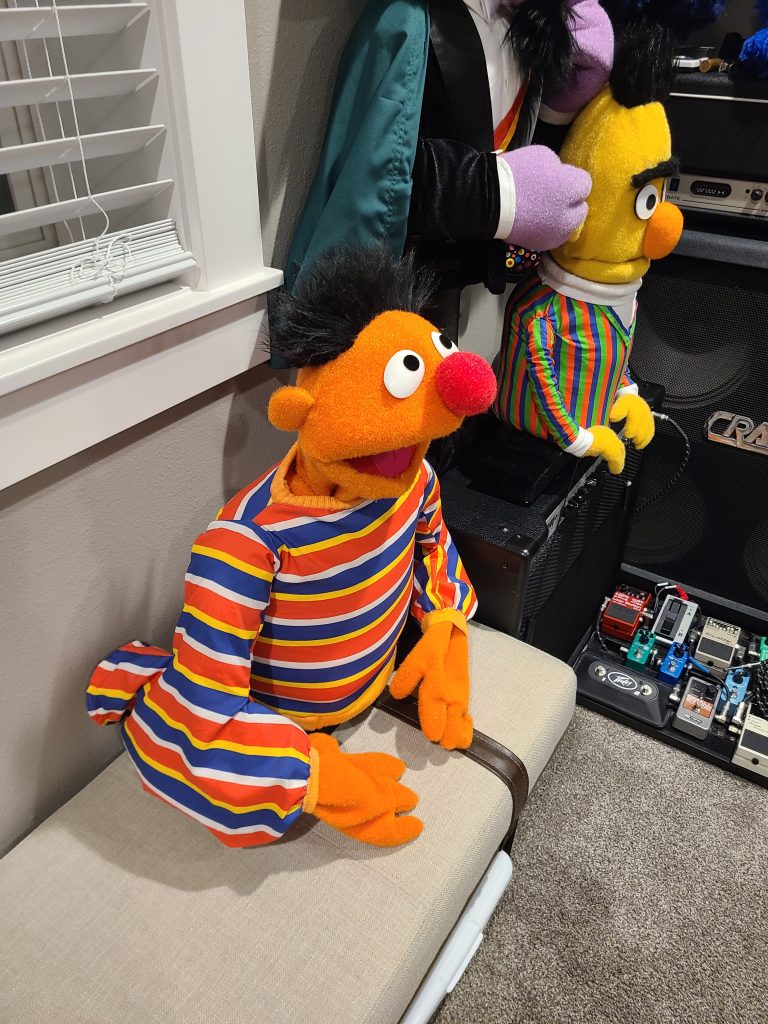
Created foam hand inserts for both right hand and left hand. I keep them both in while they are on display as well as tucking in the back of the arm sleeves to make it look more realistic. The foam inserts were created from the glove fabric pattern shown above but shortened. Cut out two pieces of foam for each hand (flip pattern), add bendable wire, and use contact cement to sandwich it all together. I use a super strong magnet that is inside the right hand and behind the t-shirt to keep that arm stationary. I don’t like pins, especially on this cheap printed fabric as it can tear easy.

how do you get the foam exact for the head shape? do you just wing it? or is there a computer application that you use to create the foam pieces?
I generally start with a pattern I already have and just make small adjustments until I get what I want. I sometimes use the computer to scale up or down a pattern to make it larger. I first use paper to see if the shape is close before using foam. No software. I have been looking for software that would do this, but haven’t found anything super useful.
I will be waiting for more of your puppets on eBay
Beautiful very beautiful and fancy 👍❤️😊😎😀
Your puppets are absolutely stunning. I’ve started making my own puppets that are not sesame street Characters and In the future I was hoping to make my own puppet when I actually get the materials and these pictures give me a lot of motivation. Because they really do look like the real thing.
I appreciate the feedback! I am here to answer any questions that come up. I know it can be challenging to figure out where to start when building replicas…
I’ve written to you about Bert’s replica to see how I can get the Bert, Ernie, and Abby patterns, but I only need the head patterns in both foam and freeze-dried fabric. That’s the only thing I’m having trouble copying. Best regards.
I can share the Bert patterns since I made them. Use the contact form and I will get you a link with password. Ernie’s head is from https://projectpuppet.com/products/the-melonhead-puppet-pattern and Abby’s head I will need to scan in when I have time.
Thank you very much, I have that Project Puppet pattern since I have bought several from them.
I scaled mine up in size for Ernie. You will have to look at the image I have of the length of the mouthplate to figure out how much I scaled it up. I can’t quite remember but it was probably 105% or 110%.
Fabulous build> can I as where you got his shirt fabric from?
No problem, I got it at SpoonFlower.
Could you clarify how the foam is attached to the mouth plate? I have the top of the head foam, but I’m not able to tell if the moth plate is completely covered in foam or just the edges. Thank you so much!
There is a small piece of foam that goes around the edge of the mouth plate. The top small piece of foam on the mouth plate is glued to the foam skull.
Thank you so much! What did you use for his hair?
Black faux fur
Hola, me encantan tus trabajos, tengo dos pregunta. Cómo le haces para ampliar el tamaño de tus patrones fuera de un papel tamaño normal tipo página. Y la segunda es que como puedo tener el patrón de bert. Saludos.
I use photoshop to scale. If it goes over 1 sheet of paper, I print it in sections and cut it out and tape it together. Use the contact from for the bert pattern and I will send you a link and password.